|
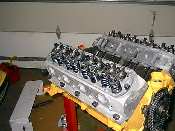
We continue by installing the valvetrain components, then the intake. Since I'm reusing my cam,
the lifters were kept in specific order. They need to go back with the same lobe. They get lubed
on the tappet surface with some ARP Moly lube, and inserted into the lifter bore. If you're using
roller lifters on a 302, you will want to install the lifters before you install the heads,
because the lifters are taller than the distance between the lifter bore and the head. After
the lifters are in place, the pushrods are then installed in the block. (Don't do anything silly
like roll the block over to look at the pretty connecting rods, all the lifters will fall out).
|
|
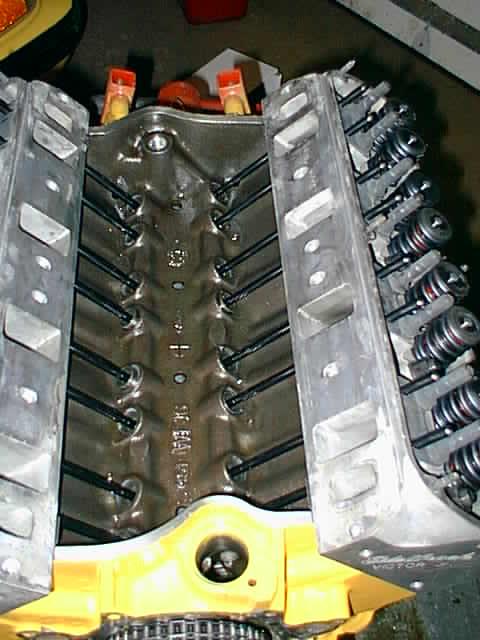
With the pushrods in place, I rotate the engine through it's firing order, stopping every 90
degrees and installing the rockers for the appropriate cylinder. At the start of the ignition
stroke, both valves should be closed. Some funky cams this supposedly isn't true for, so check with
your cam grinder. The cam card calls for .026 lash set hot, so I subtract .004 for the cold
setting. After some experimentation last year I've found this to be a good estimation. With
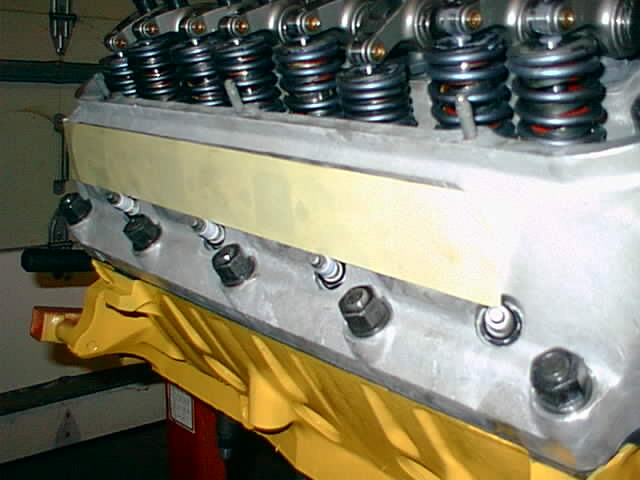
All 16 rockers installed and lashed, it's time to move on to the intake.
|
|
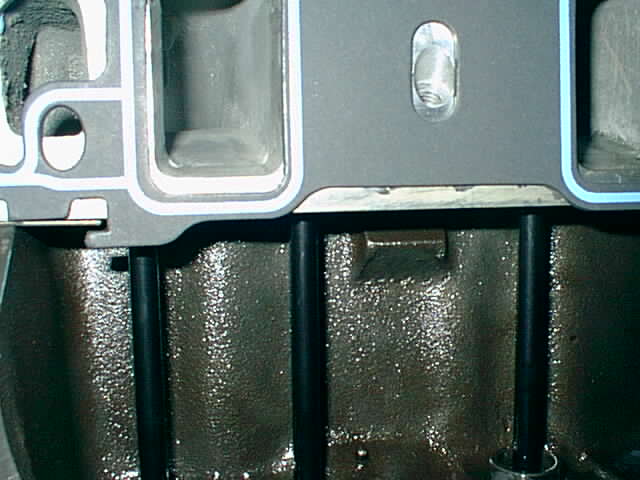
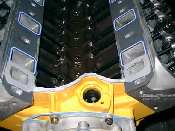
Although the Victor Jr. heads are gasket matched to a FelPro 1262 gasket, you can see if you use
the standard alignment tabs on the gasket that interlock with the head gasket, that the port
alignment is quite a ways off. This is pretty common, I've seen it on other brands of heads
too. The solution is quite simple, cut the alignment tabs off with a knife or scissors.
|
|
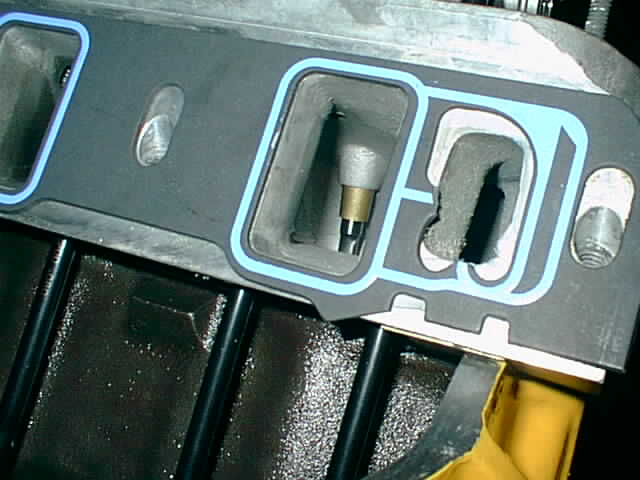
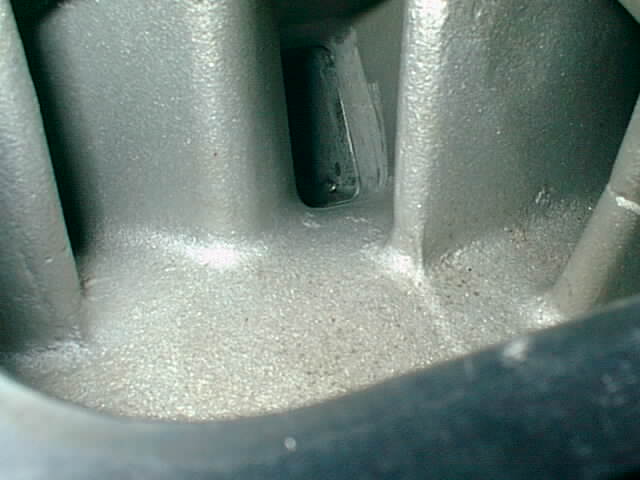
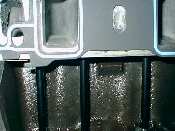
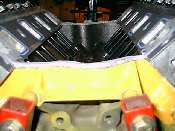
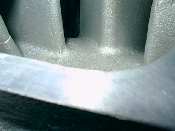
If you do enough Ford small block work, you will quickly learn that the water port through the
intake gasket is the number one place for coolant leaks. This is a bad spot for a leak, because
the coolant goes straight into the lifter valley and into the oil pan, turning it into a giant
milkshake. I therefore put some RTV around the water passages. The other nice thing about this
is that it holds the intake gasket in place, even with the alignment tabs removed. Although hard
to see in this picture, there is a thin skin of RTV about 1/4" wide all the way around the port.
|
|
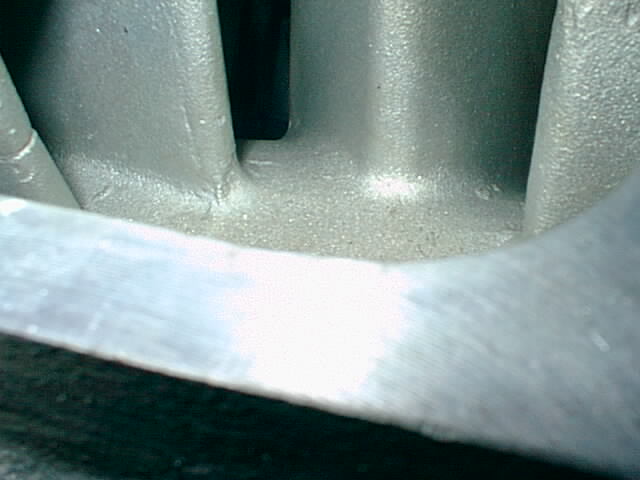
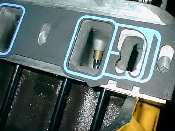
With the alignment tab removed, and the RTV holding the gasket in place, notice the port alignment
is much better. Also note that I cut out the extra ring in the water port hole that's designed
there for 16 bolt 351 intakes (odd design, you'll probably never see one).
|
|
While we're thinking about it, lets install that 3/4" core plug that covers the two oil holes in
the rear of the lifter valley. It'd sure be a bummer to discover we have no oil pressure after the
intake is installed.
Now take those cork end seals that came with your intake gasket set and chuck them in the
garbage. They never work. I use a thick bead of RTV to seal the intake. Setting your intake on
the motor "dry" will let you see how thick of a bead you will need.
|
|
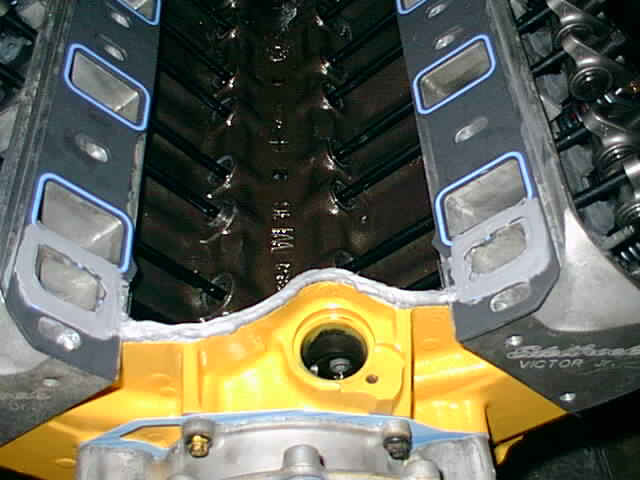
You can see the front and rear seals here made of RTV. Make sure there is plenty in the corner
where the head meets the block, and trace around the outside of the waterjacket to ensure that
this side of the water port seals to the intake.
|
|
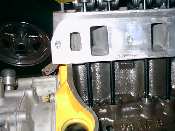
The RTV beads used for the front and rear intake seals need to set up and skin for a bit. While
I waiting for that, I install the spark plugs and cover up the exhaust ports to keep garbage from
getting in the motor while it's sitting. Remember that aluminum heads require a dab of antiseize
on the plug threads to keep them from seizing in the head. A simple strip of masking tape
covers the exhaust ports and keeps everything clean.
|
|
Once the RTV is set up, we gently drop the intake onto the top of the motor. The trick is
to set it down on the gaskets as close to aligned as possible so you don't have to shift it
much once it's down. Shifting it around could cause the gaskets to slip. Intake studs
are handy for this, but alas I have intake bolts, so I have to do it the hard way.
|
|
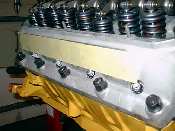
The nice thing about the Victor Jr. intake is you can see down the center 4 ports to see you have the
intake aligned. Once you're happy with where it's at, tighten the works down as specified in
the Tom Monroe book. You can keep tightening and tightening as the gaskets and RTV relax, but my
suggestion is to tighten to specs, then let it sit for 24 hours, and tighten everything again.
Two important notes: Use antiseize on these bolts, to keep the bolts from seizing and to prevent oil
from creeping up the threads. Also, the stock length bolts for a 351W are too short for
the Victor Jr intake. The bolts you need are 1/4" longer. ARP will happily exchange yours if
you got the wrong ones. Failure to do this will result in stripped holes in your heads.
|
| |
|
|