|
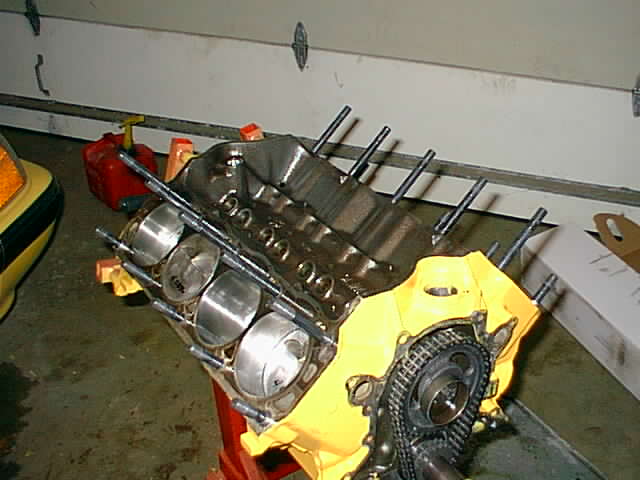
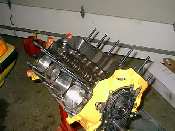
I like to do the top end next. You could finish the bottom end up first by installing the oil pump
and pan, it's just a matter of personal preference. Clean the deck surface with brake cleaner,
then install the head dowels and head studs. The head studs go in finger tight only. You can install
them by using a stud installer tool, or just double nut them.
|

|
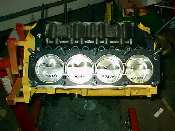
Next place the head gaskets in place. I'm using Victor Reinz SOLICOR gaskets, part
number 5956SC. They're definitely not cheap, but they're one of the best. Some people
use paint on their head gaskets to improve sealing, but with these new gaskets, it's
unnecessary. Head gaskets are not reversible. If you look, you can see this one is marked
front. The front side of the gasket blocks off the block to head water passages. This forces
the water to flow from the water pump through the block up to the head, and forward to the
thermostat. Installing the gasket the wrong way will cause the water to flow straight from the
pump to the thermostat, not going through the block and head, resulting in massive
overheating. Don't get this wrong.
|
|
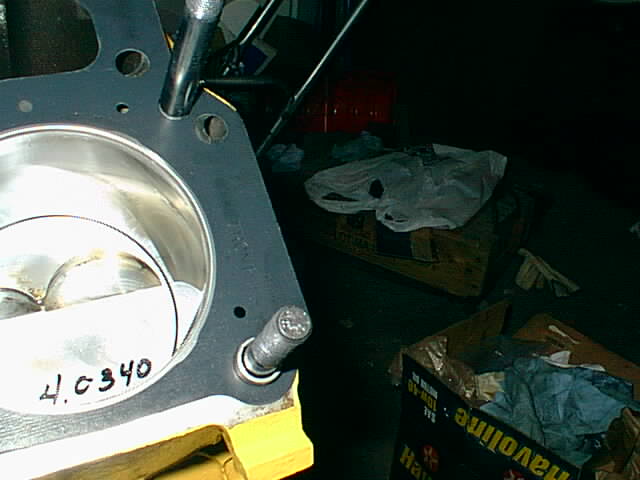
Here you can see the water passages at the back of the head that are missing from the
front. This gasket is installed correctly.
|
|
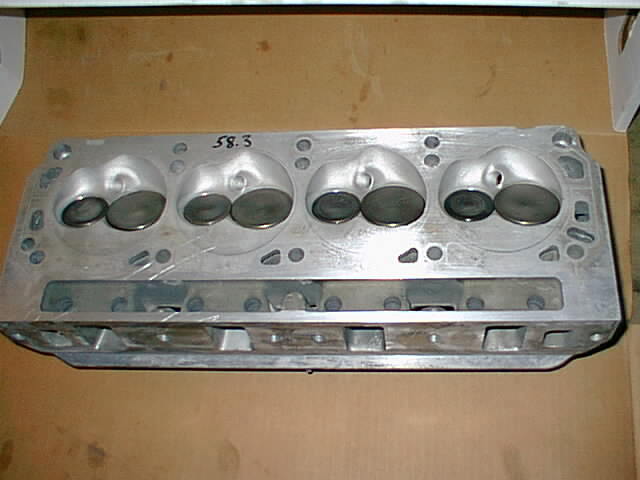
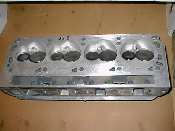
I had my heads hot tanked, but I feel you can never clean enough when assembling an engine, so
the heads' deck surface gets wiped down with a towel and brake cleaner. You can see the markings
from my machine shop, the chambers on this head are 58.7cc. While you have your heads in this
convenient position, check to make sure the old dowels are removed. Otherwise you'll find out the
hard way, like I did, that the "damn head just wouldn't go down" and have to chisel the old one
out of the head because you used the nut to try to seat the head.
|

|
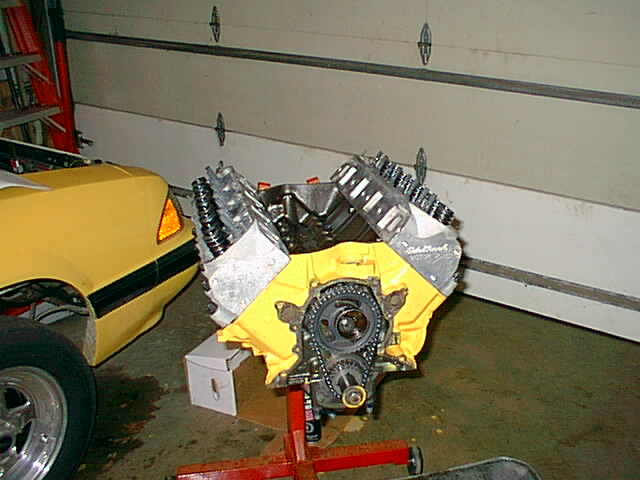
After removing my oops, I set the heads on the engine, and torqued the nuts down to the factory
specs of 90 ft/#. This goes in a specific order in three steps, so refer to your book. Then
the top row gets another 10 ft/# for a total of 100 ft/# to compensate for the intake manifold
pulling up on the heads.
|
| |
|
|