So, you've decided to put a stereo in your Mustang to fix the horribly deficient
Shaker 500 system that came stock with your car. I am in the same process myself,
and while all this information is kind of out there on the internet, it's stuff you
have to search for, so I figured, why not put it all down in one place?
Please note, all text and most images (except where noted) are mine. You are free to
distribute, print, use, etc, to your hearts content, but please leave this note and
the link to the original page in place. The original can be found here:
http://www.fast351.com/11GT/stereoinstall/disassemblyinstructions.html
Stage 3: Removing the factory head unit.
Whether you are upgrading the head unit or just installing a line out converter, you will need
to remove the head unit to gain access to the connectors at the back of the unit. This is a simple
process, but there are a couple things along the way that will make it MUCH easier if you know about
them. Also, I removed the console assembly as well, because I was initially going to run wires across
the transmission tunnel (the RCA outs from my LOC), but decided against it when I saw how tight the
carpet is over the hump. I will still put the sub volume control in the console, and run it's flat cable
to the rear under the carpet, but you could run this along the sill plate as well.
Step 1: Remove the cupholder assembly from the center console (my car is a manual, this may be
different on an automatic):
Place the car in second gear.
Unscrew the shift ball by turning it counterclockwise. (Holy crap, I thought it was welded on, but it does rotate off)
Starting inside the cubbie hole in the console, lift up on the rear of the cupholder assembly.
Once you have the cupholder assembly high enough, disconnect all the electrical connectors. There should be three, the traction control harness and two ambient light plugs.
Remove the body side connector from the bottom of the cupholder by either removing the double christmas tree clip, or removing the clip from the connector.
IMPORTANT Lift the cupholder assembly up to expose the black ring holding the boot to the shifter. Wiggle the black ring while sliding the ring straight up the shaft. There are two locating ears that are easy to snap off!
Remove the assembly from the car.
Cup holder when removed from the car. Note the connector clip on the bottom of the cupholder.
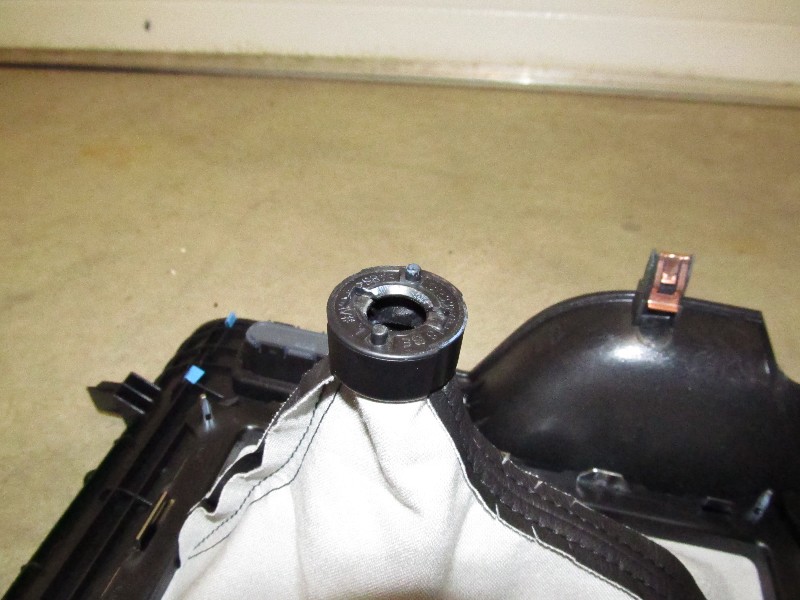
The locating ears on the shift boot ring. Lift this straight up while wiggling the ring to clear the shifter.
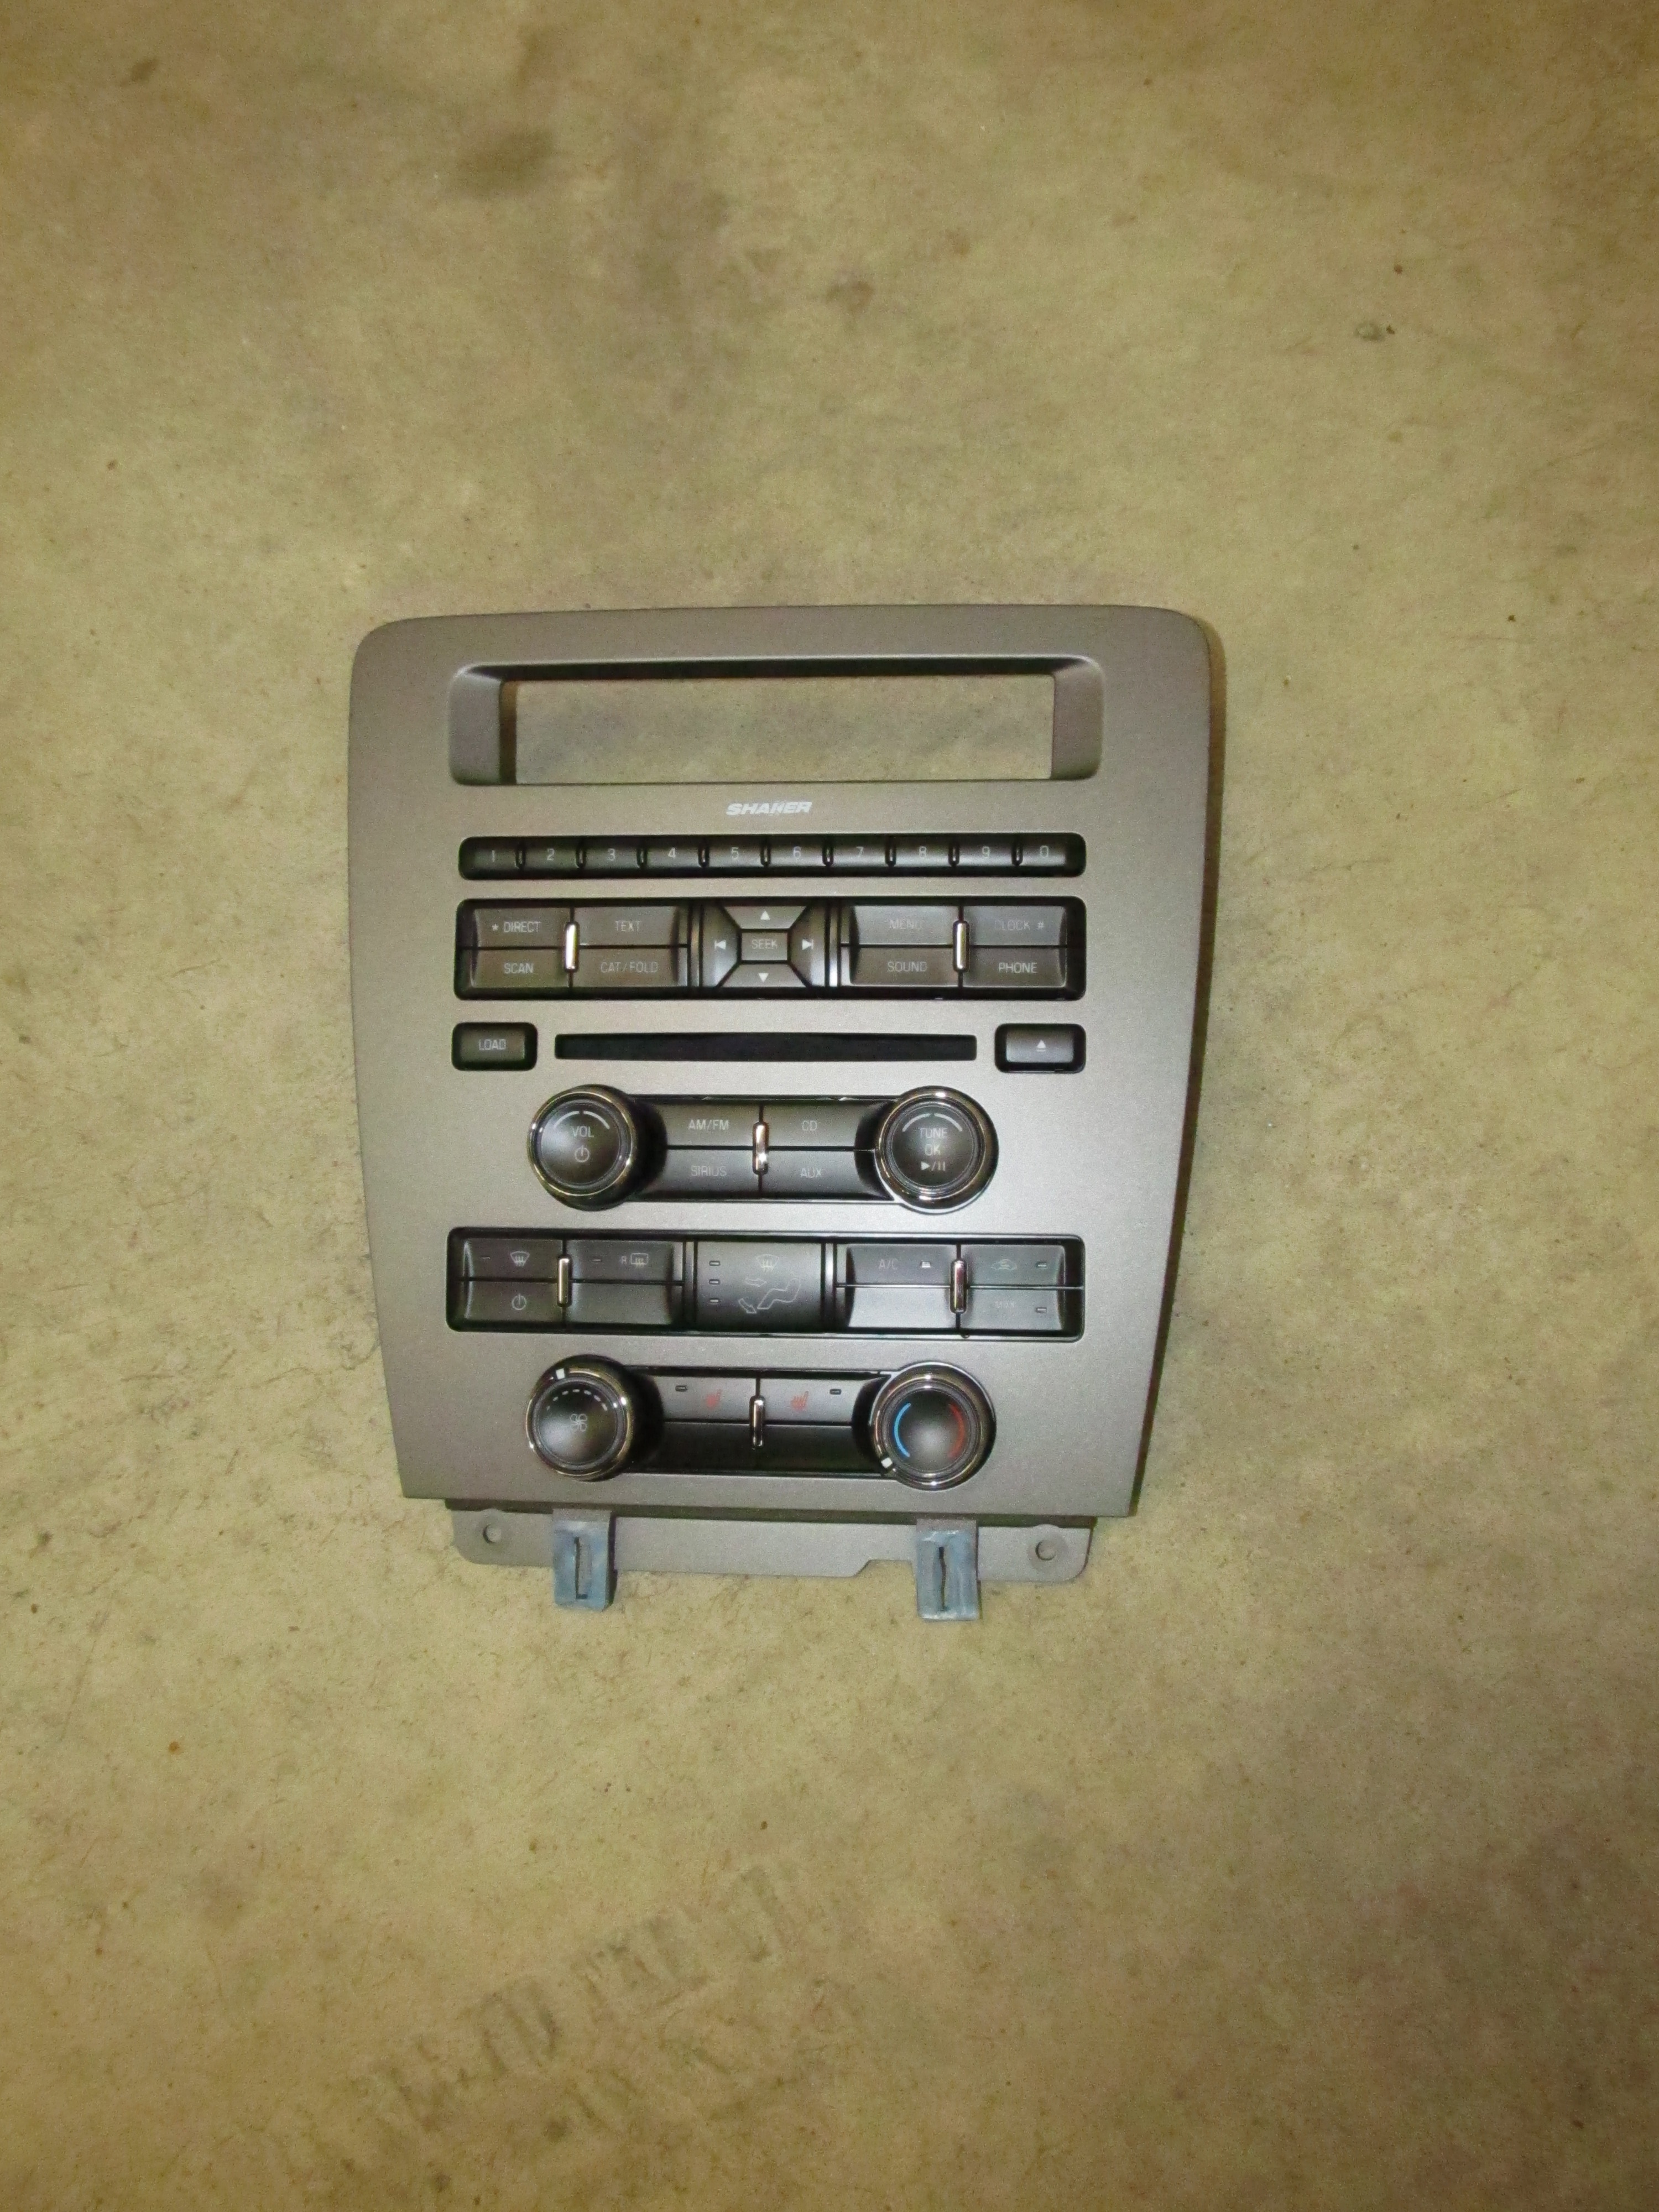
Step 2: Remove the radio faceplate:
Remove the two 7mm screws at the bottom of the faceplate.
Starting at the bottom, pull the faceplate away from the dash.
When completely loose, disconnect the front plate connector.
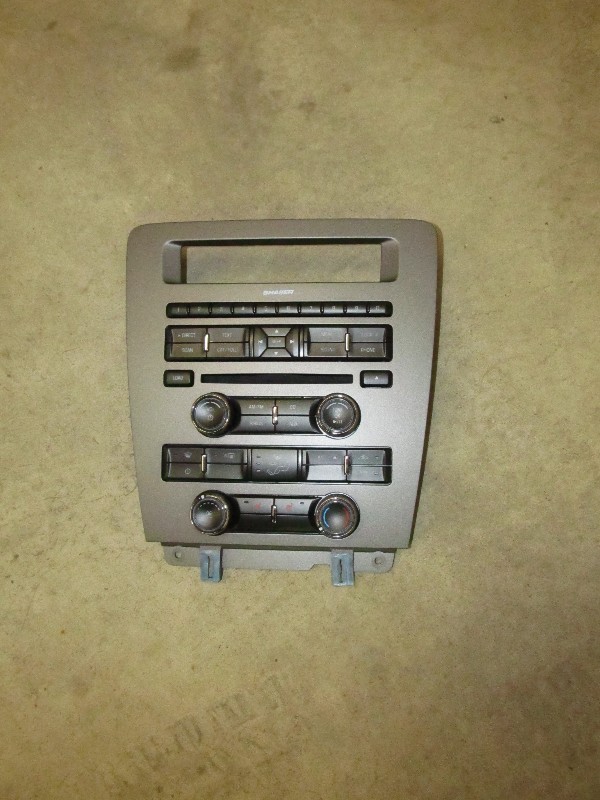
Faceplate when removed from car.
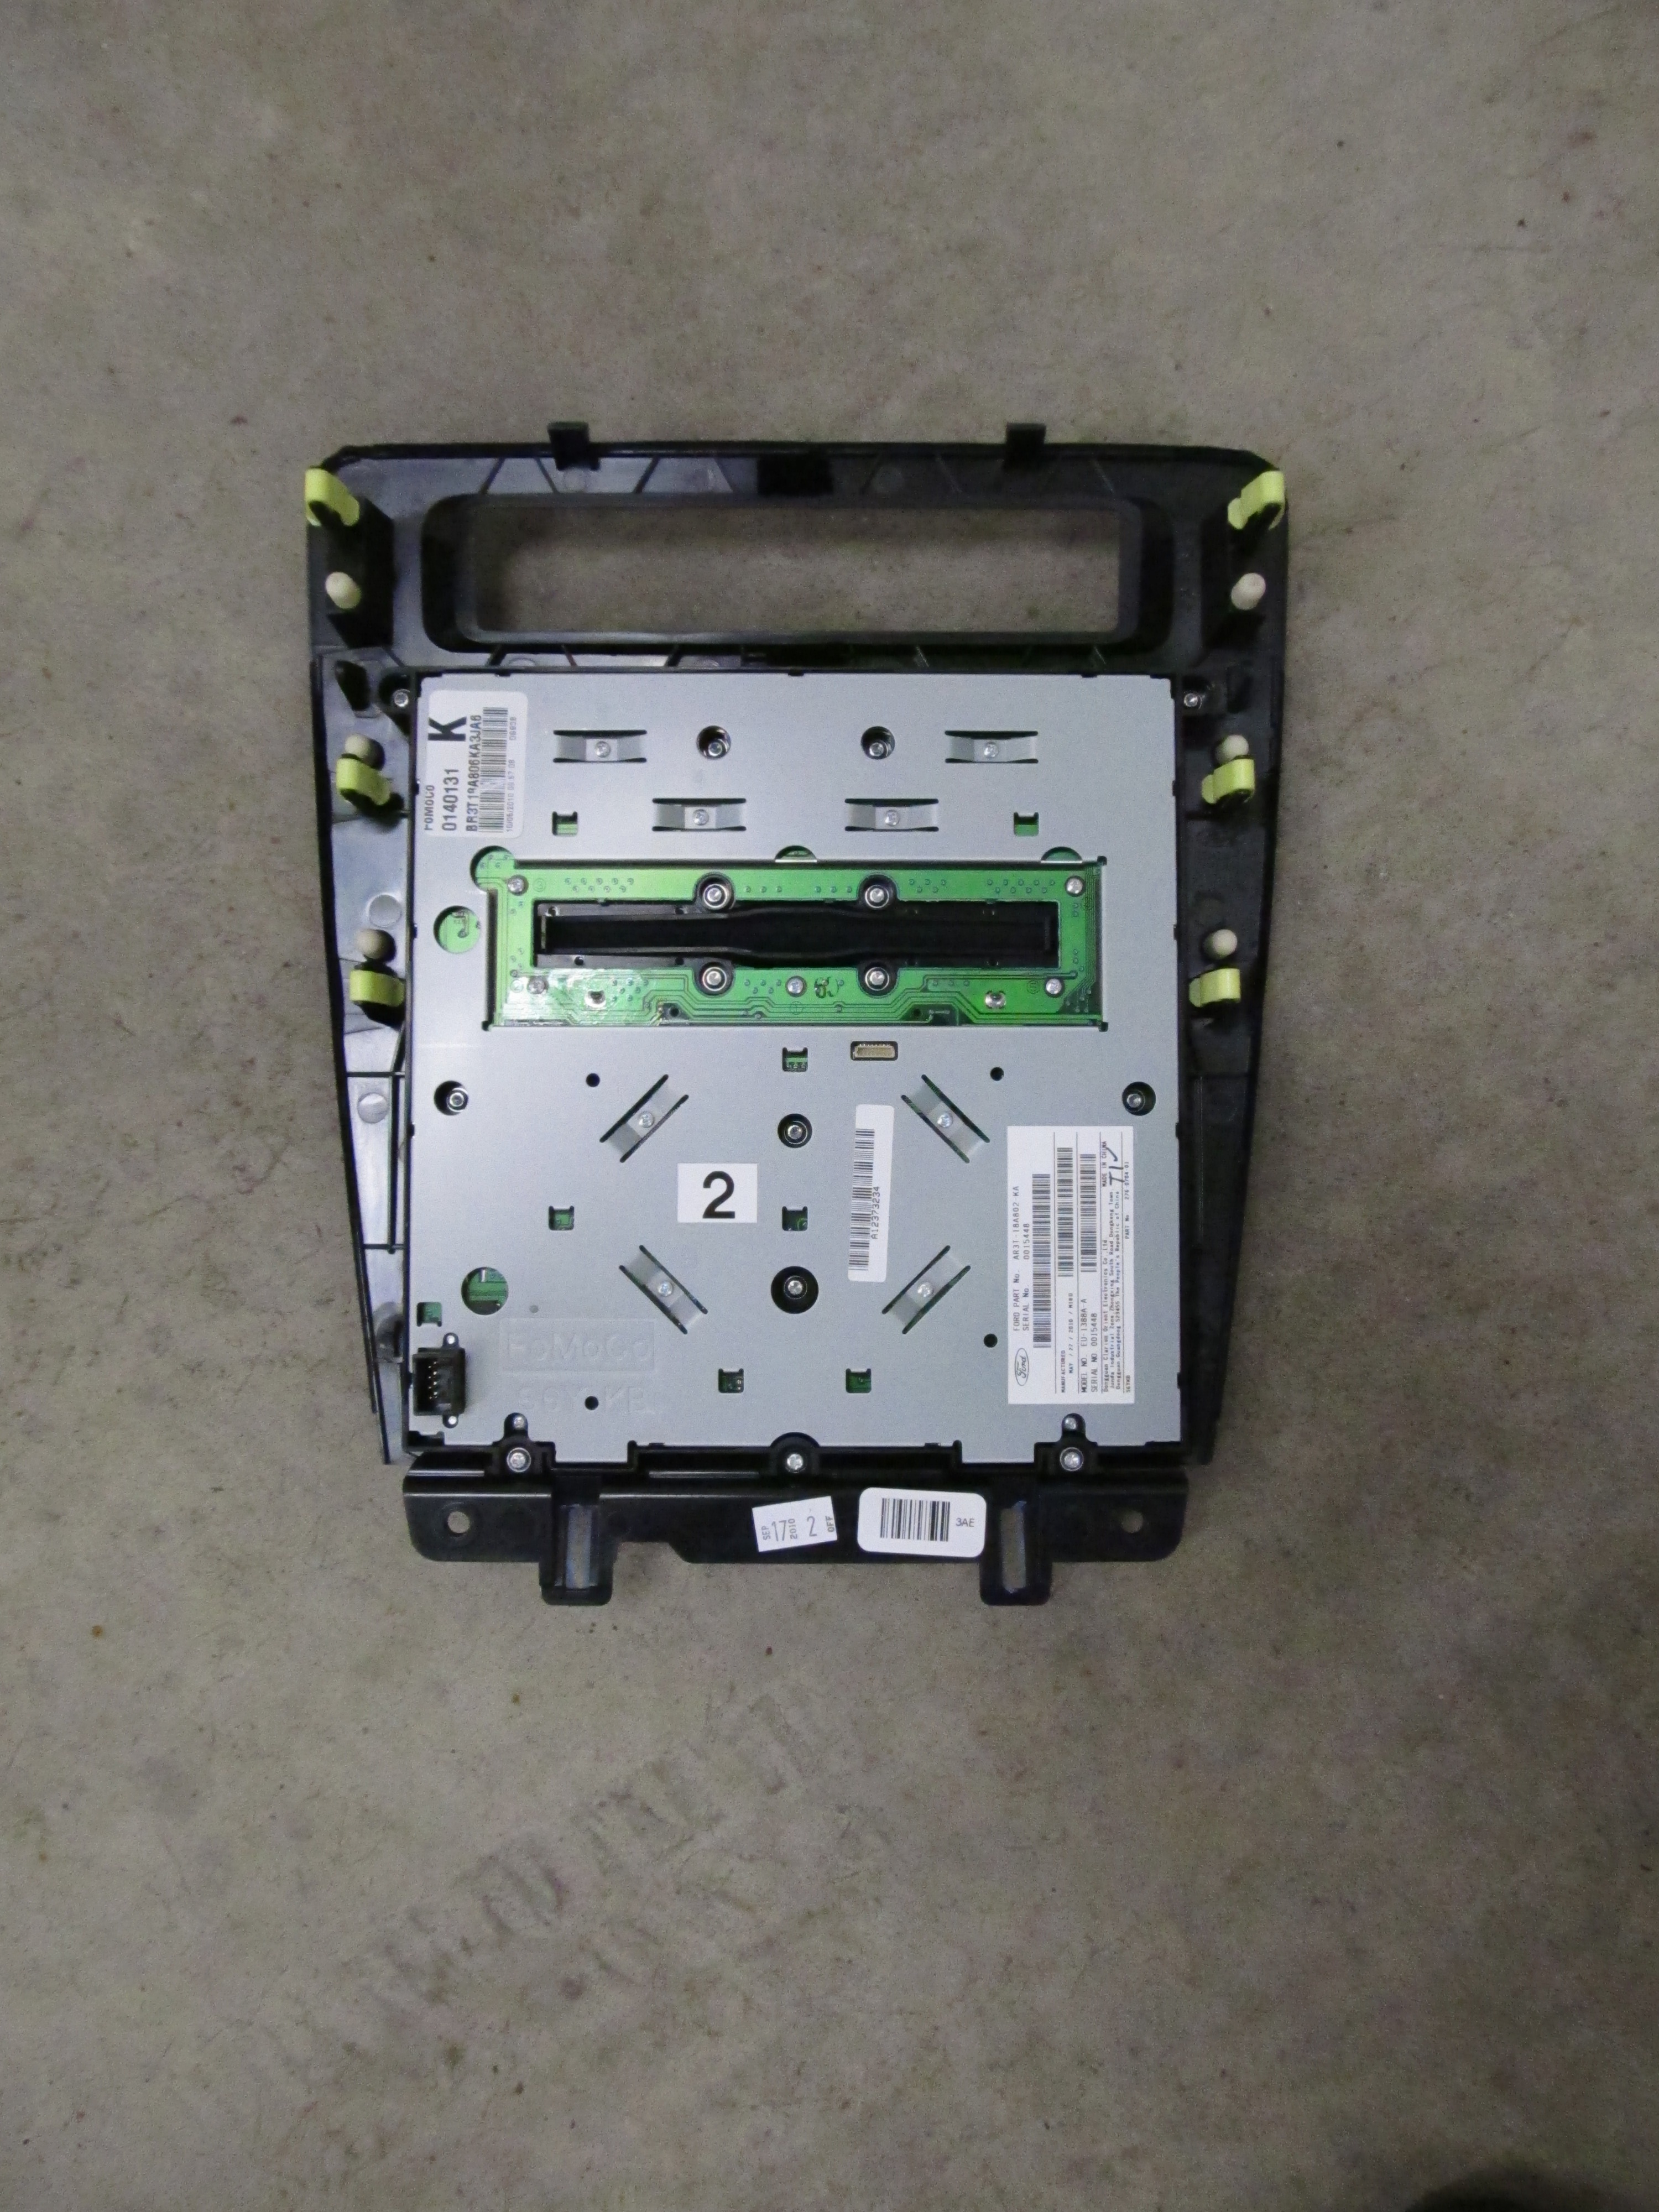
Back of faceplate. Note the connector at the lower left where the harness plugs in.
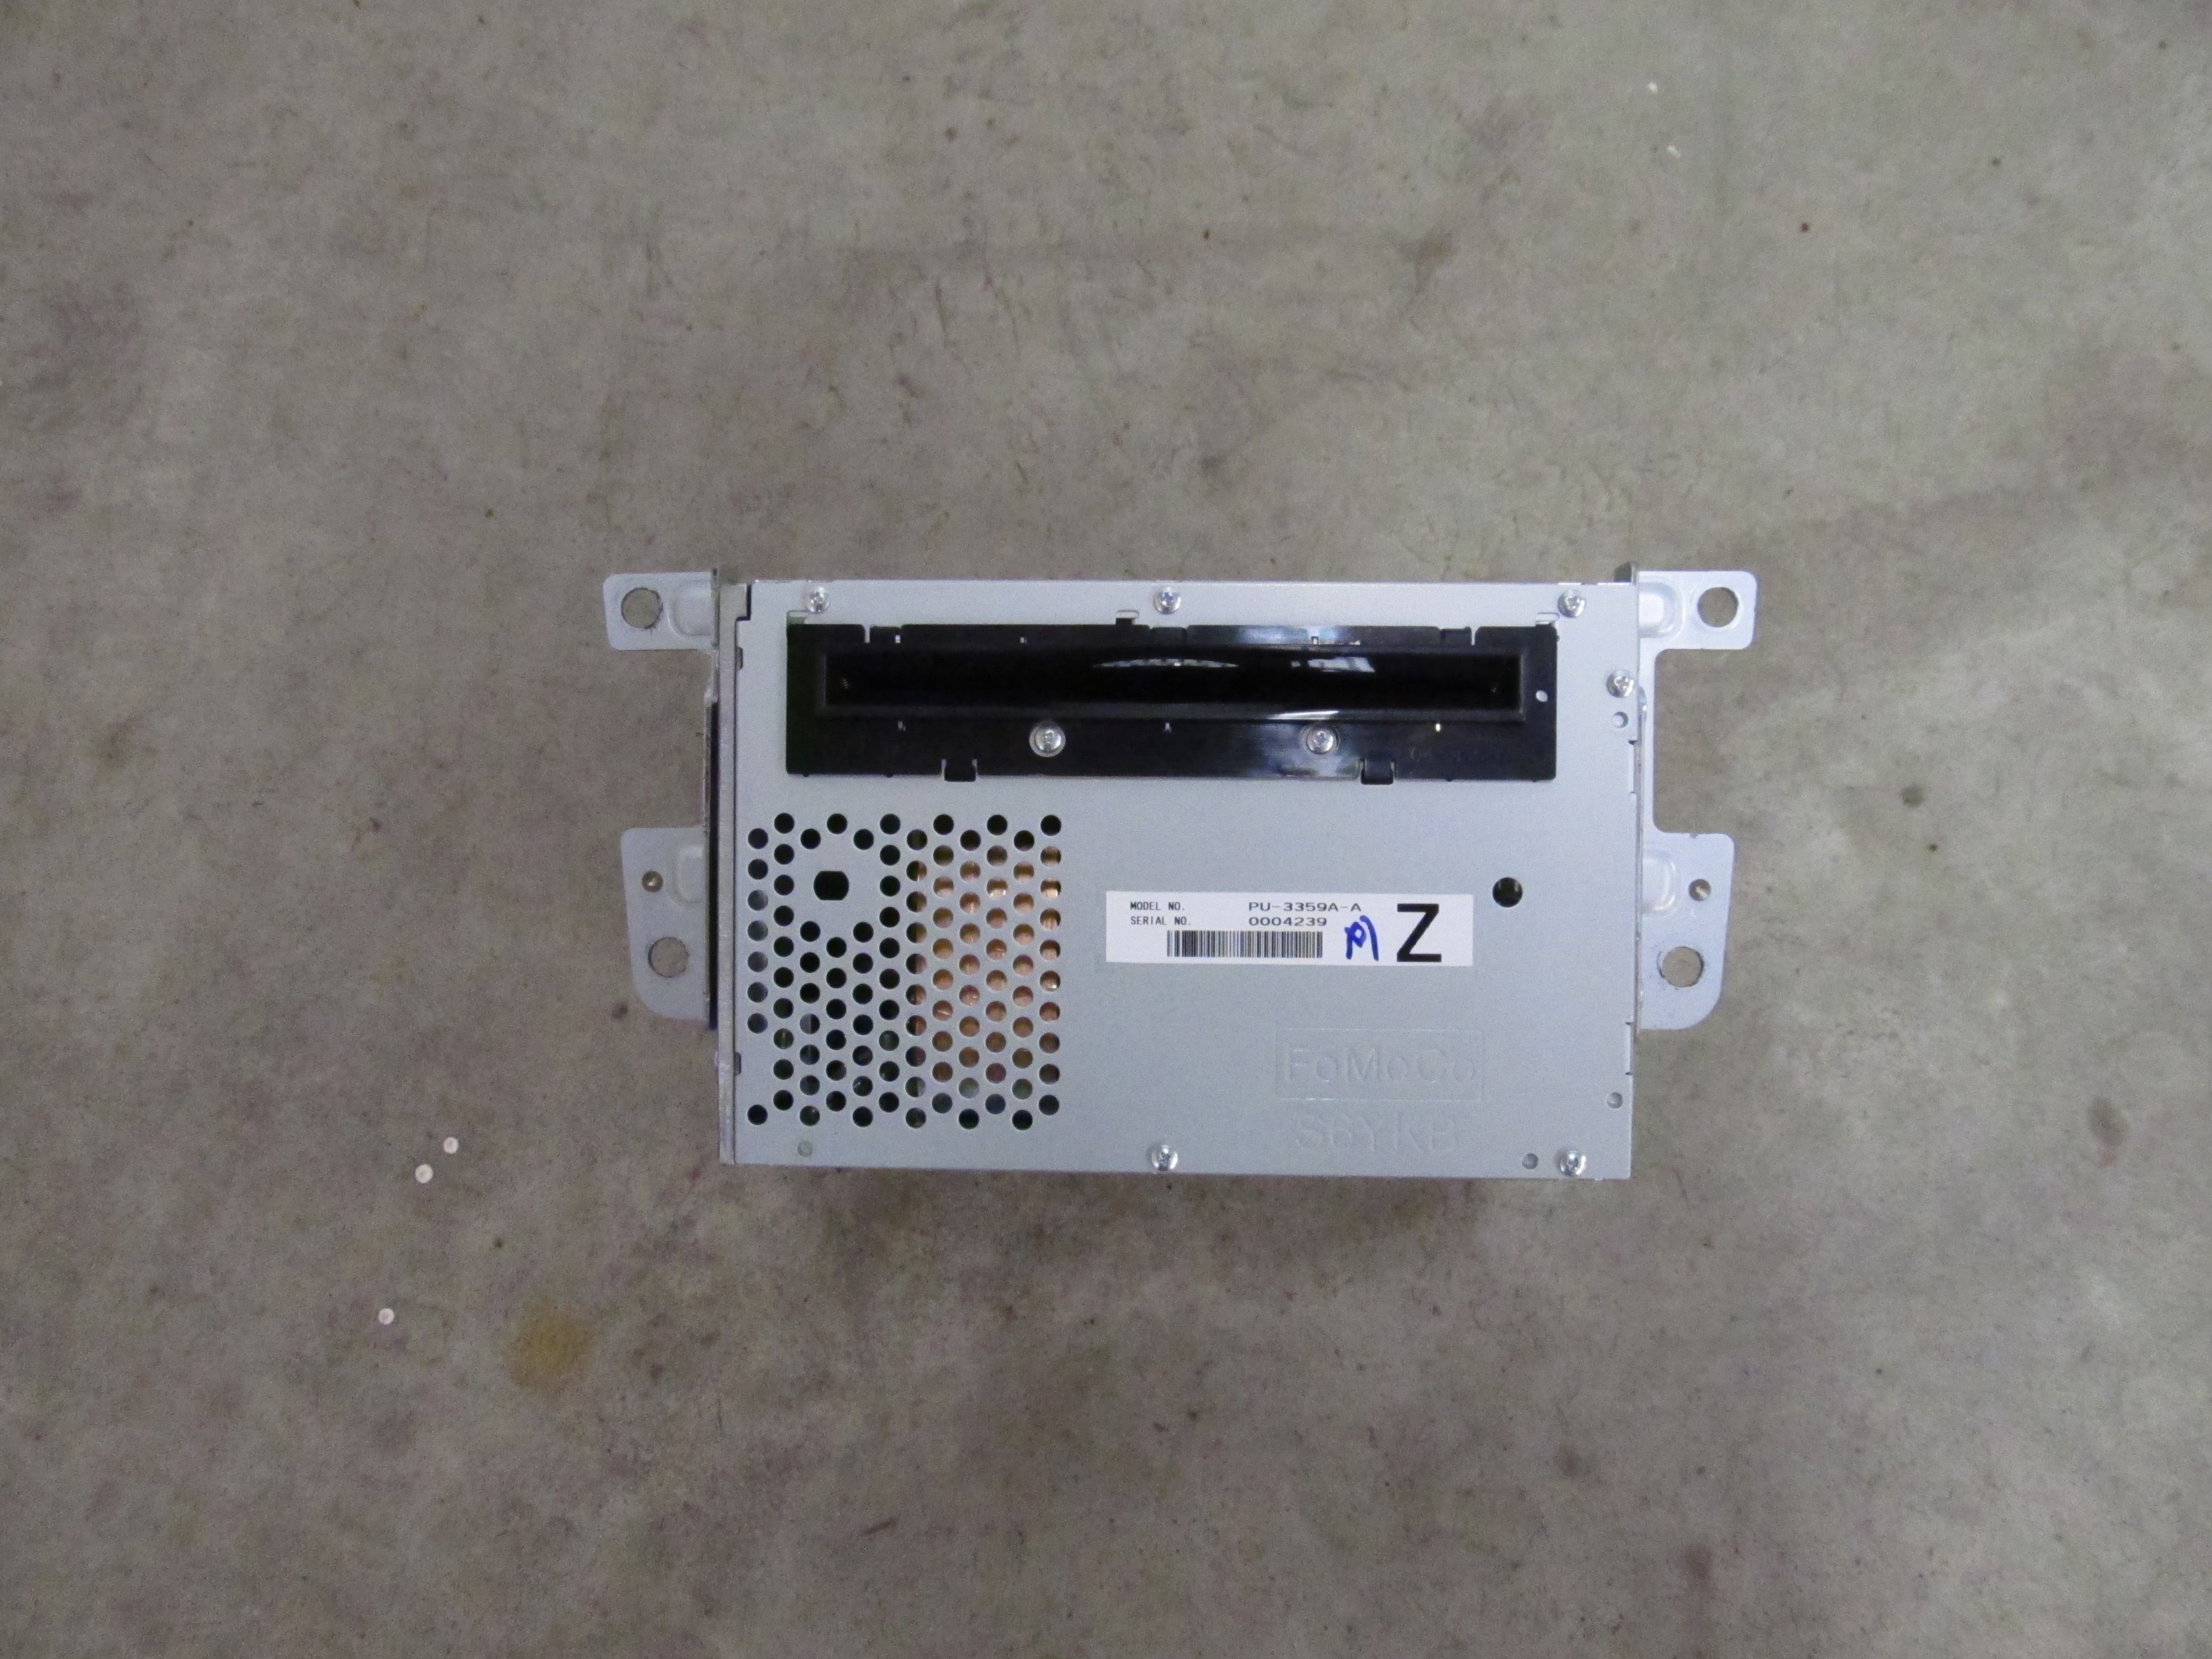
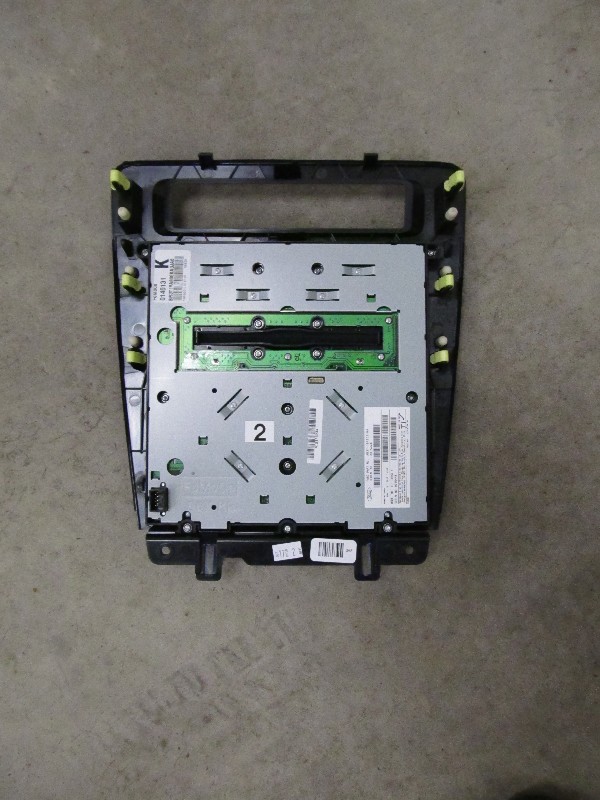
Step 3: Remove the radio. Remove the 4 7mm screws from the head unit. Then unplug the 5 connectors
at the back of the radio. Note that you will NOT be able to pull the radio out far enough to unplug
them by looking at them, you have to do it by feel. (Yay, plugging it back in will be fun).

Front of radio, showing 4 screws.
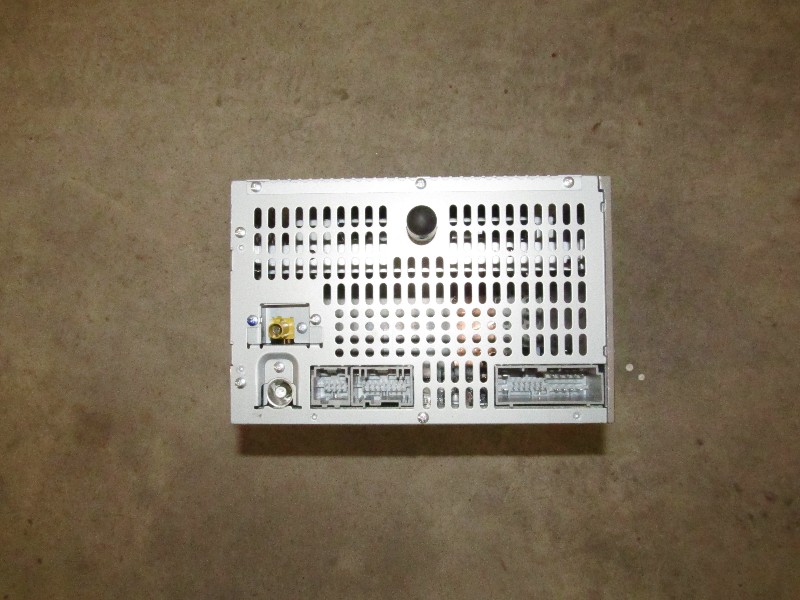
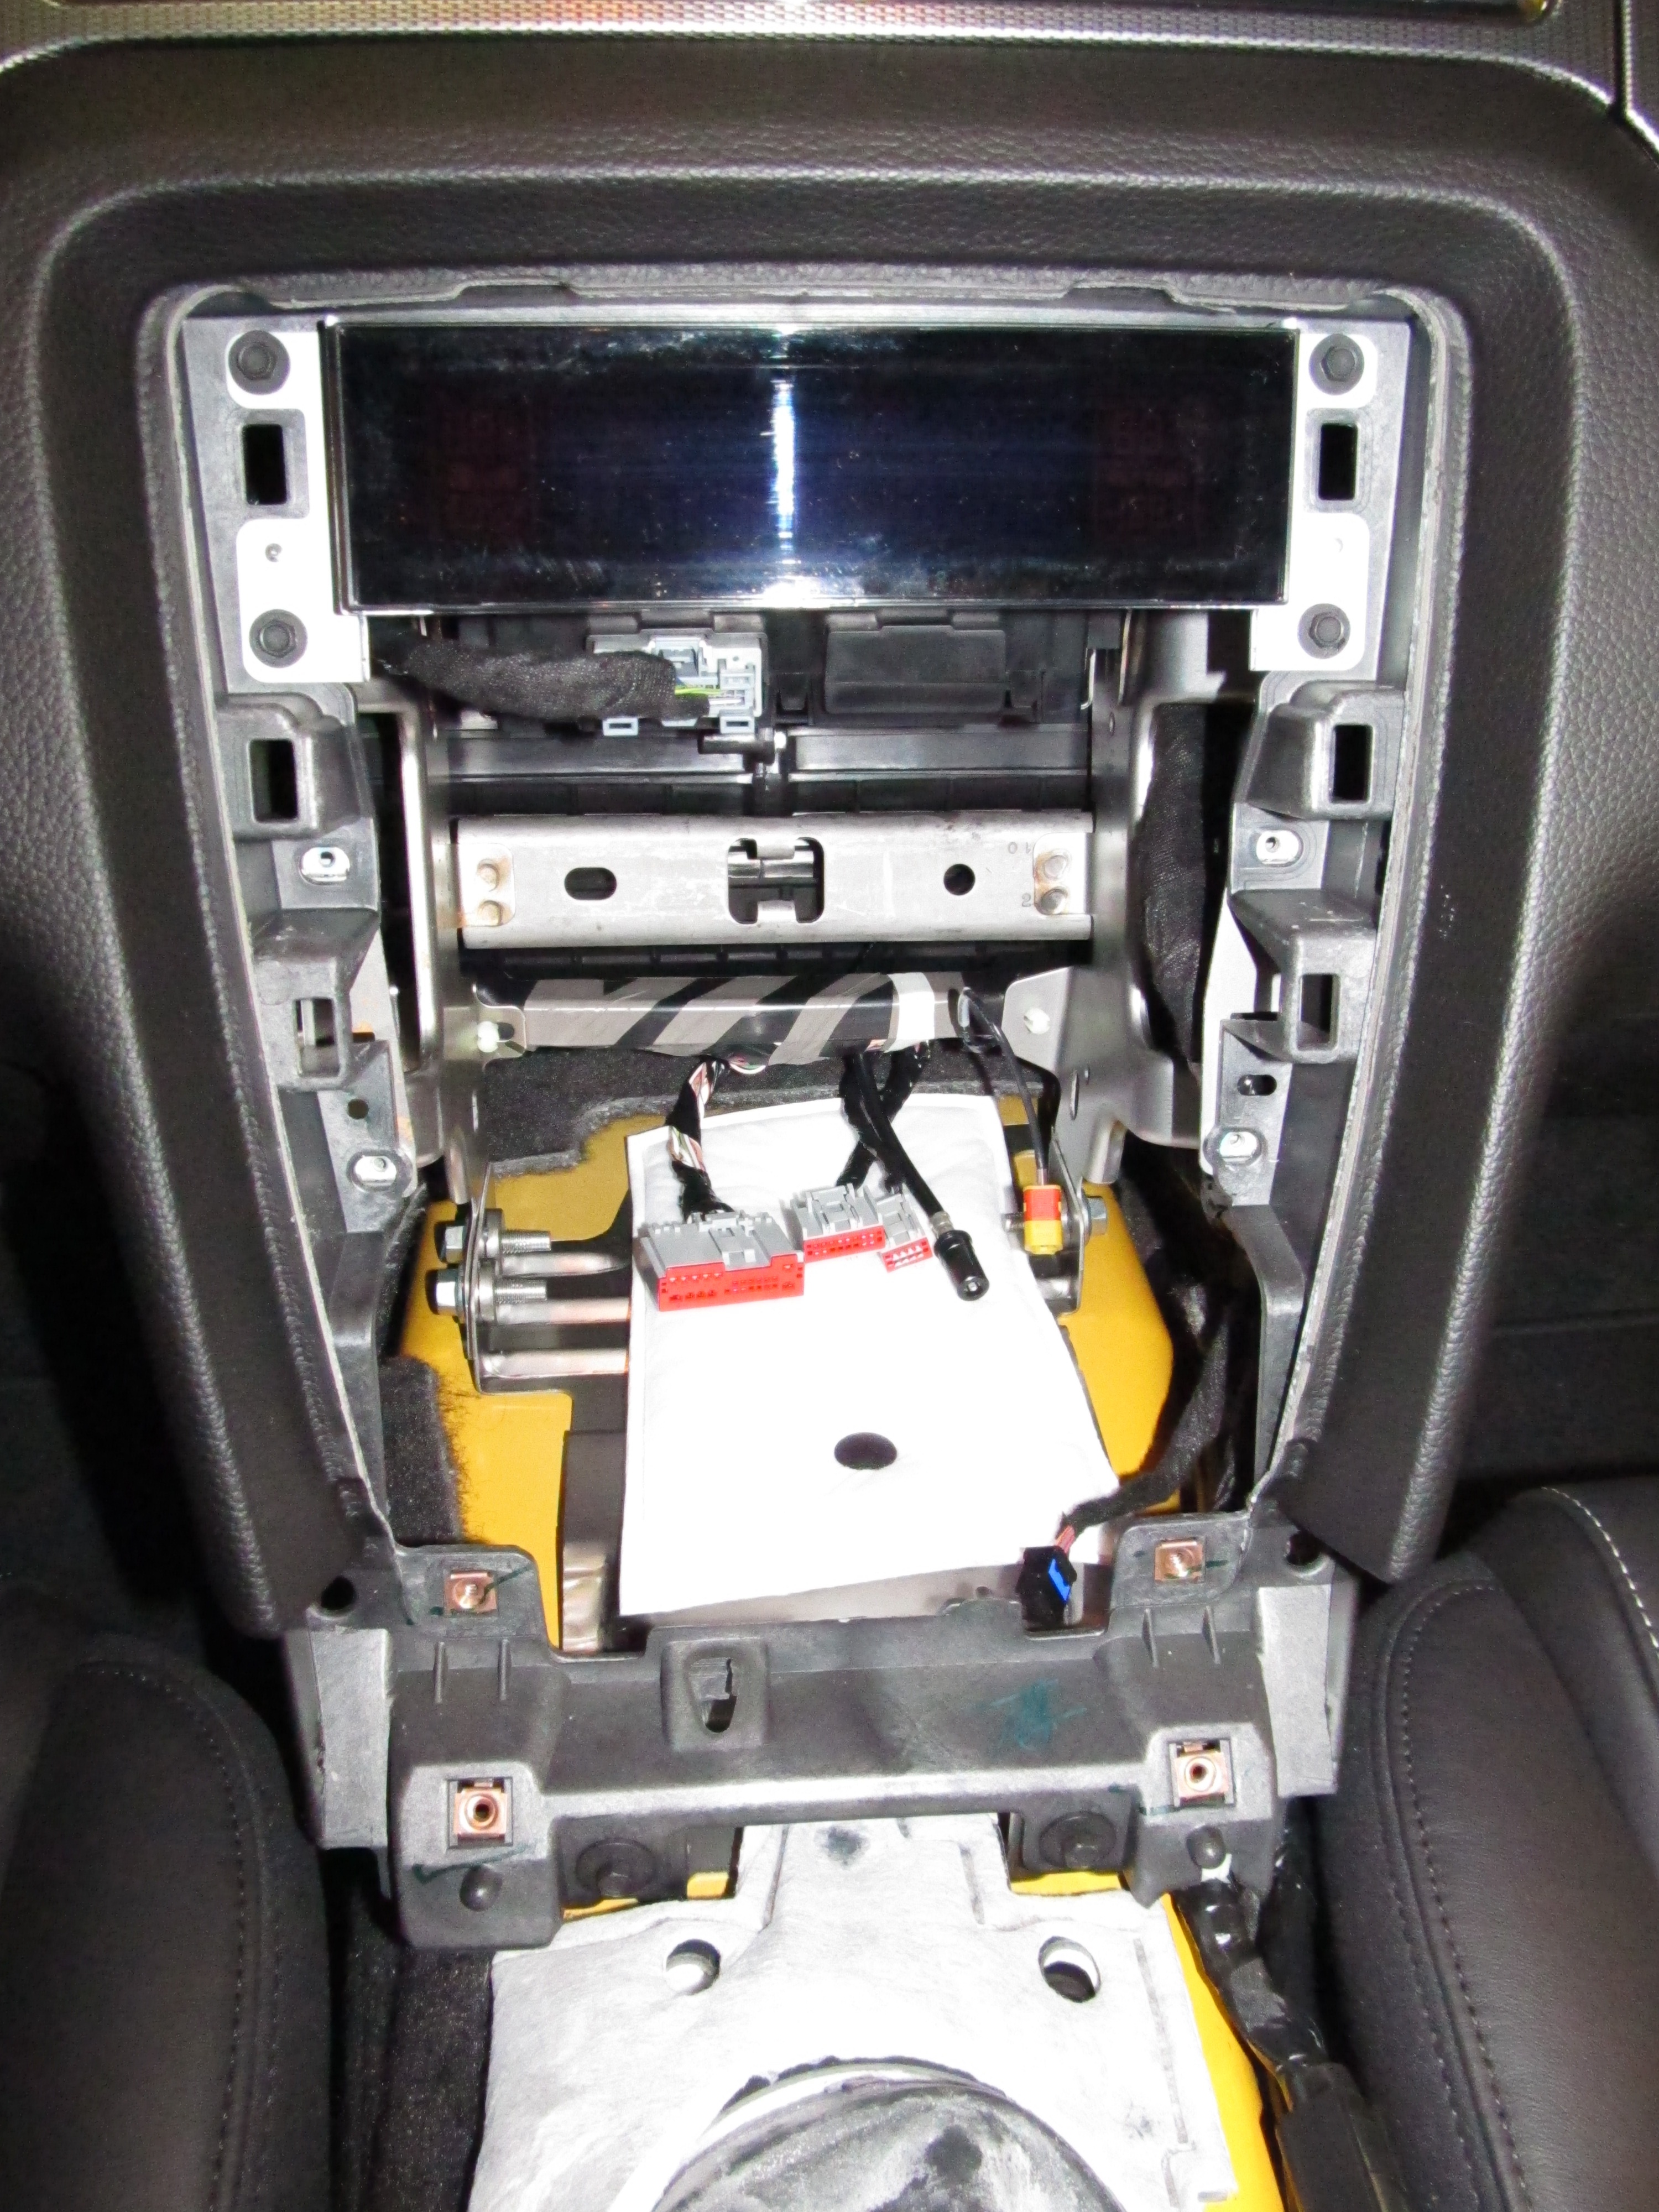
Here are the 5 connectors. Three "normal" connectors, and two antennae. (Radio and Sirius)

You can see the connectors here in the hole. The latches are all at the top, except the main antenna,
which has a circular locking ring.
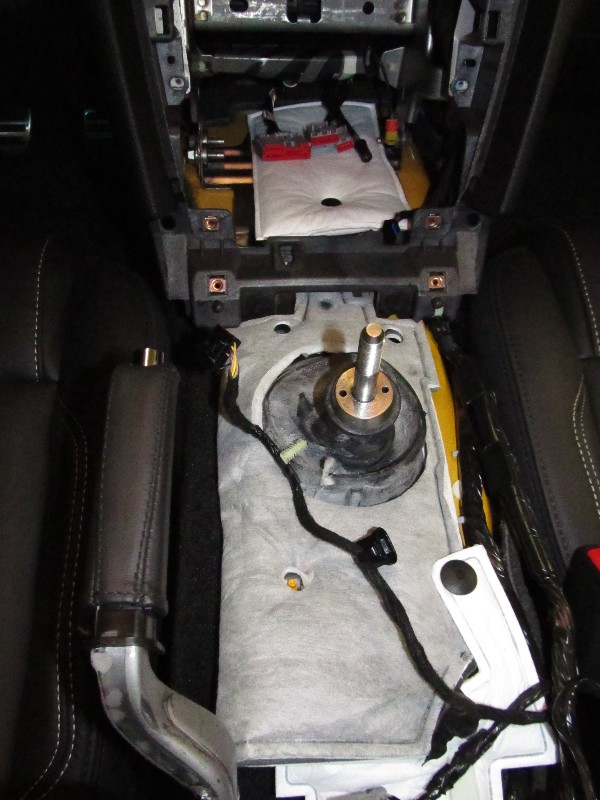
Step 4: Removing the console. If you can avoid doing this, you'll save yourself some futzing
around. Getting the console off the e-brake handle is a pain. If you have to do it, here are some tips:
Pull the e-brake handle as HIGH as you can get it. Don't break the cable, but you should feel like you're close!
Remove the chunk of carpet from the bottom of the cubby hole, and remove the 2 10mm nuts.
Remove the two 7mm screws at the front of the console.
Pull the 4 body clips away from the side of the dash radio pod.
Remove the plugs from the cigarette lighter, USB, and Aux in jack. (Note the WHOLE USB jack comes out of the plastic)
Work the e-brake boot up around the handle (the grip does not come off, but the nose of the boot is elastic)
Start lifting the console starting at the rear. The console will be tipped forward when removed.
Remove any remaining electrical connectors as you lift the console from the car.
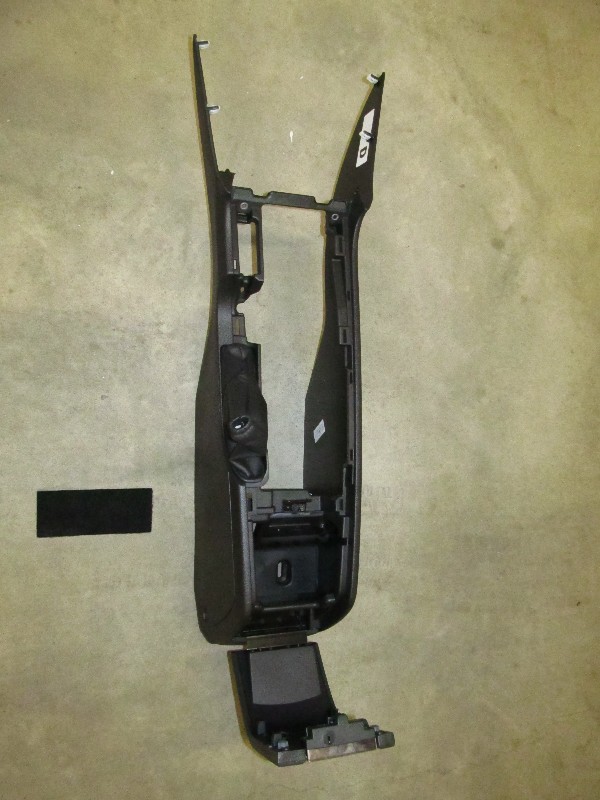
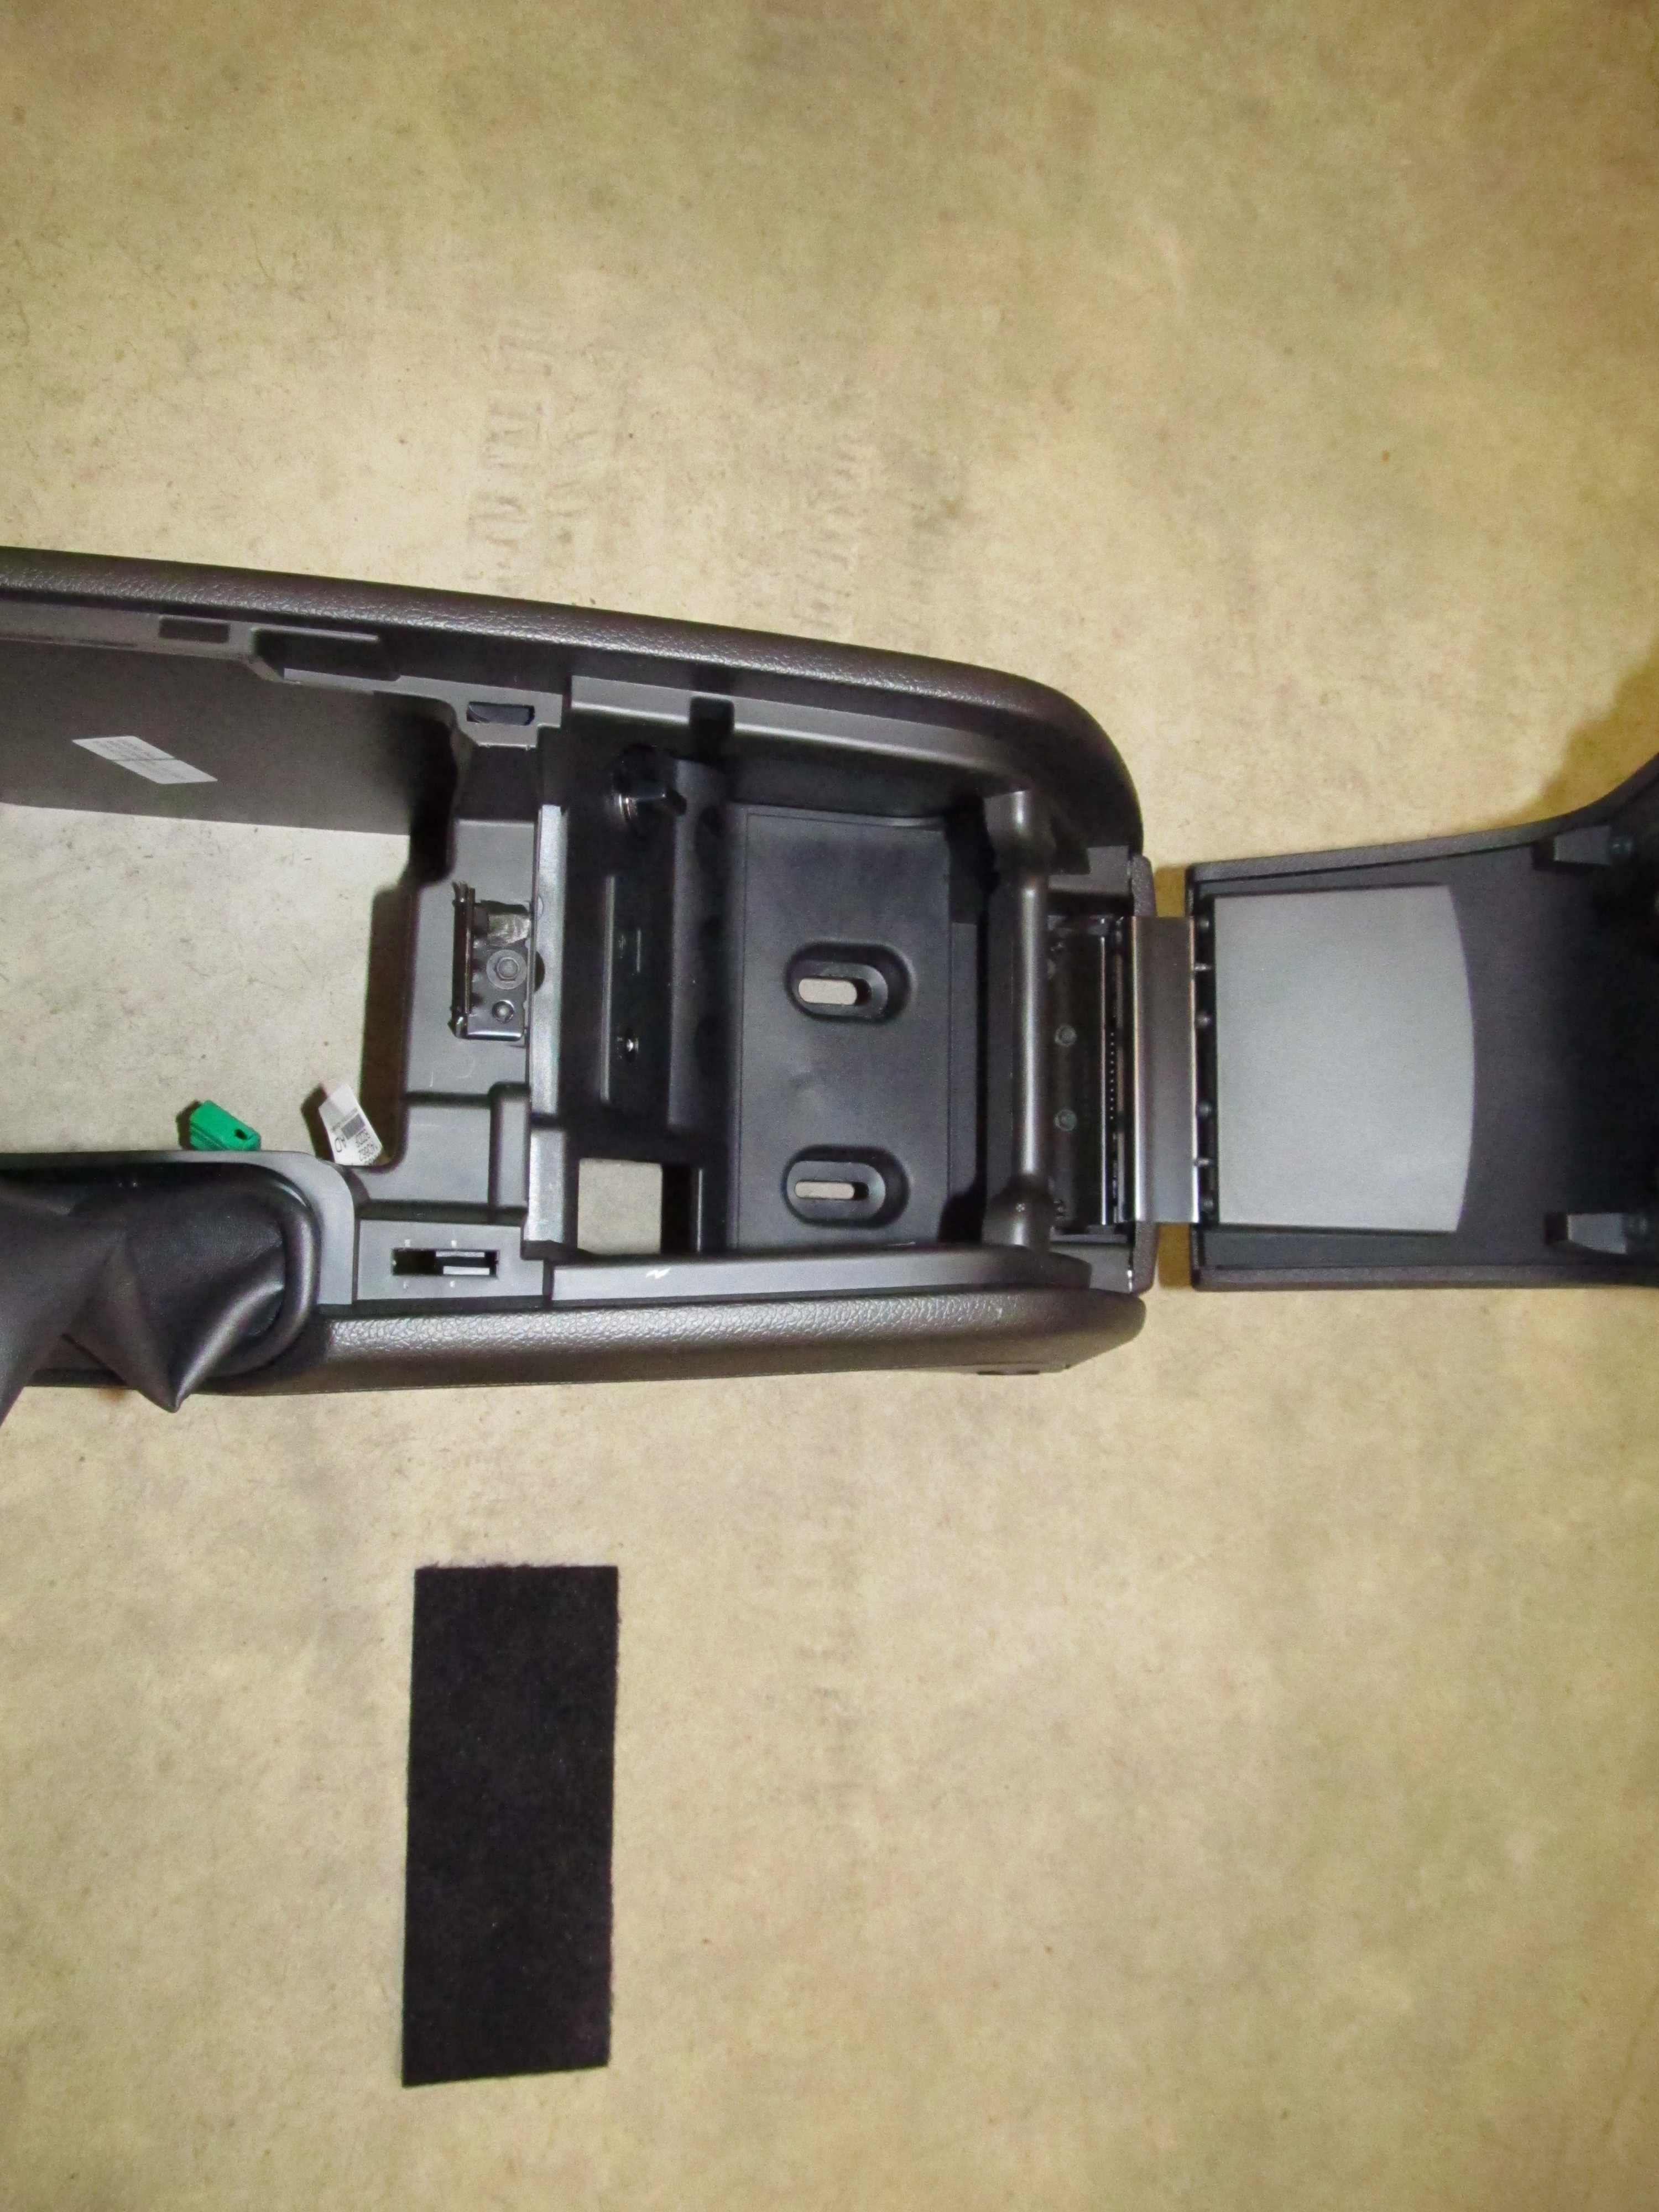
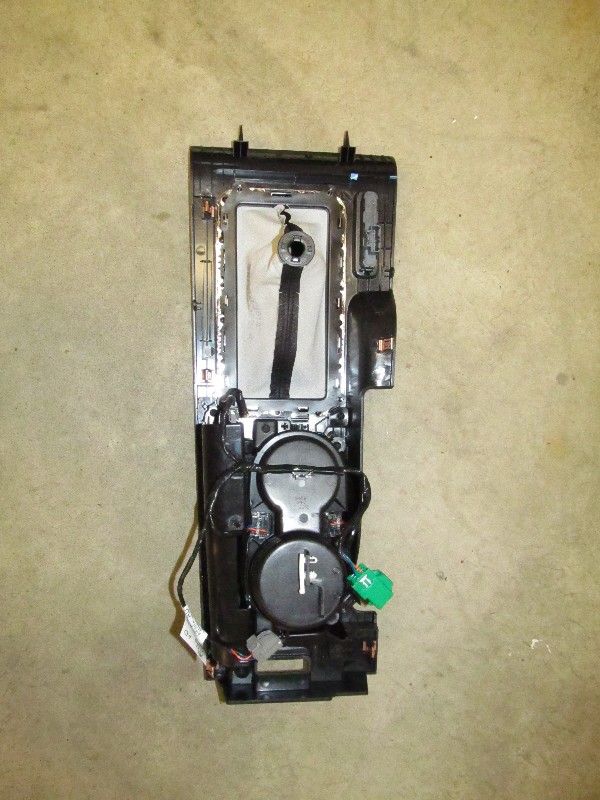
The entire console when removed from the car.

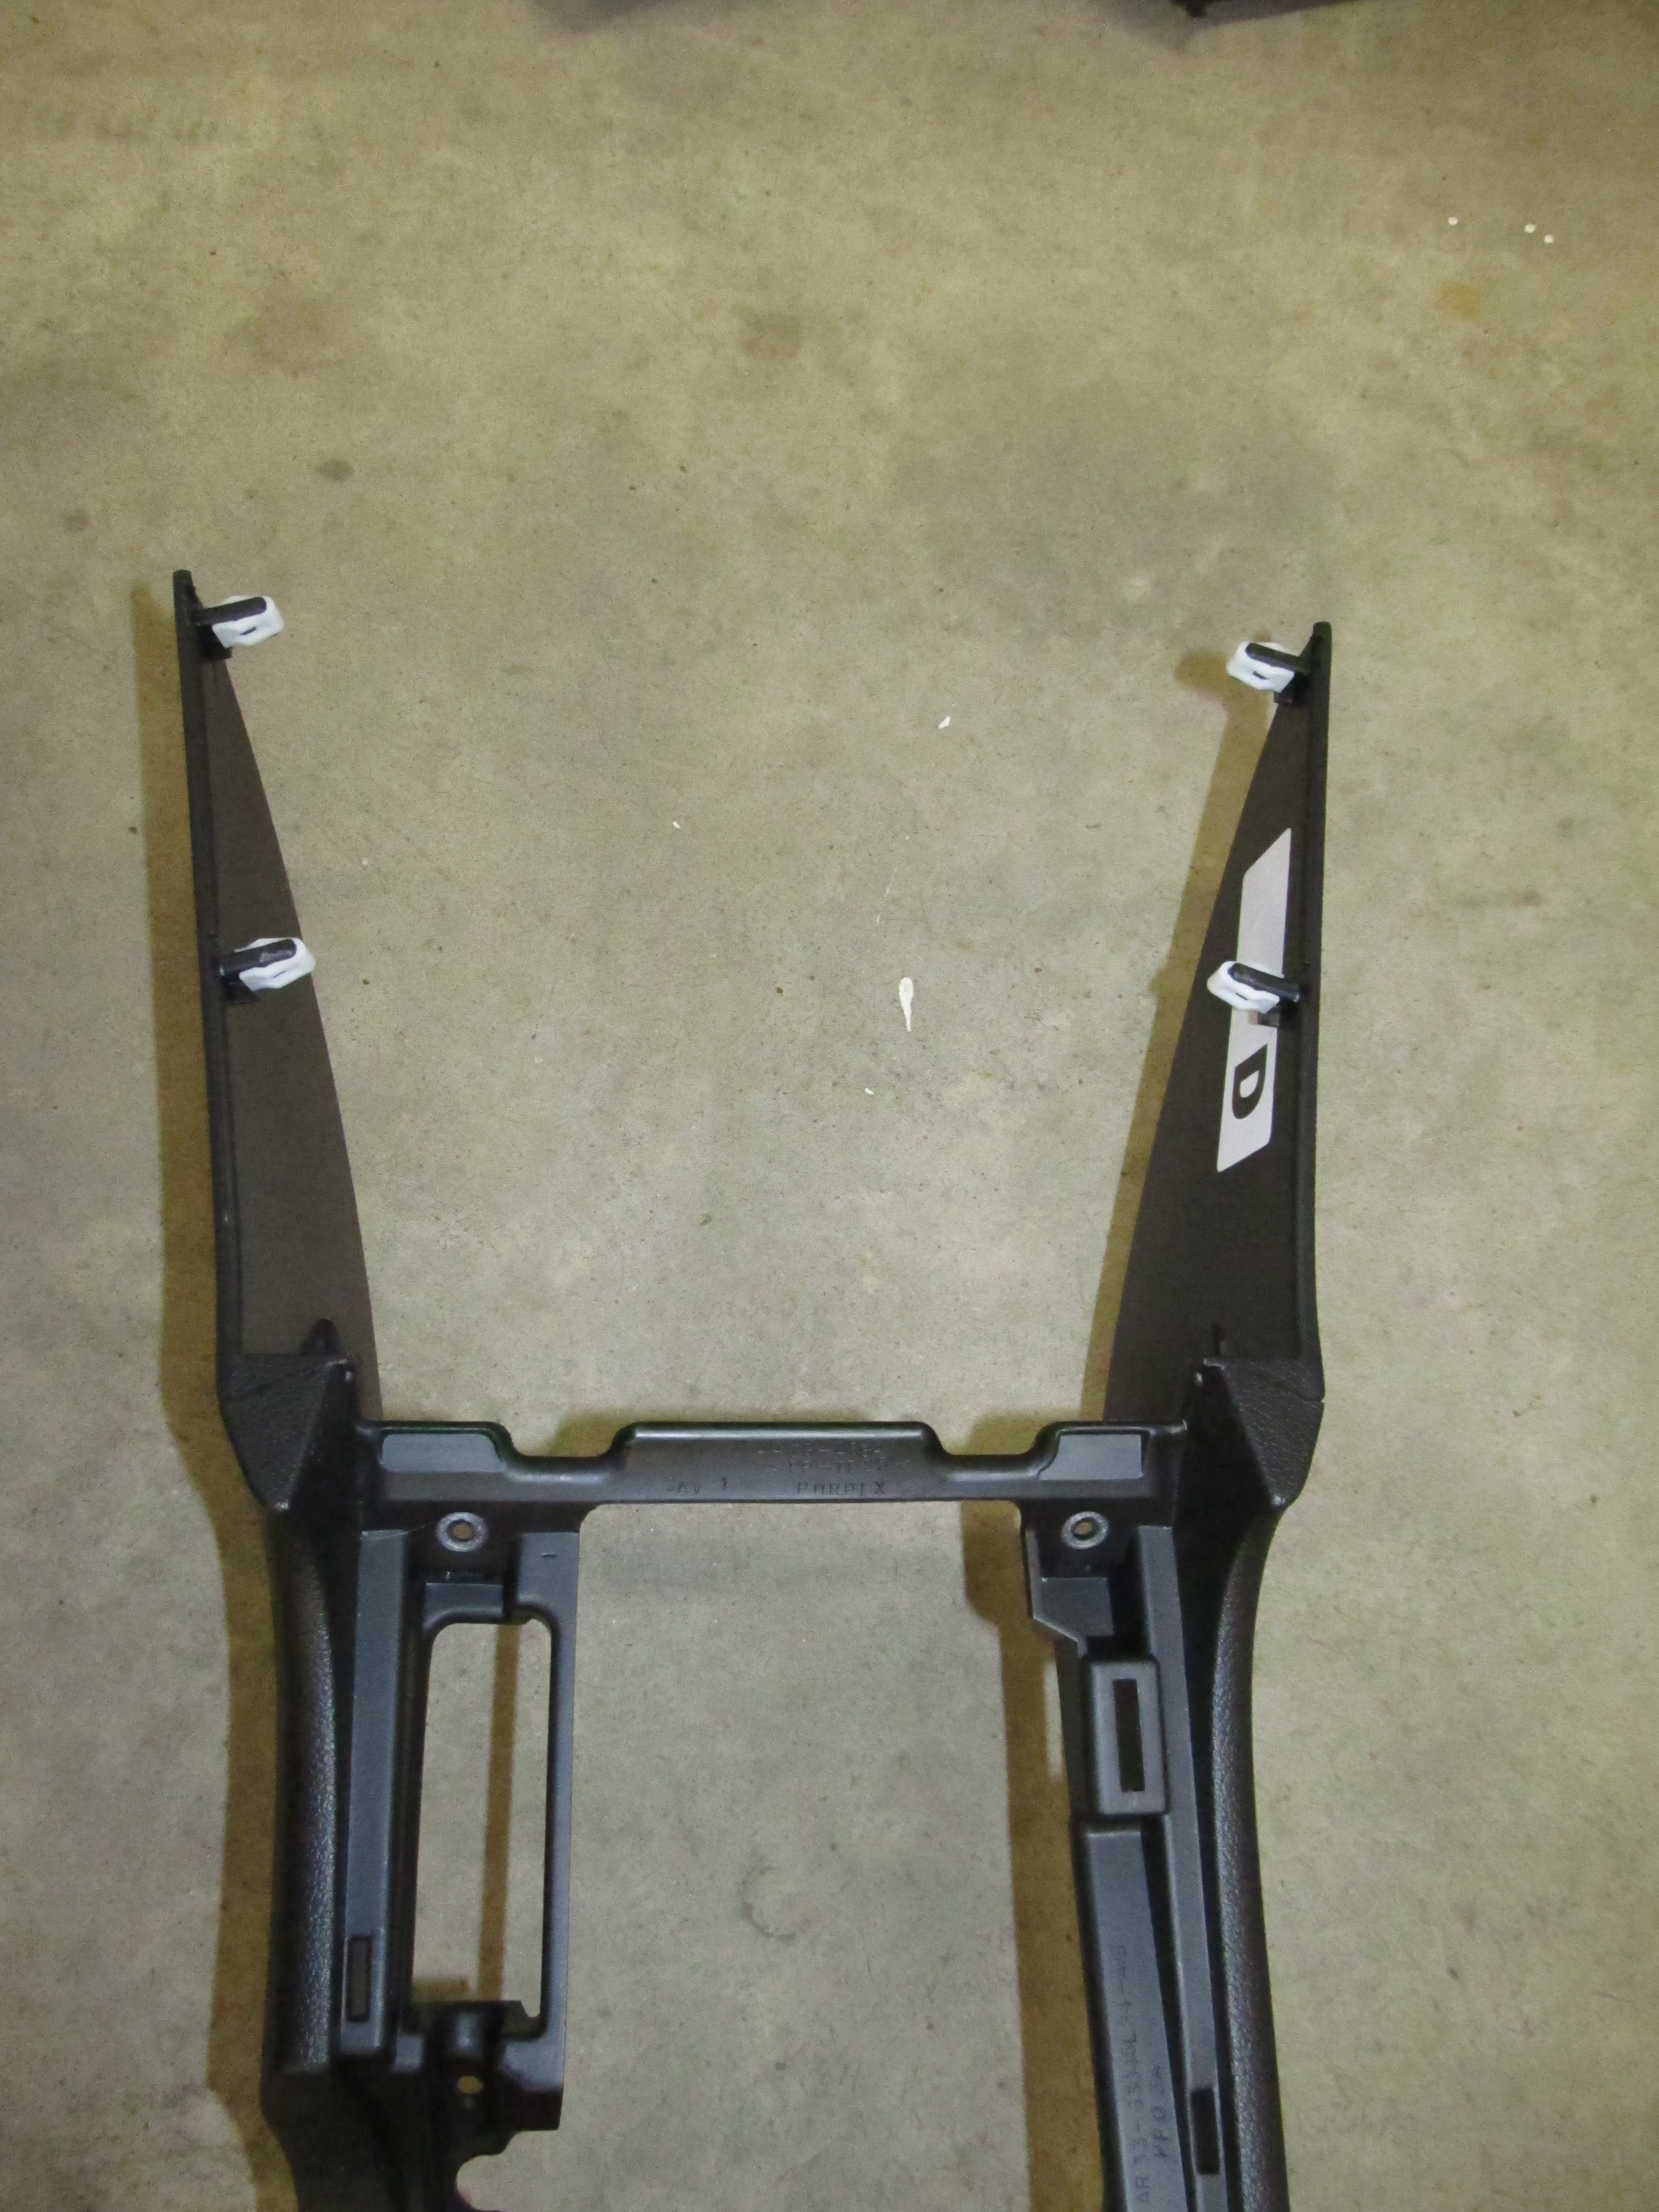
Front detail showing the 4 clips that attach to the radio pod, and the two screw holes.

Rear detail showing the carpet piece and the location for the two nuts.
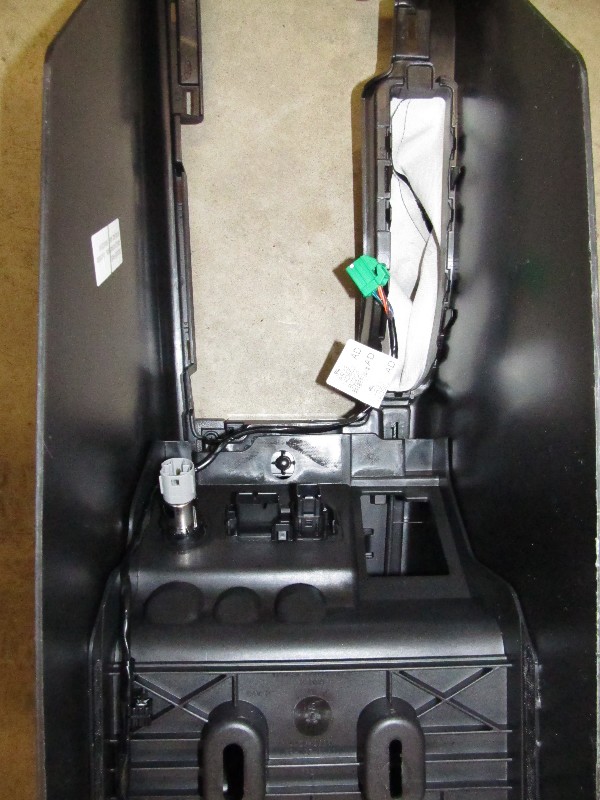
Underside of console showing electrical connectors.

USB, Aux In, and cigarrette lighter connectors.

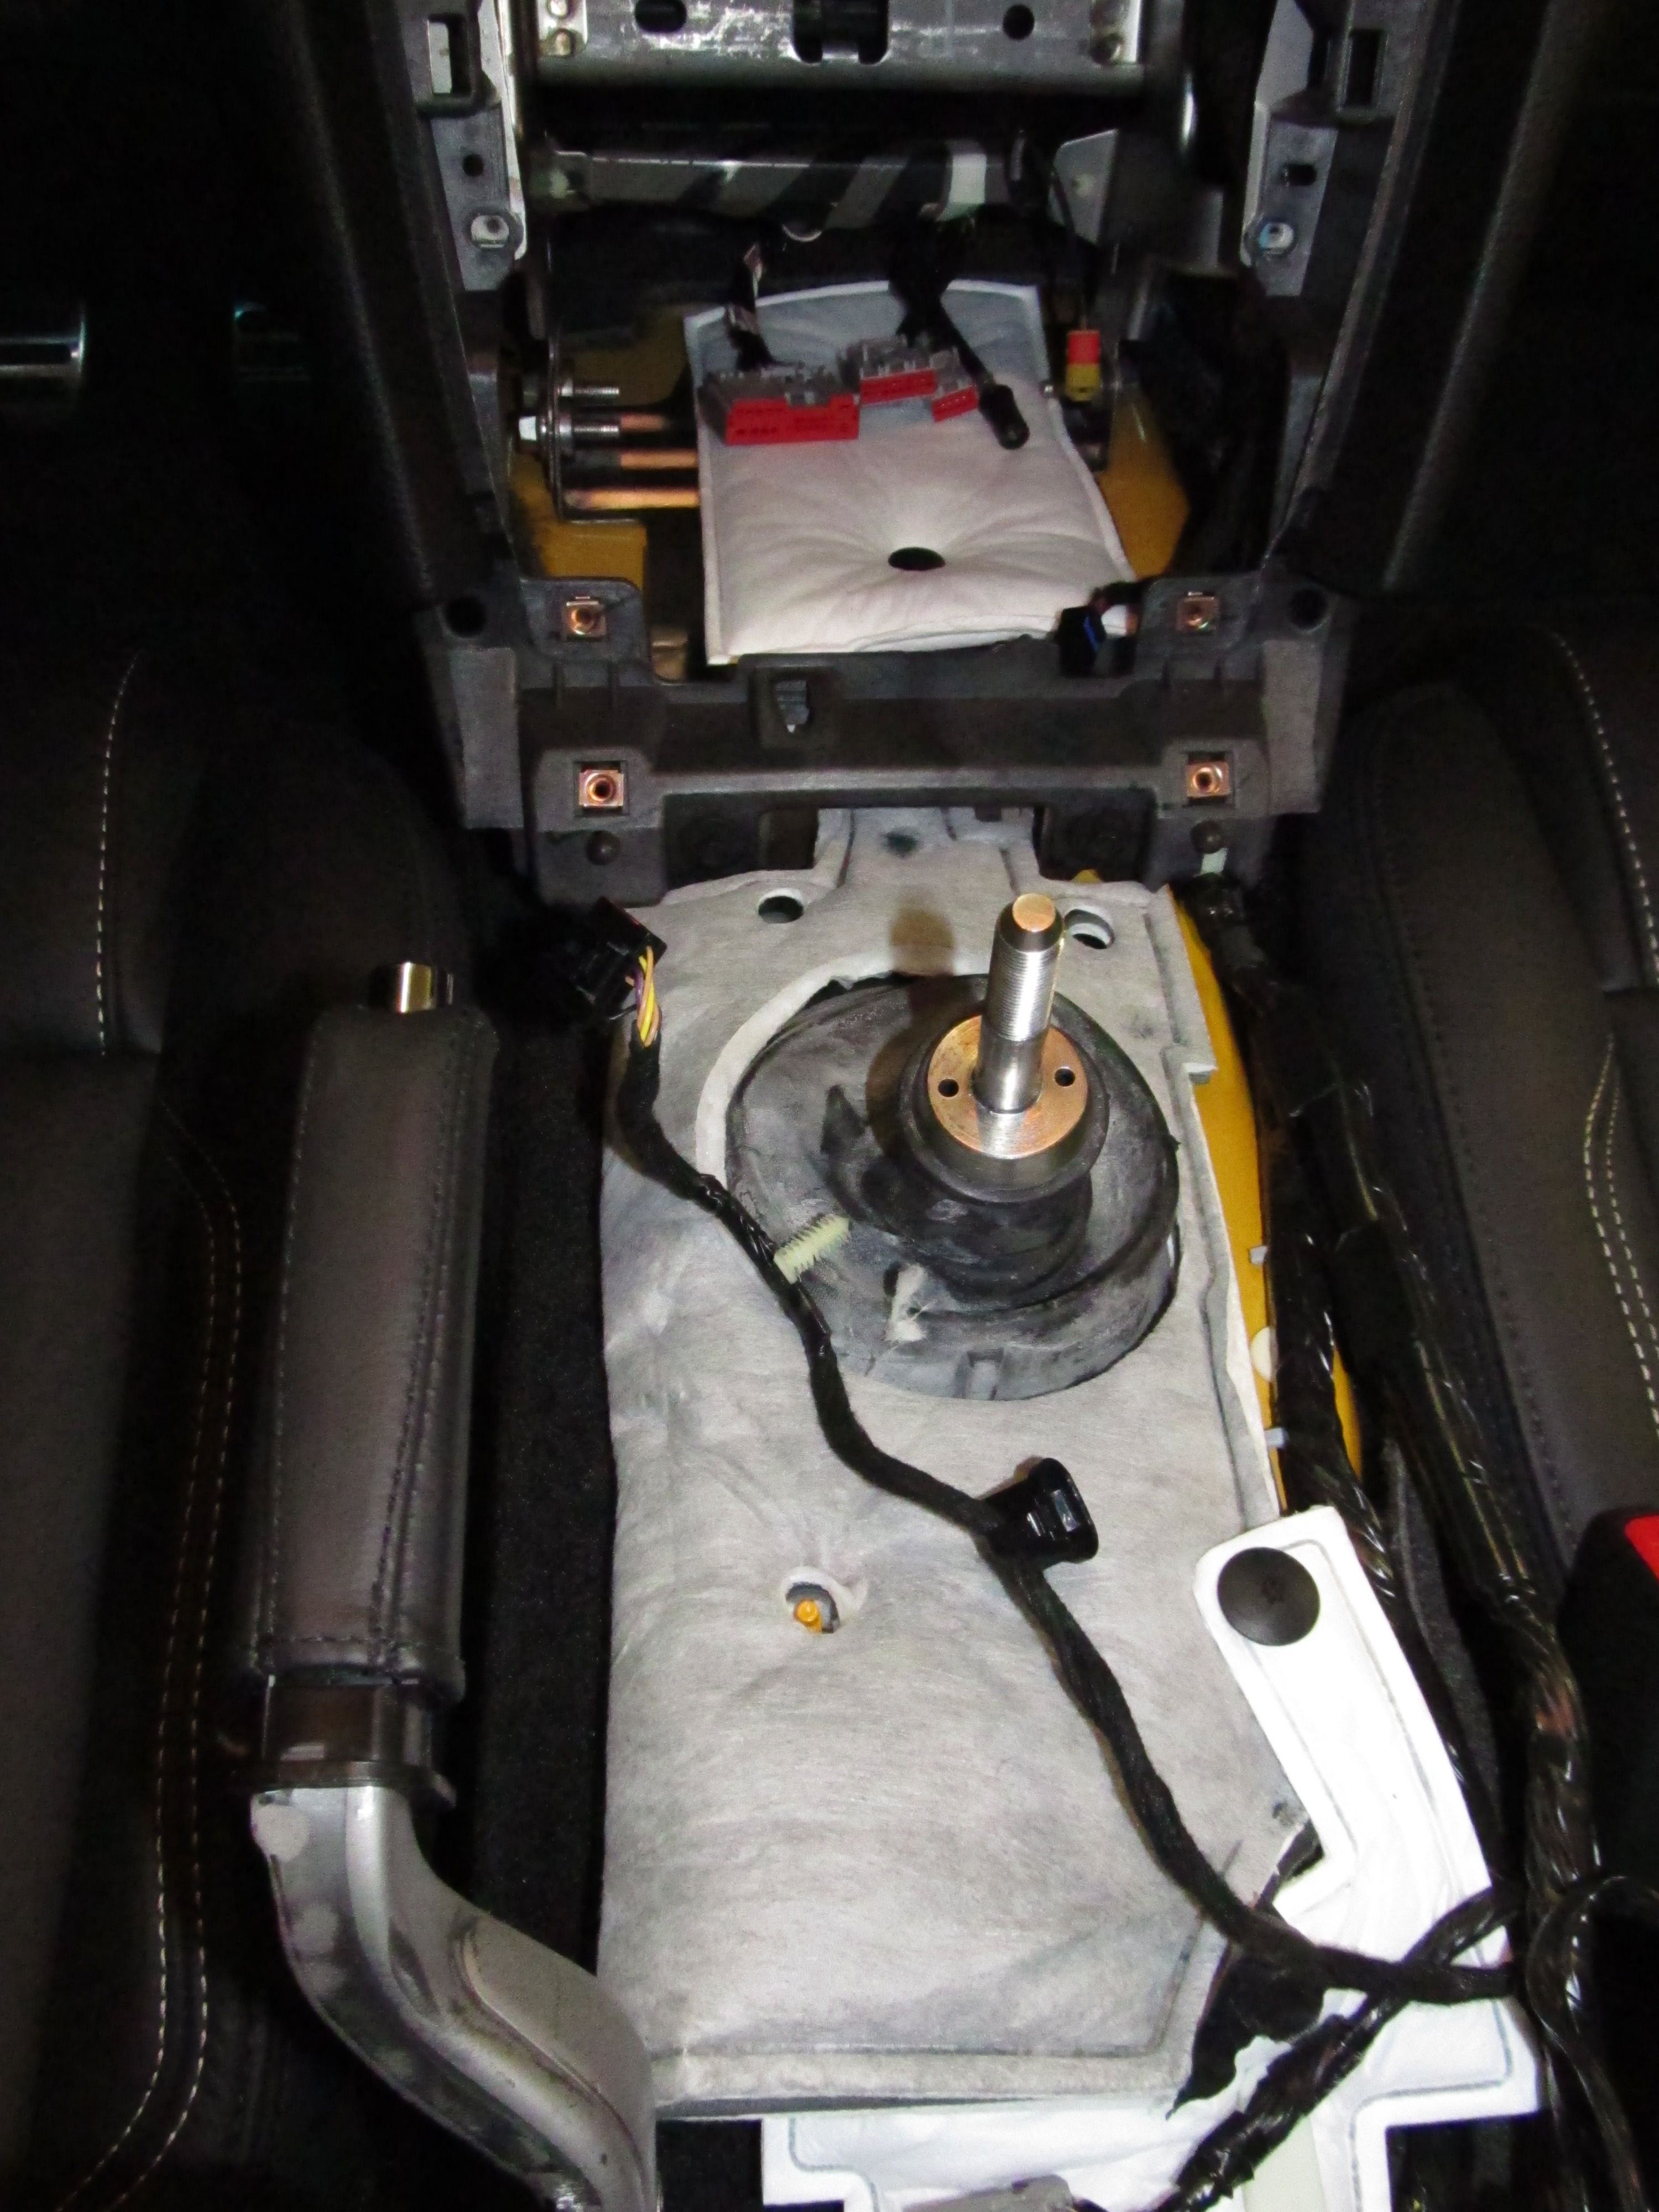
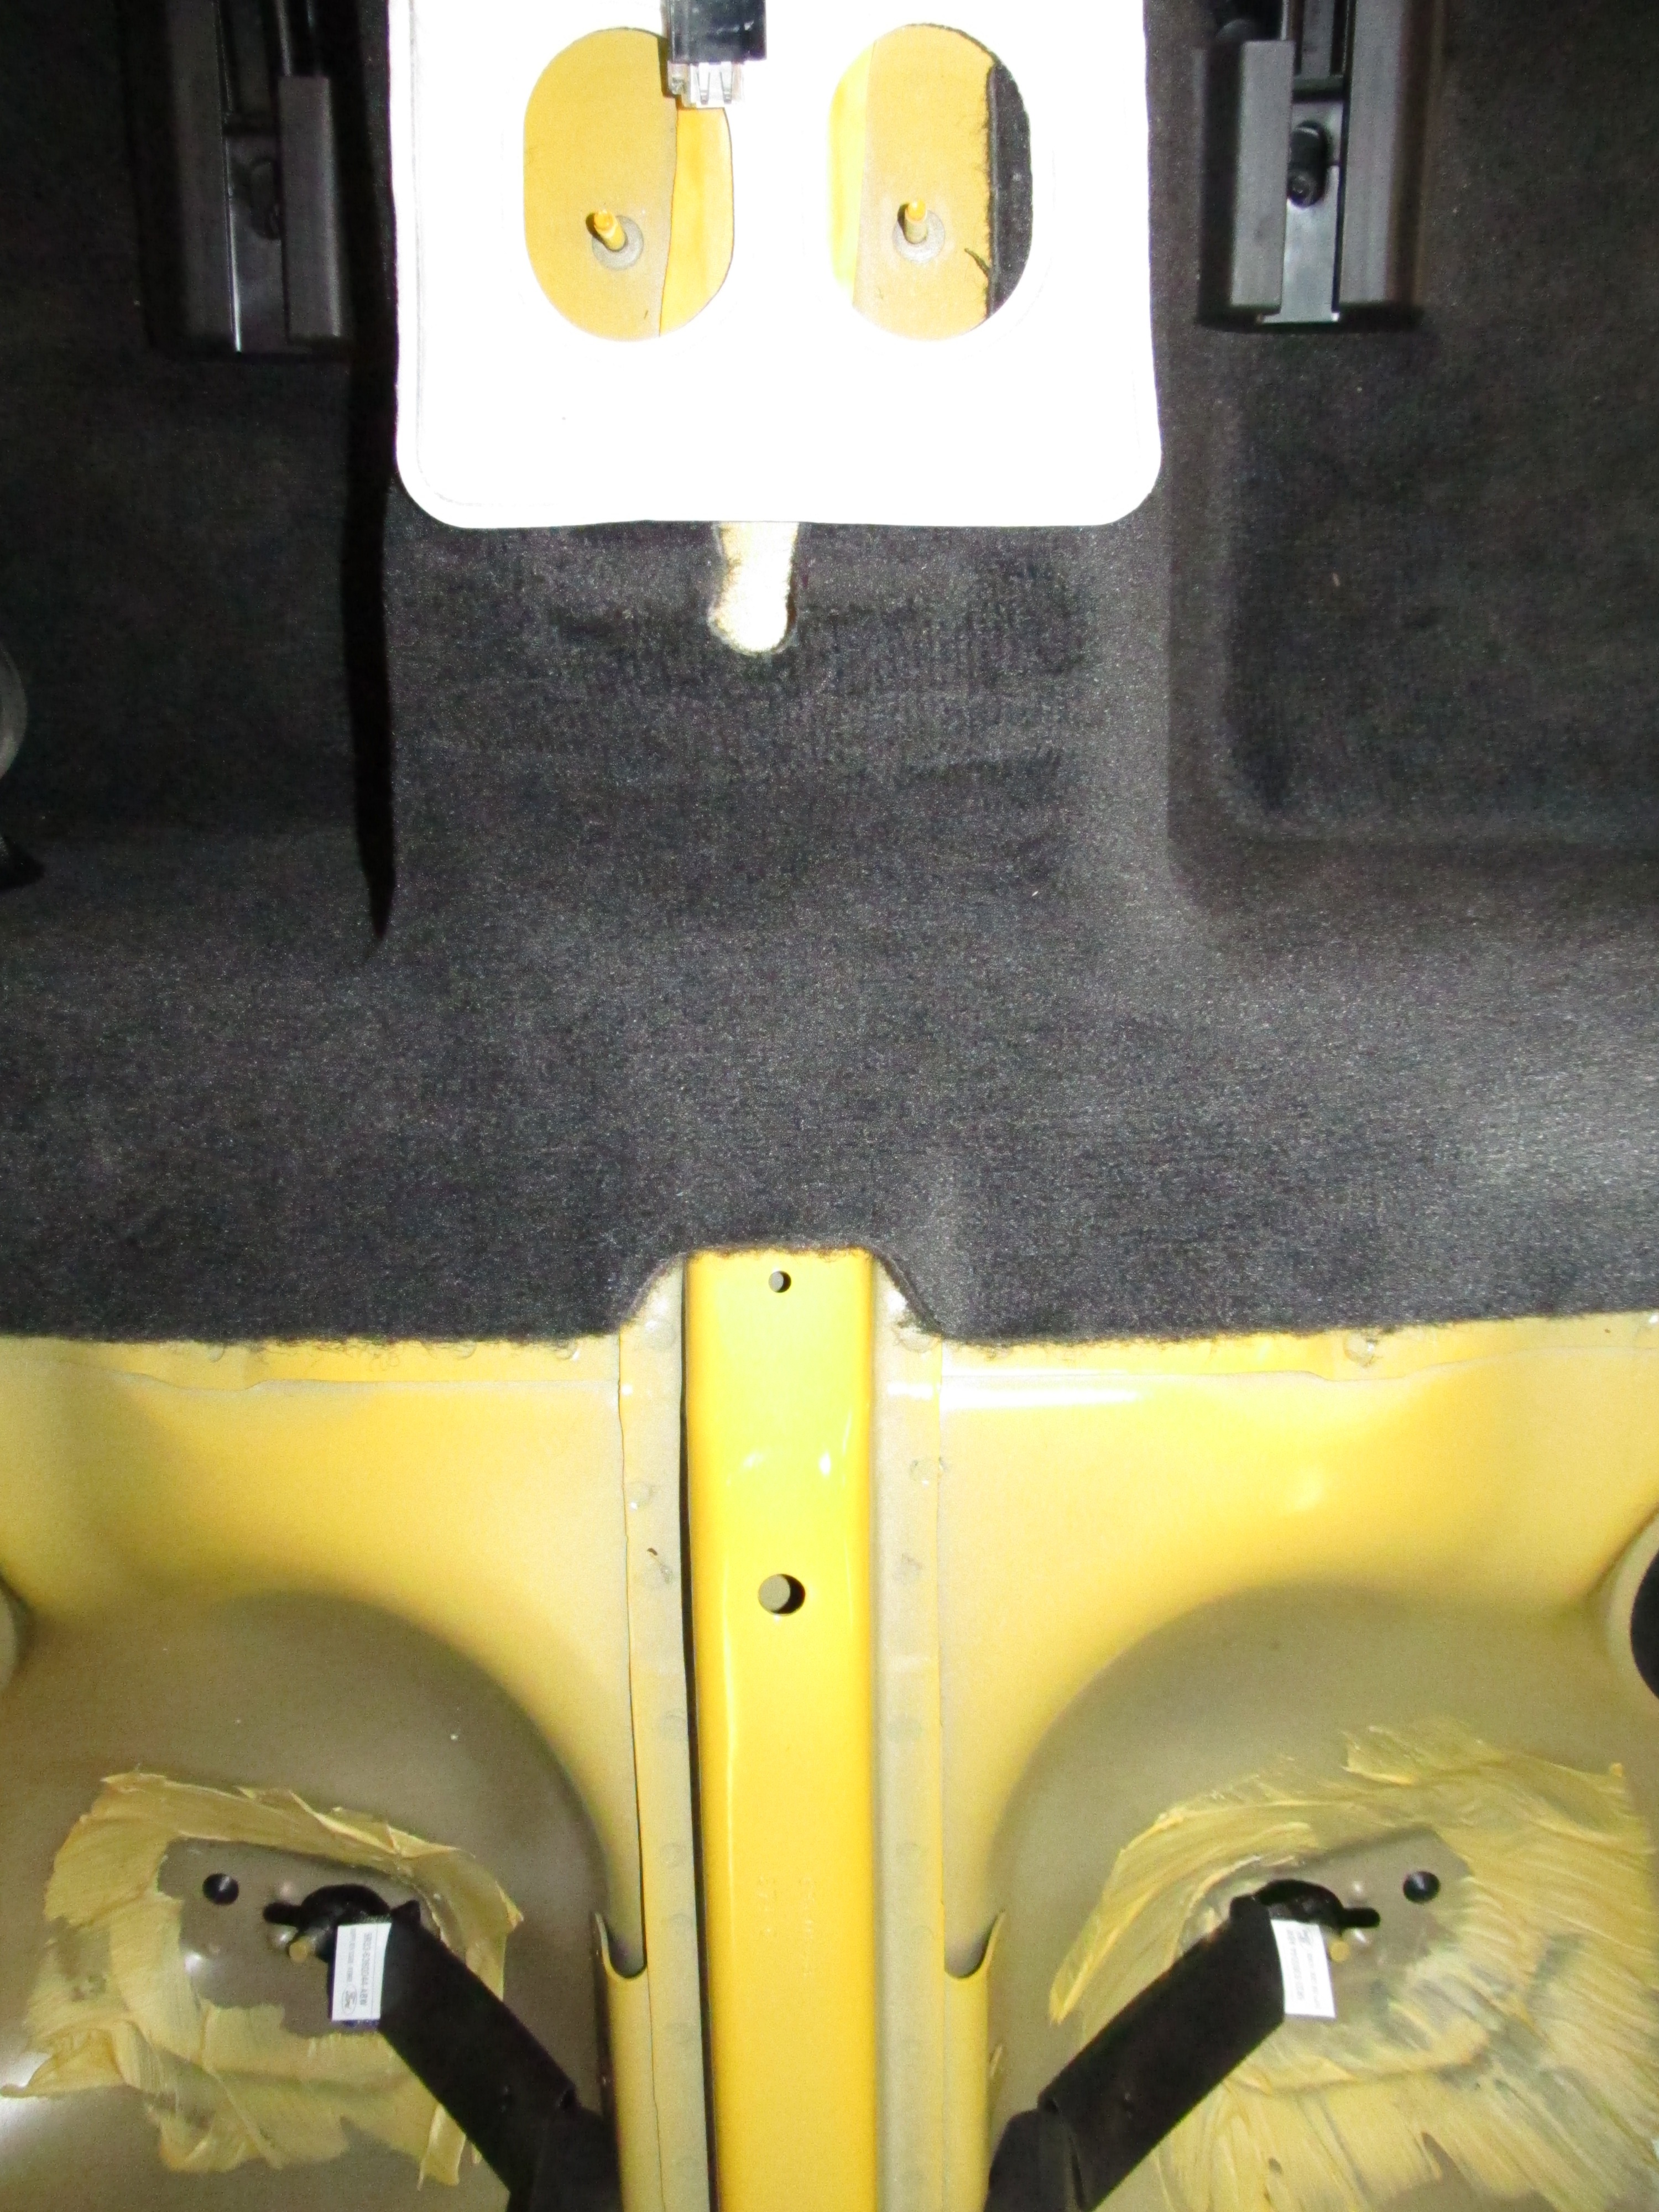
Where you might like to run wires, but probably not practical. The carpet is REALLY tight across the
transmission tunnel
 Start Slide Show
Back to Stage 2!
On to Stage 4!
Last updated: Sun, May 1, 2011.
Copyright © Mike vanMeeteren, 2011.