So, you've decided to put a stereo in your Mustang to fix the horribly deficient
Shaker 500 system that came stock with your car. I am in the same process myself,
and while all this information is kind of out there on the internet, it's stuff you
have to search for, so I figured, why not put it all down in one place?
Please note, all text and most images (except where noted) are mine. You are free to
distribute, print, use, etc, to your hearts content, but please leave this note and
the link to the original page in place. The original can be found here:
http://www.fast351.com/11GT/stereoinstall/disassemblyinstructions.html
Stage 4: Replacing the front speaker wires. Think long and hard about if you need to do
this. This is a difficult operation, and will probably result in swearing, beer drinking, and
blood loss. You will need to be patient. This will probably take three hours to do. If you have
really big hands this won't be fun. OK, enough warnings, you still decided you need to do this,
here we go:
Step 1: Remove the door skins. There are plenty of pages out there on how to do this, but
I'll kind of go over the steps and then give you a link to a video that explains it best:
Remove sail panel cover.
Remove power window panel, and disconnect wiring.
Remove door lock pushbutton trim ring.
Remove door close handle cover plate.
Remove door open handle cover plate.
Remove two T30 bolts from door close and door open handle areas.
Remove 7mm screw from power window panel area (it's there, just hidden)
Remove 5 7mm scews from front and bottom of door panel.
Uncover rear two screws using small screw driver and remove.
At this point you should have eight (8) 7mm screws and two (2) T30 torx bolts!
Lift up on door panel and unhook from top, allow lower hooks to sit in door metal to help while you unhook wires and cables.
Remove 3 wire harnesses: Subwoofer, auto door locks, and ambient lighting.
Remove door open cable from handle. Easiest to use a small screwdriver to pry the two ears IN.
A video showing you all of this: (don't remove the woofer trim ring, not needed)
JLT Performance shows you how to dress up your door panels
Step 2: Remove the stock speaker and set aside. It's held in with 4 T15 screws.
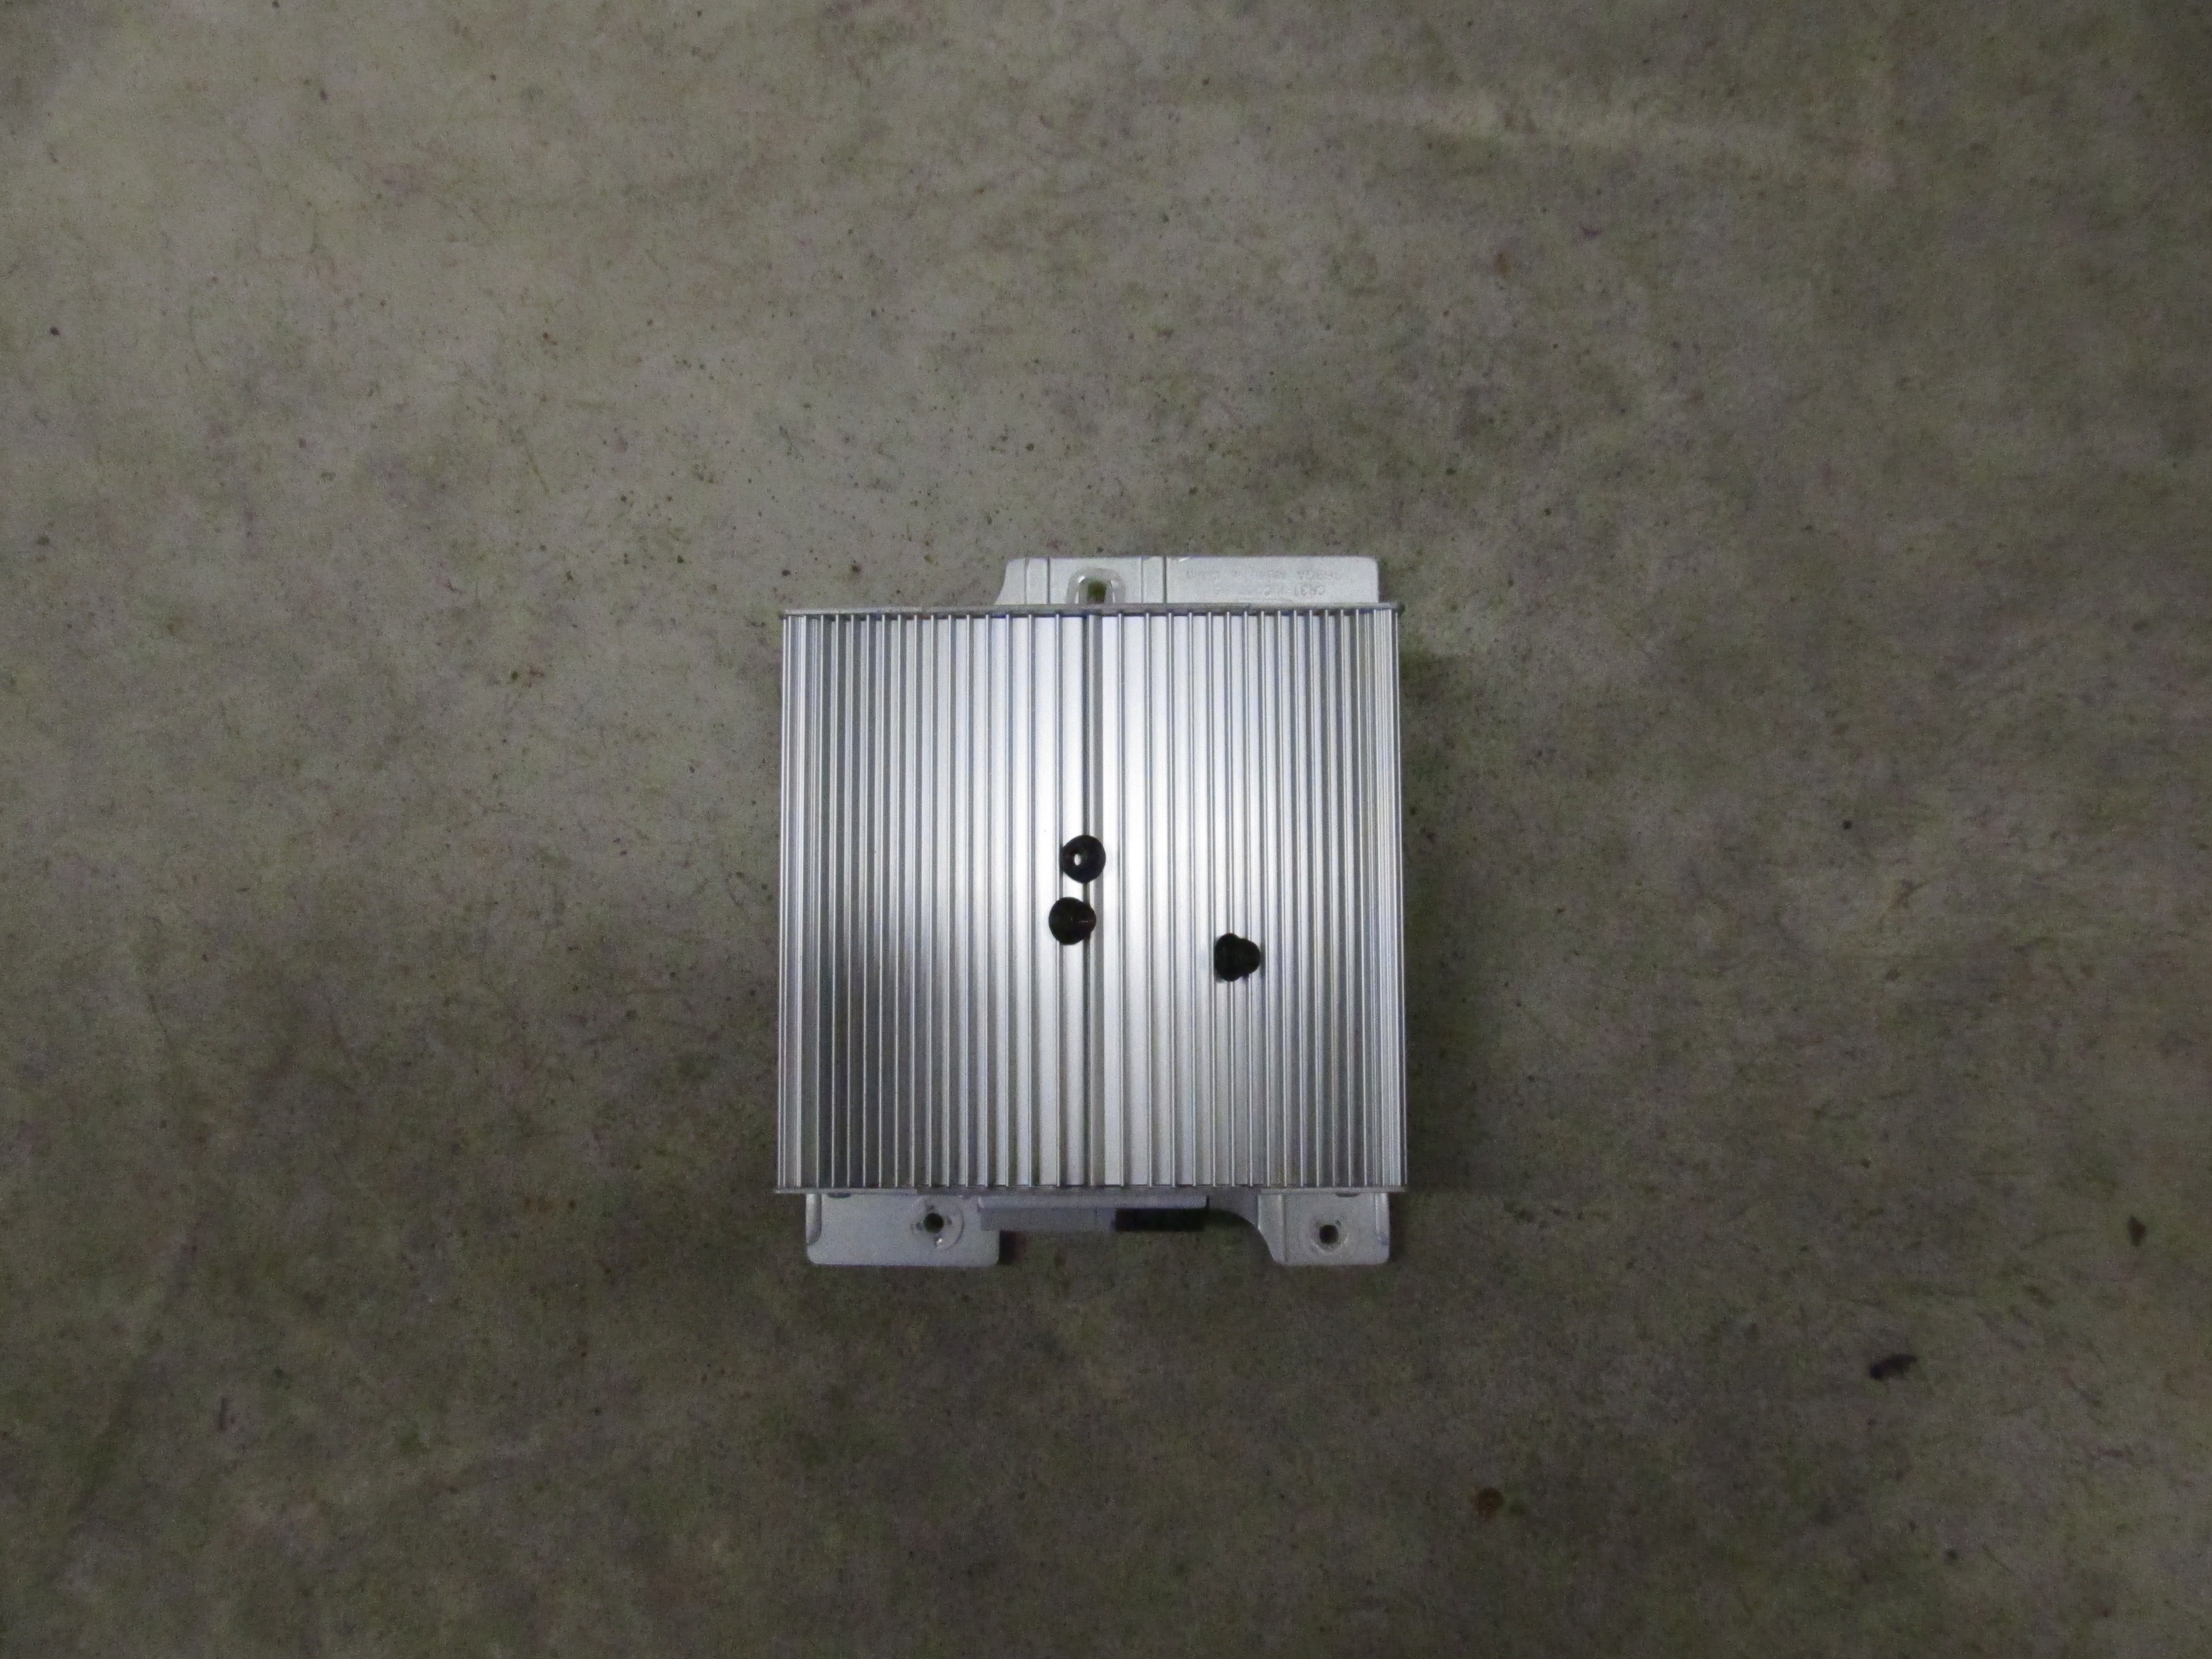
Step 3: Remove the subwoofer amp. Remove the two connectors to the amp. There are three
nuts that hold it in place. Remove the three nuts and pull the amplifier out of the way. Access is
needed to route the speaker wires.
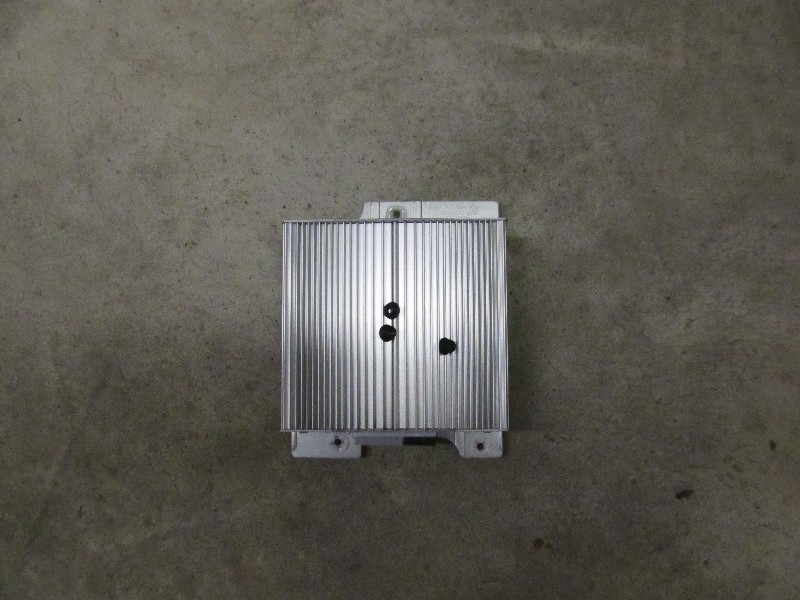
This is the subwoofer amplifier when removed.

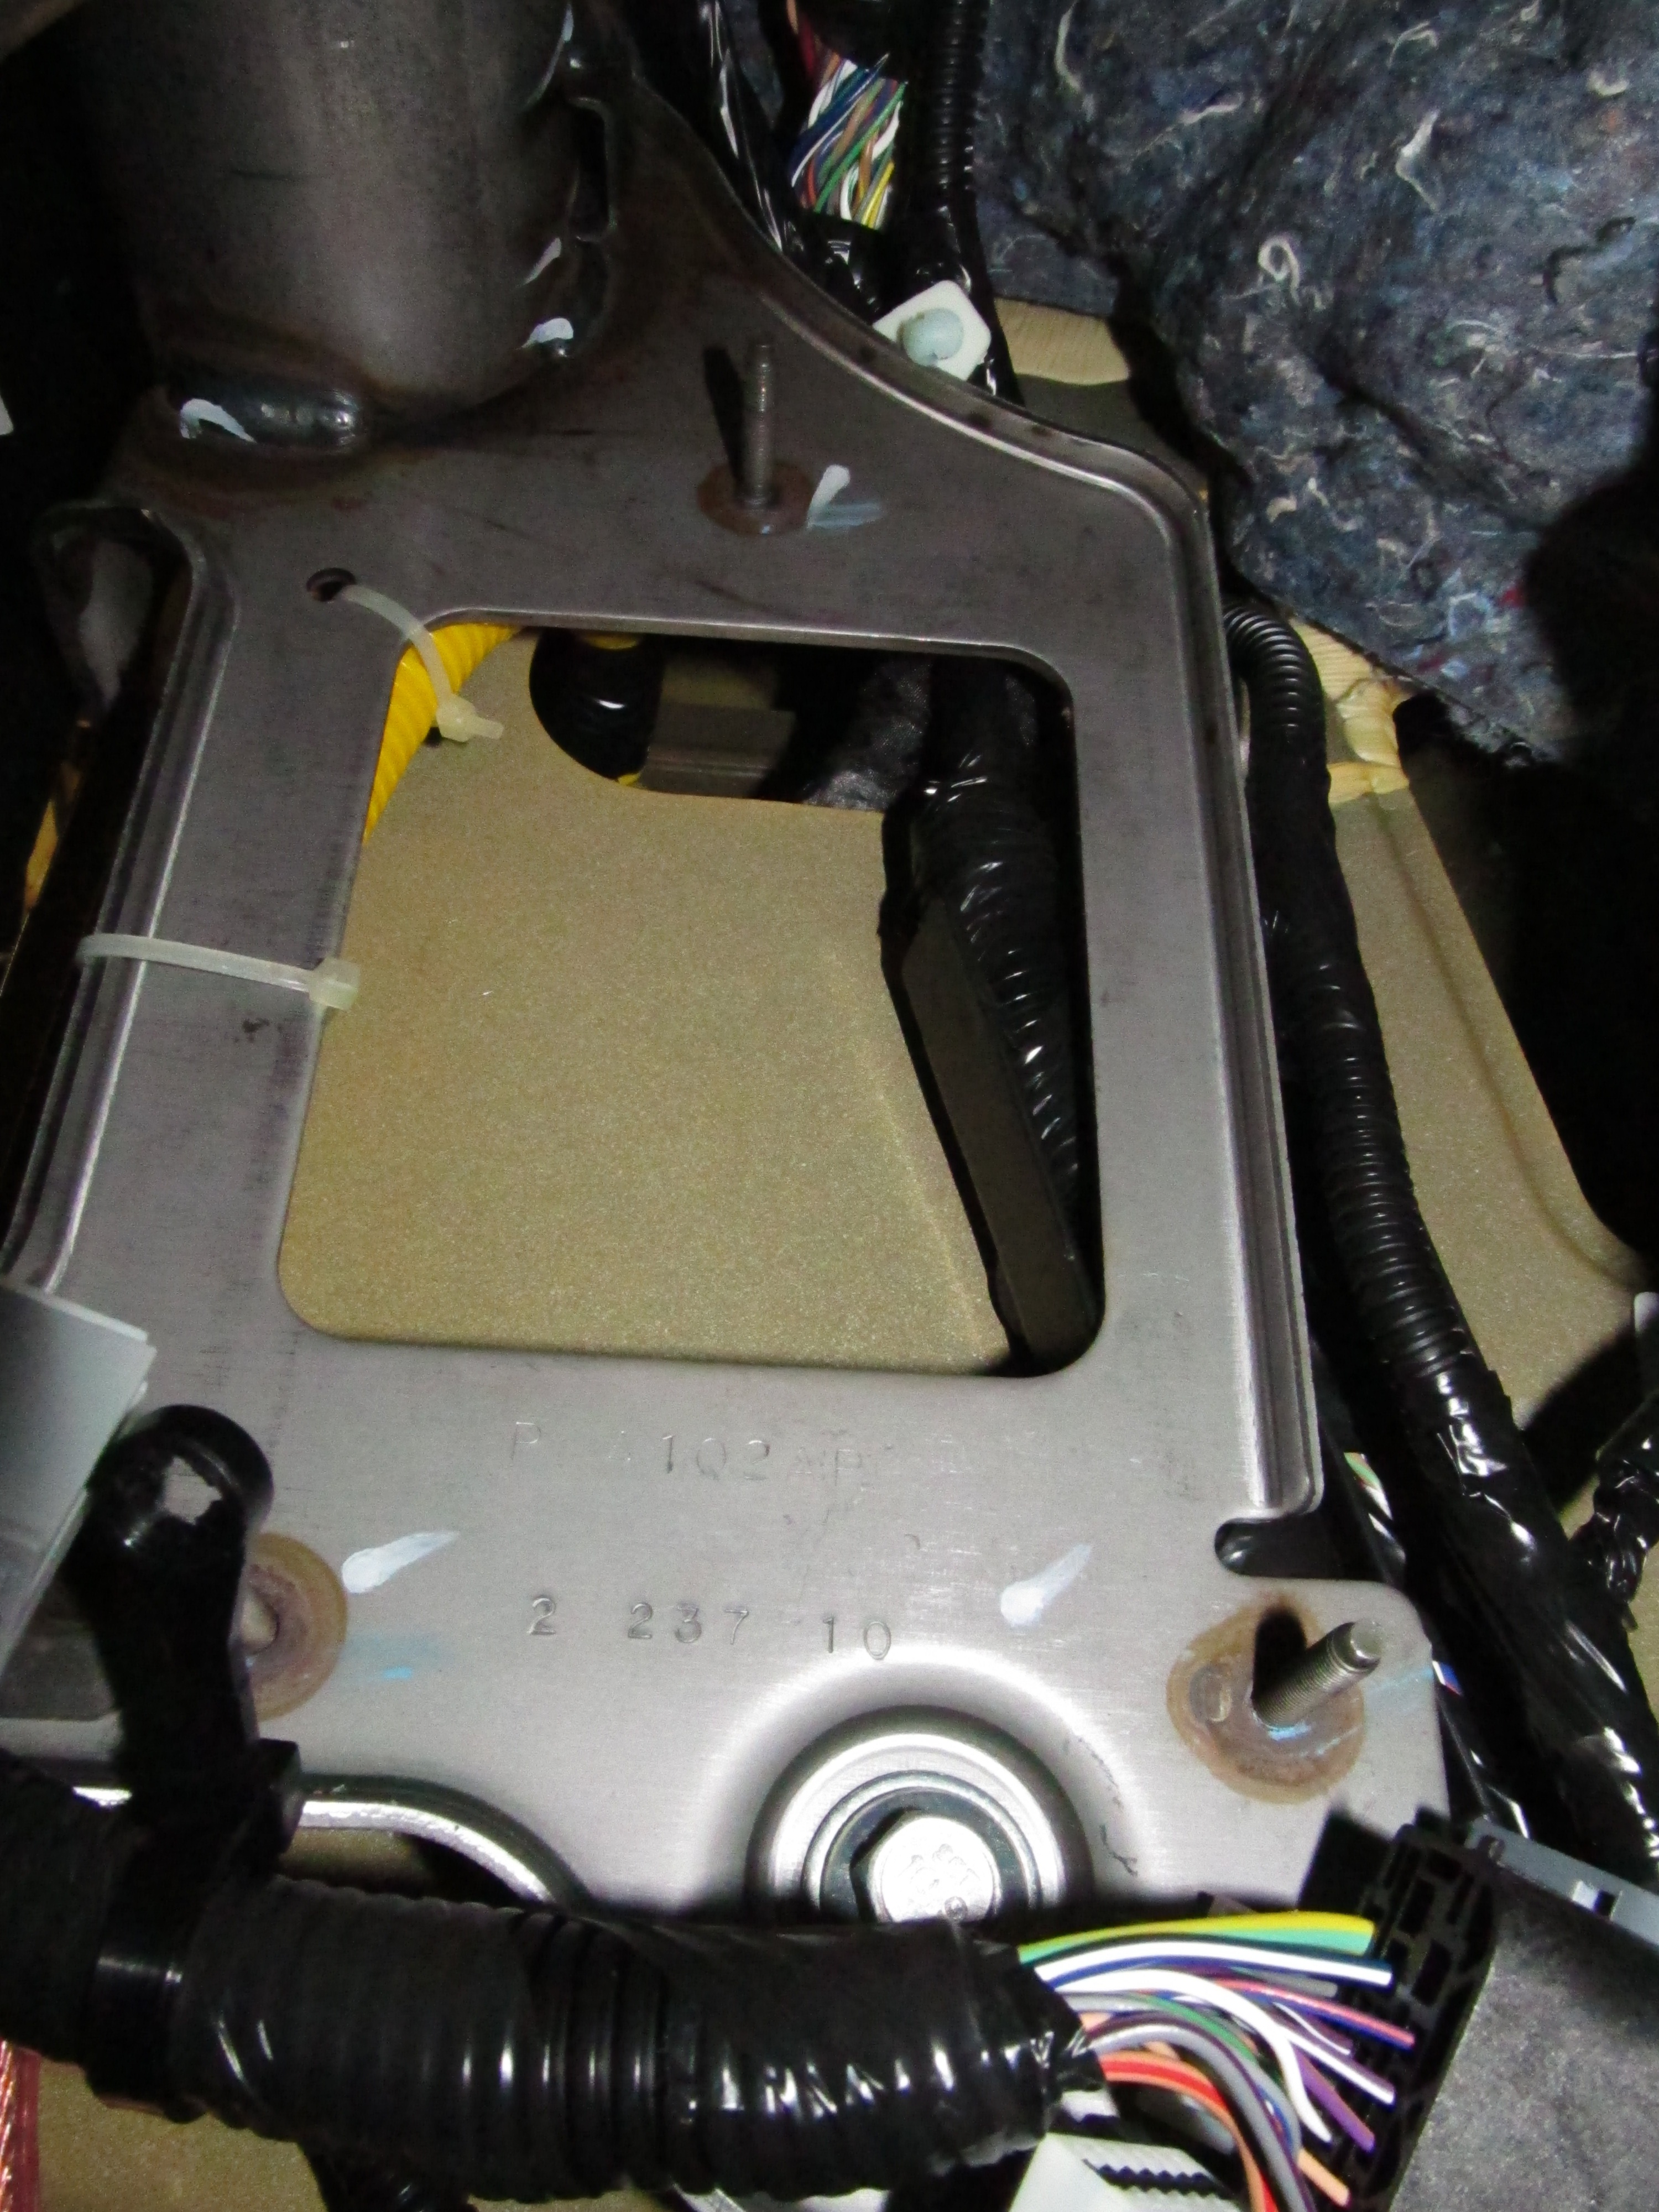
Where the sub amp mounts. This is just up and to the left of the clutch pedal.
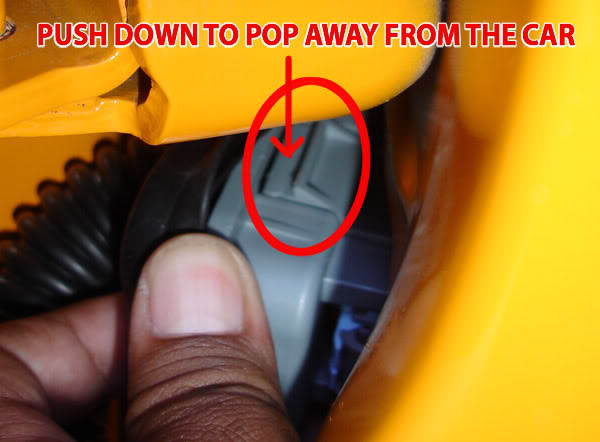
Step 4: Remove the retainer plug from the body side of the door tube. I cannot take
credit for figuring this out, and as a matter of fact,
without this thread I would never have gotten it. The pictures below belong to the original author,
many thanks to his posting them (love the color of your car BTW sir!)
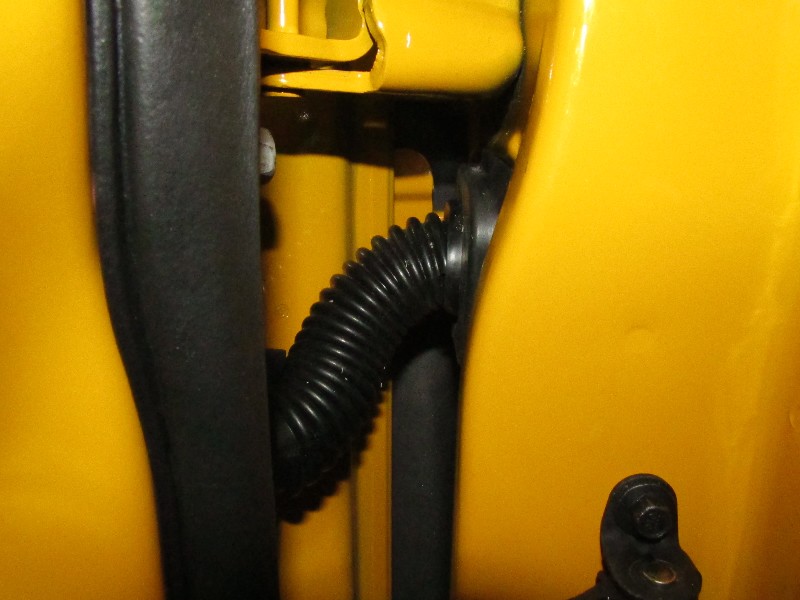
Pull door side tube plug from sheetmetal, this will give you more room to work
Remove the tube boot from the gray plastic plug on the body side (see second picture).
Remove the gray bulkhead from the car body (see third picture).
Remove the outside clip from the connector (inside part) by unlatching the clips (see picture 4)
Tips:
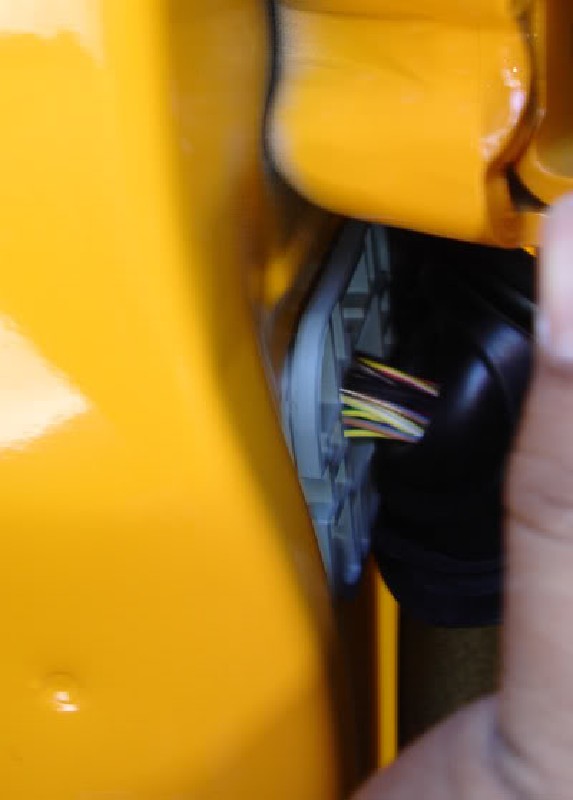
You will need to partially to fully open the car door while doing this to get the gray connector out far enough to disconnect the outside clip.
Shove a couple picks (or nails, or whatever) under the retaining clips that will allow you to work the outside clip off the connector.
The connector will stay in the car, not connected to the outside clip when done.
Your generous working area! Big hands are not a bonus here!
OK, the fun begins, remove the boot from the plug (pass side shown).

Remove the bulkhead from the car.
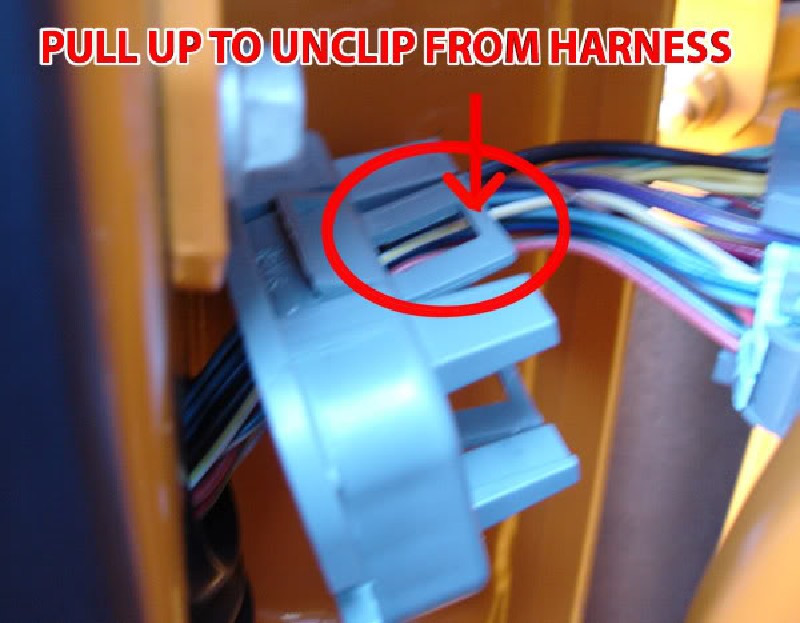
Remove the outside clip from the connector (it sound so simple doesn't it?)
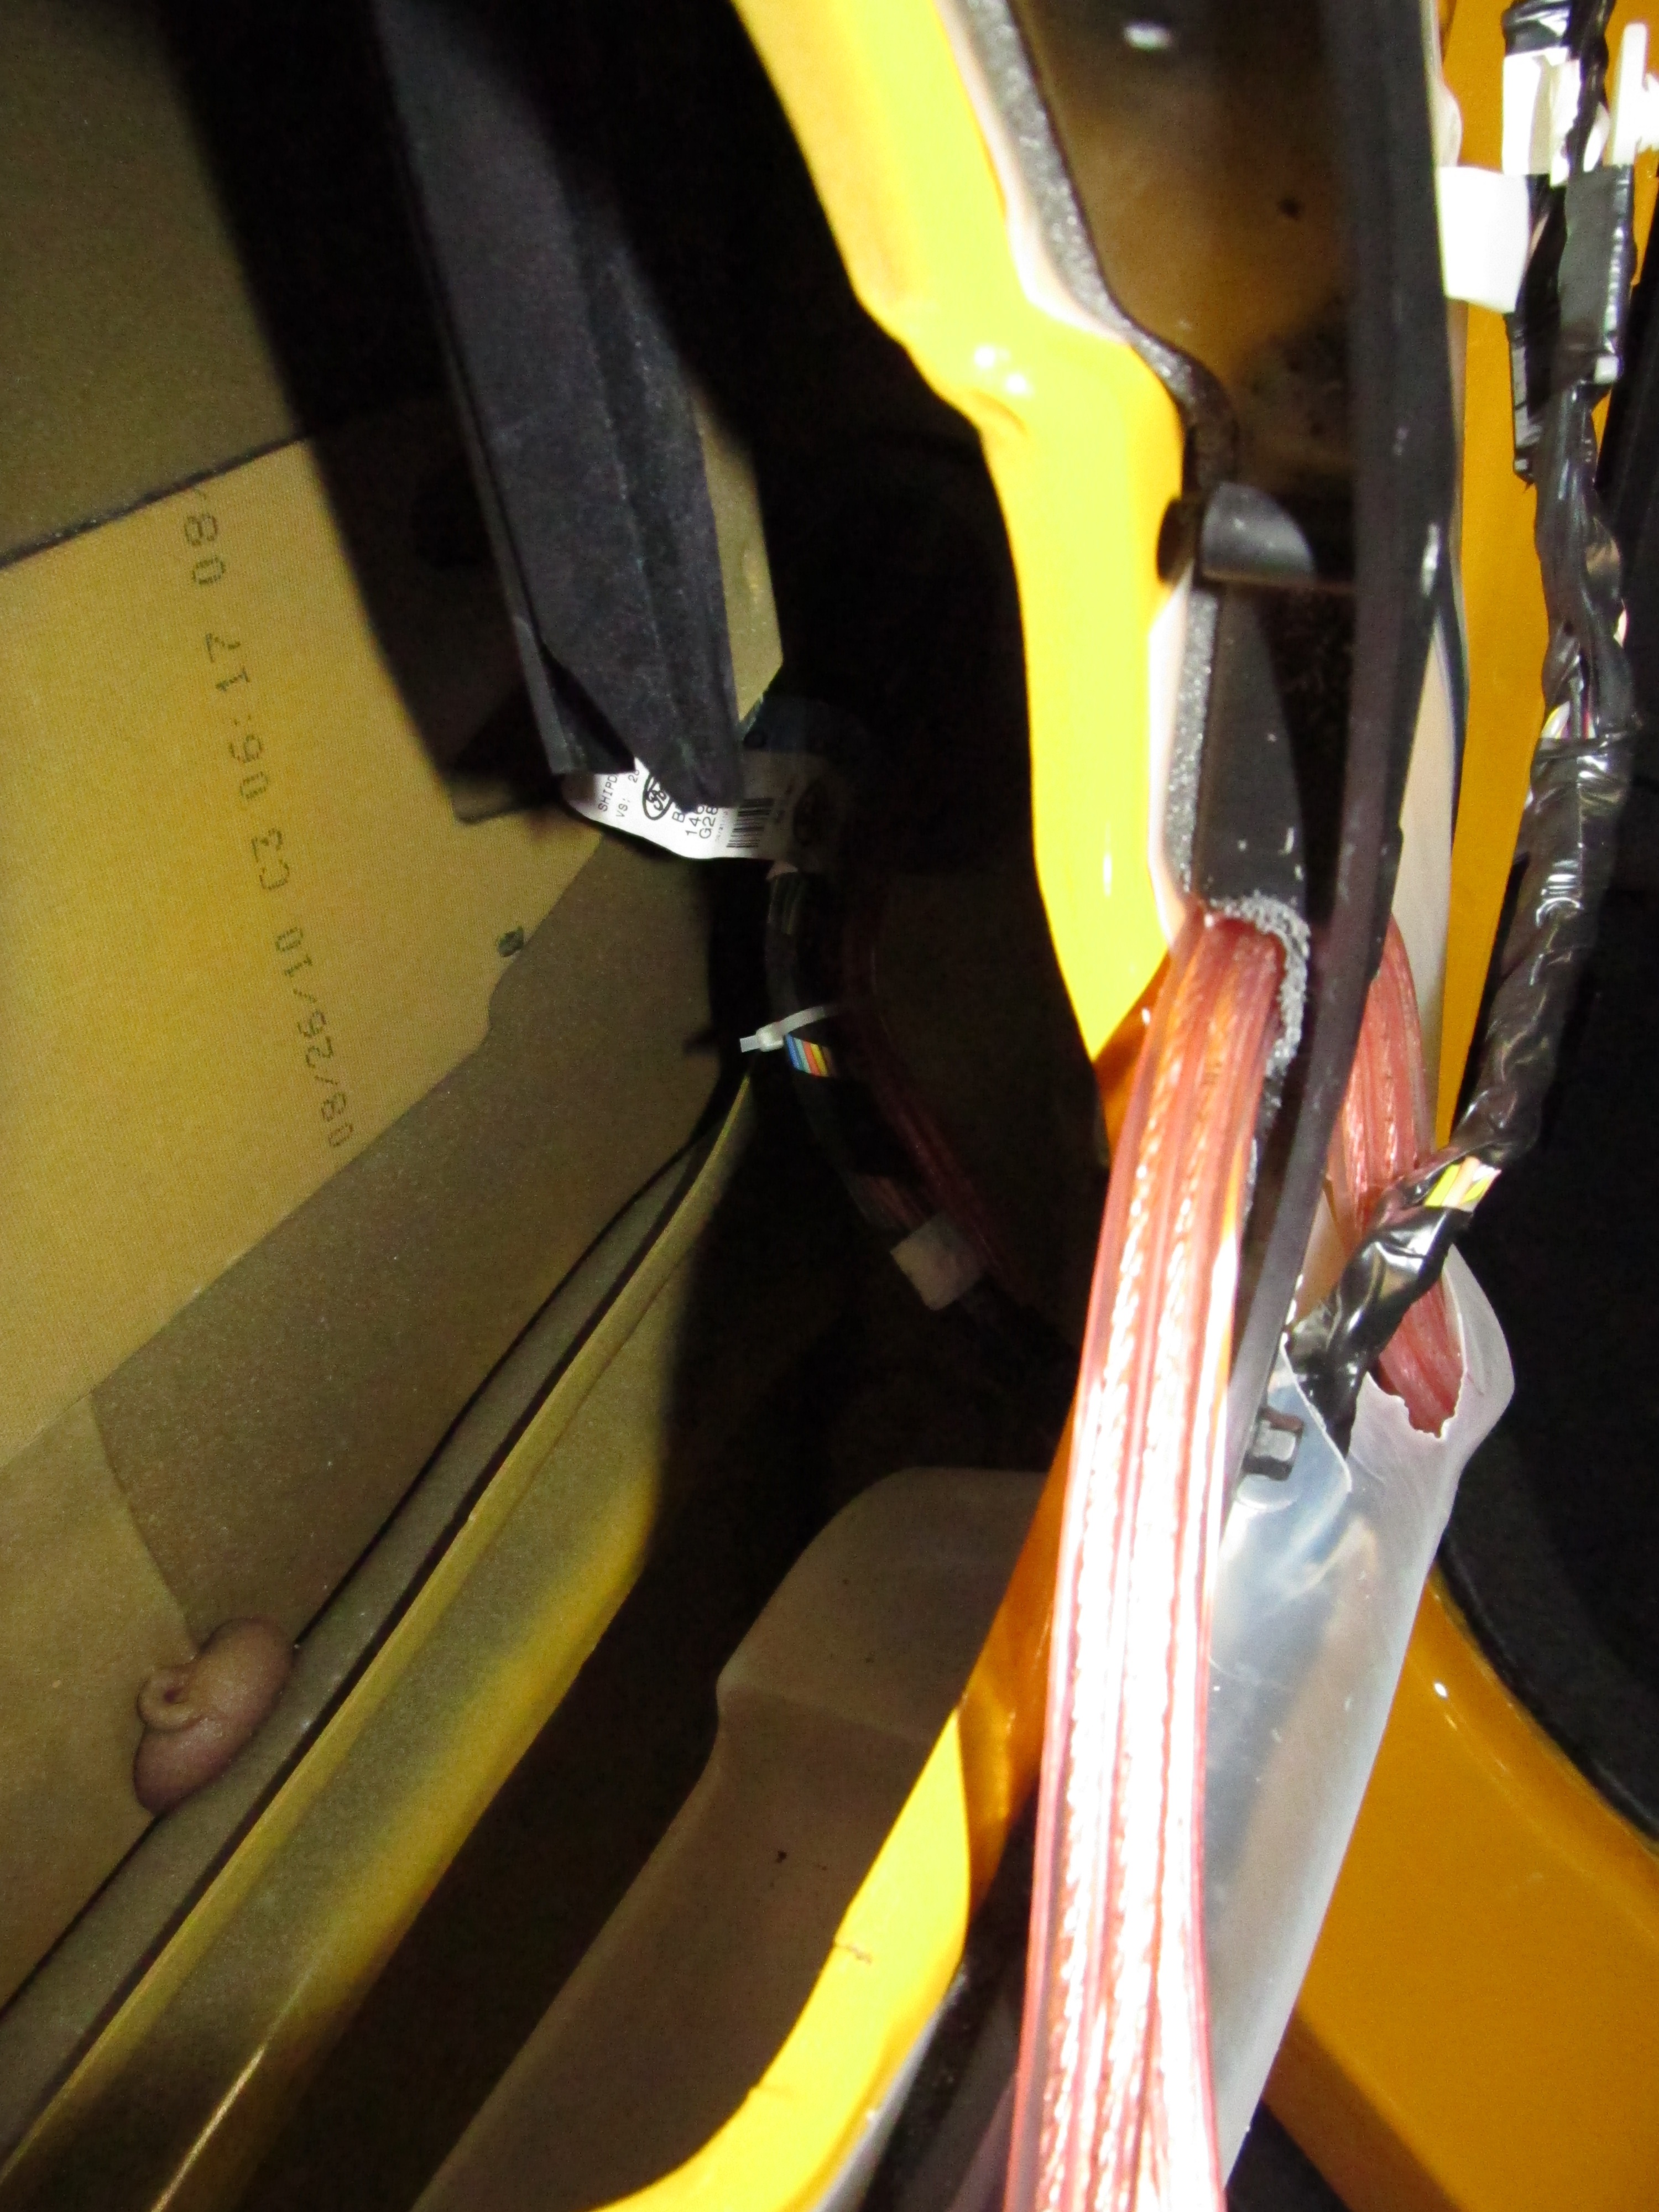
Step 5: Feed the speaker wire through the tube and into the car:
Feed a pulling wire through the outside clip from the body side of the boot into the door.
Feed the other end of that pulling wire into the car, fishing for it with your other hand inside the car.
Once the pulling wire is in place, tape your permanent wire to the pulling wire with strong electrical tape, in the door.
Pull the wire from the door to the hinge area.
Once you have enough in the hinge area, pull it into the car.
Put wire loom around the wire where it goes into the body, and secure with zip ties.
Watch your hands, the metal inside the car is sharp!!!
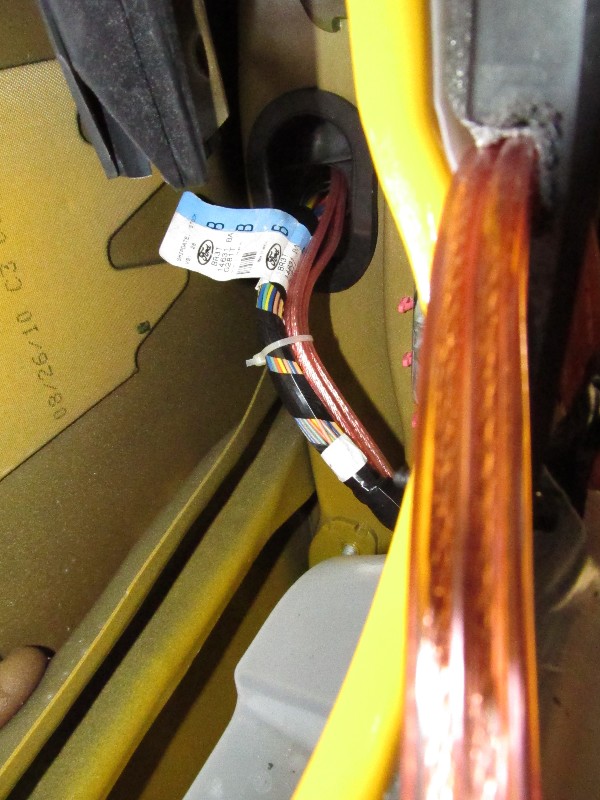
Starting from inside the door, feed the wires into the car.
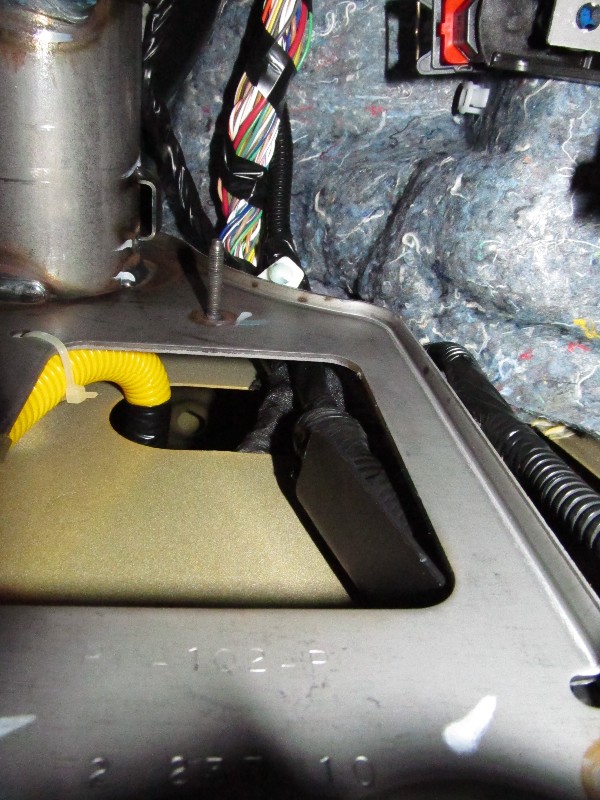
Wires secured, note the (yellow!) wire loom protecting the wires. This area is not deburred and REALLY sharp!
Step 6: Reinsert the tube back into the door and body:
Put the black boot back around the gray outside clip
Push the door side tube plug back into the sheetmetal (this has a direction indicator, the flag labelled "UP", goes up)
Push the outside clip with the boot attached back into the body. You will NOT be reconnecting the connector in the body!
Viola! Rinse and repeat for passenger side door!
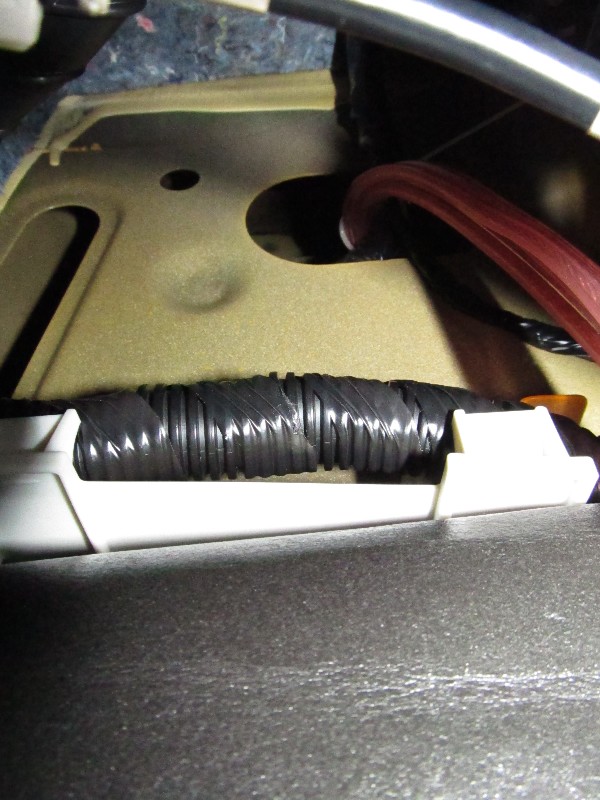
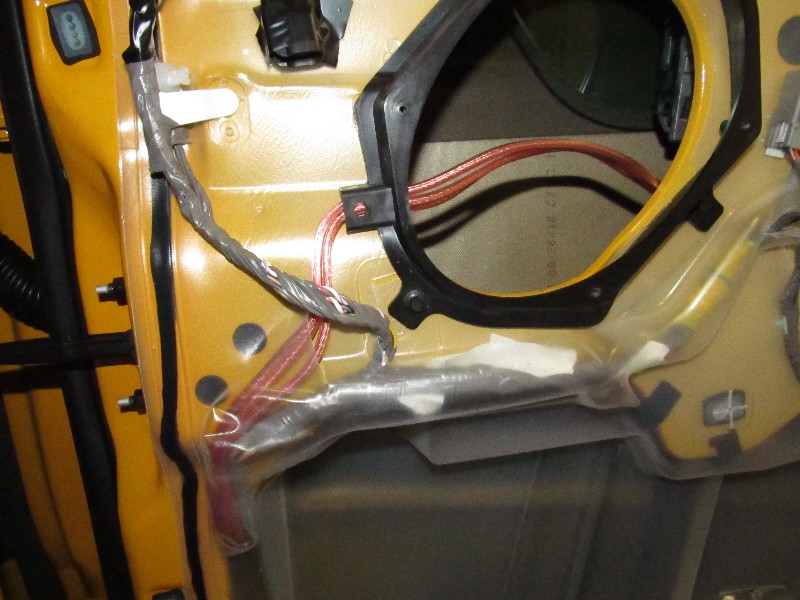
Step 7: Route the wires into the speaker area:
Remove the mounting ring.
Remove the factory plug from the ring, tape it to the power mirror harness so it doesn't rattle in the door.
File out the ring for bigger wires.
Put a slit in the plastic close to where the other wire comes through, and route your wire in.
Reinstall ring with new wire.
Ziptie wires to existing harness.

Note the slit in the plastic and the routing near the factory wires.

Factory clip taped out of the way.

New wires through an enlarged hole in the mounting ring.
Step 8: Repeat for passenger side!
This side was significantly easier. Less bulk in the connector? Second time doing it? Not sure, but it took less
than half the time.
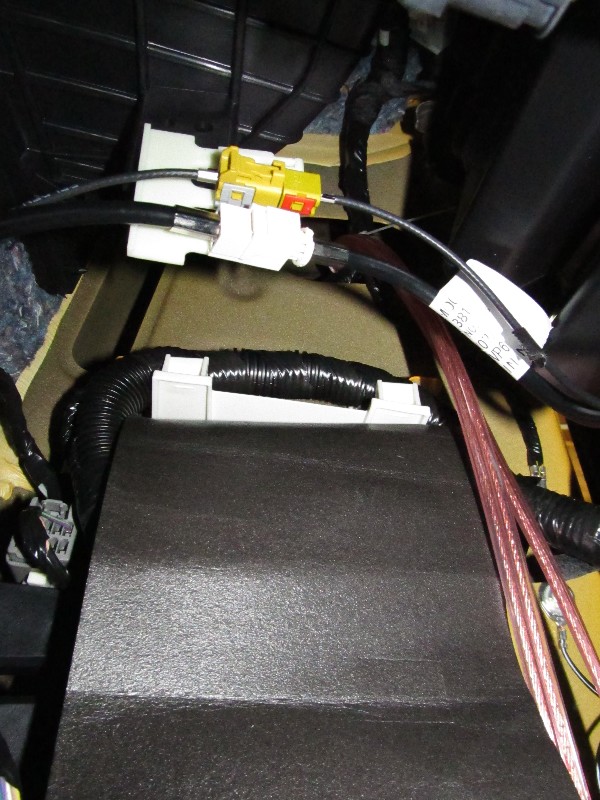
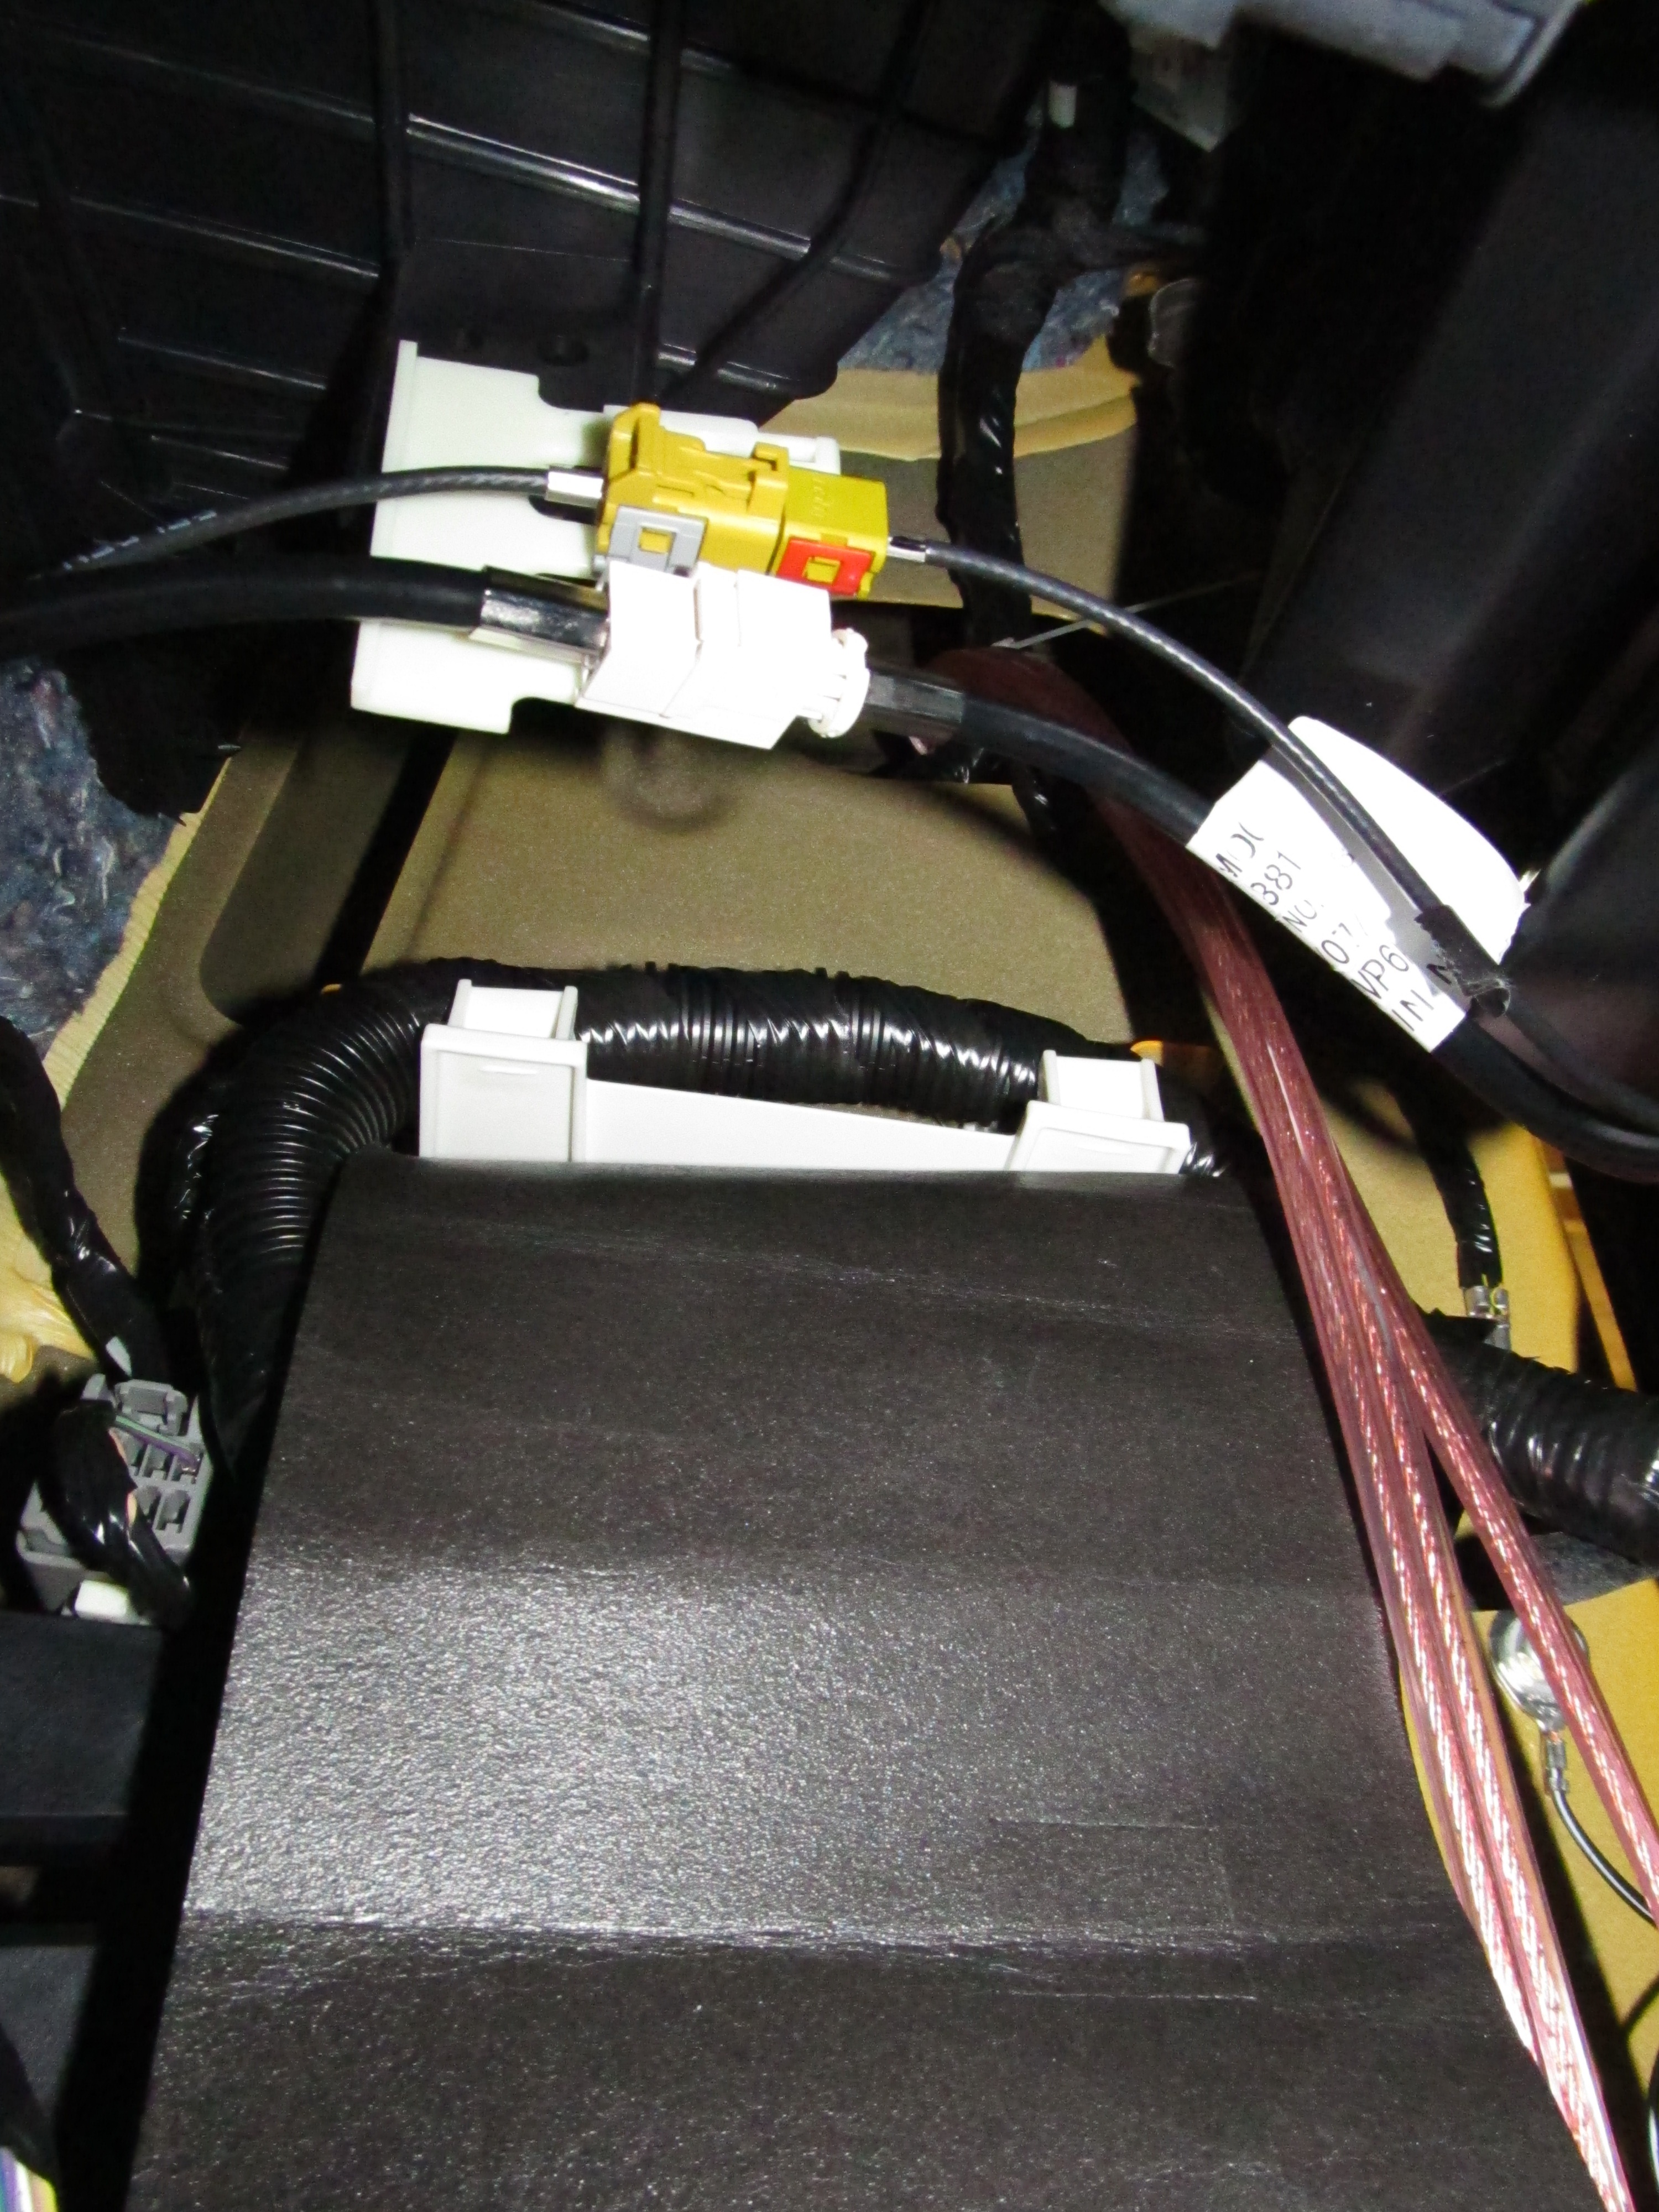
Inside the passenger side footwell, above the body module.
Detail where the wires come though. Wire loom was not needed here, just zip ties to the existing harness.
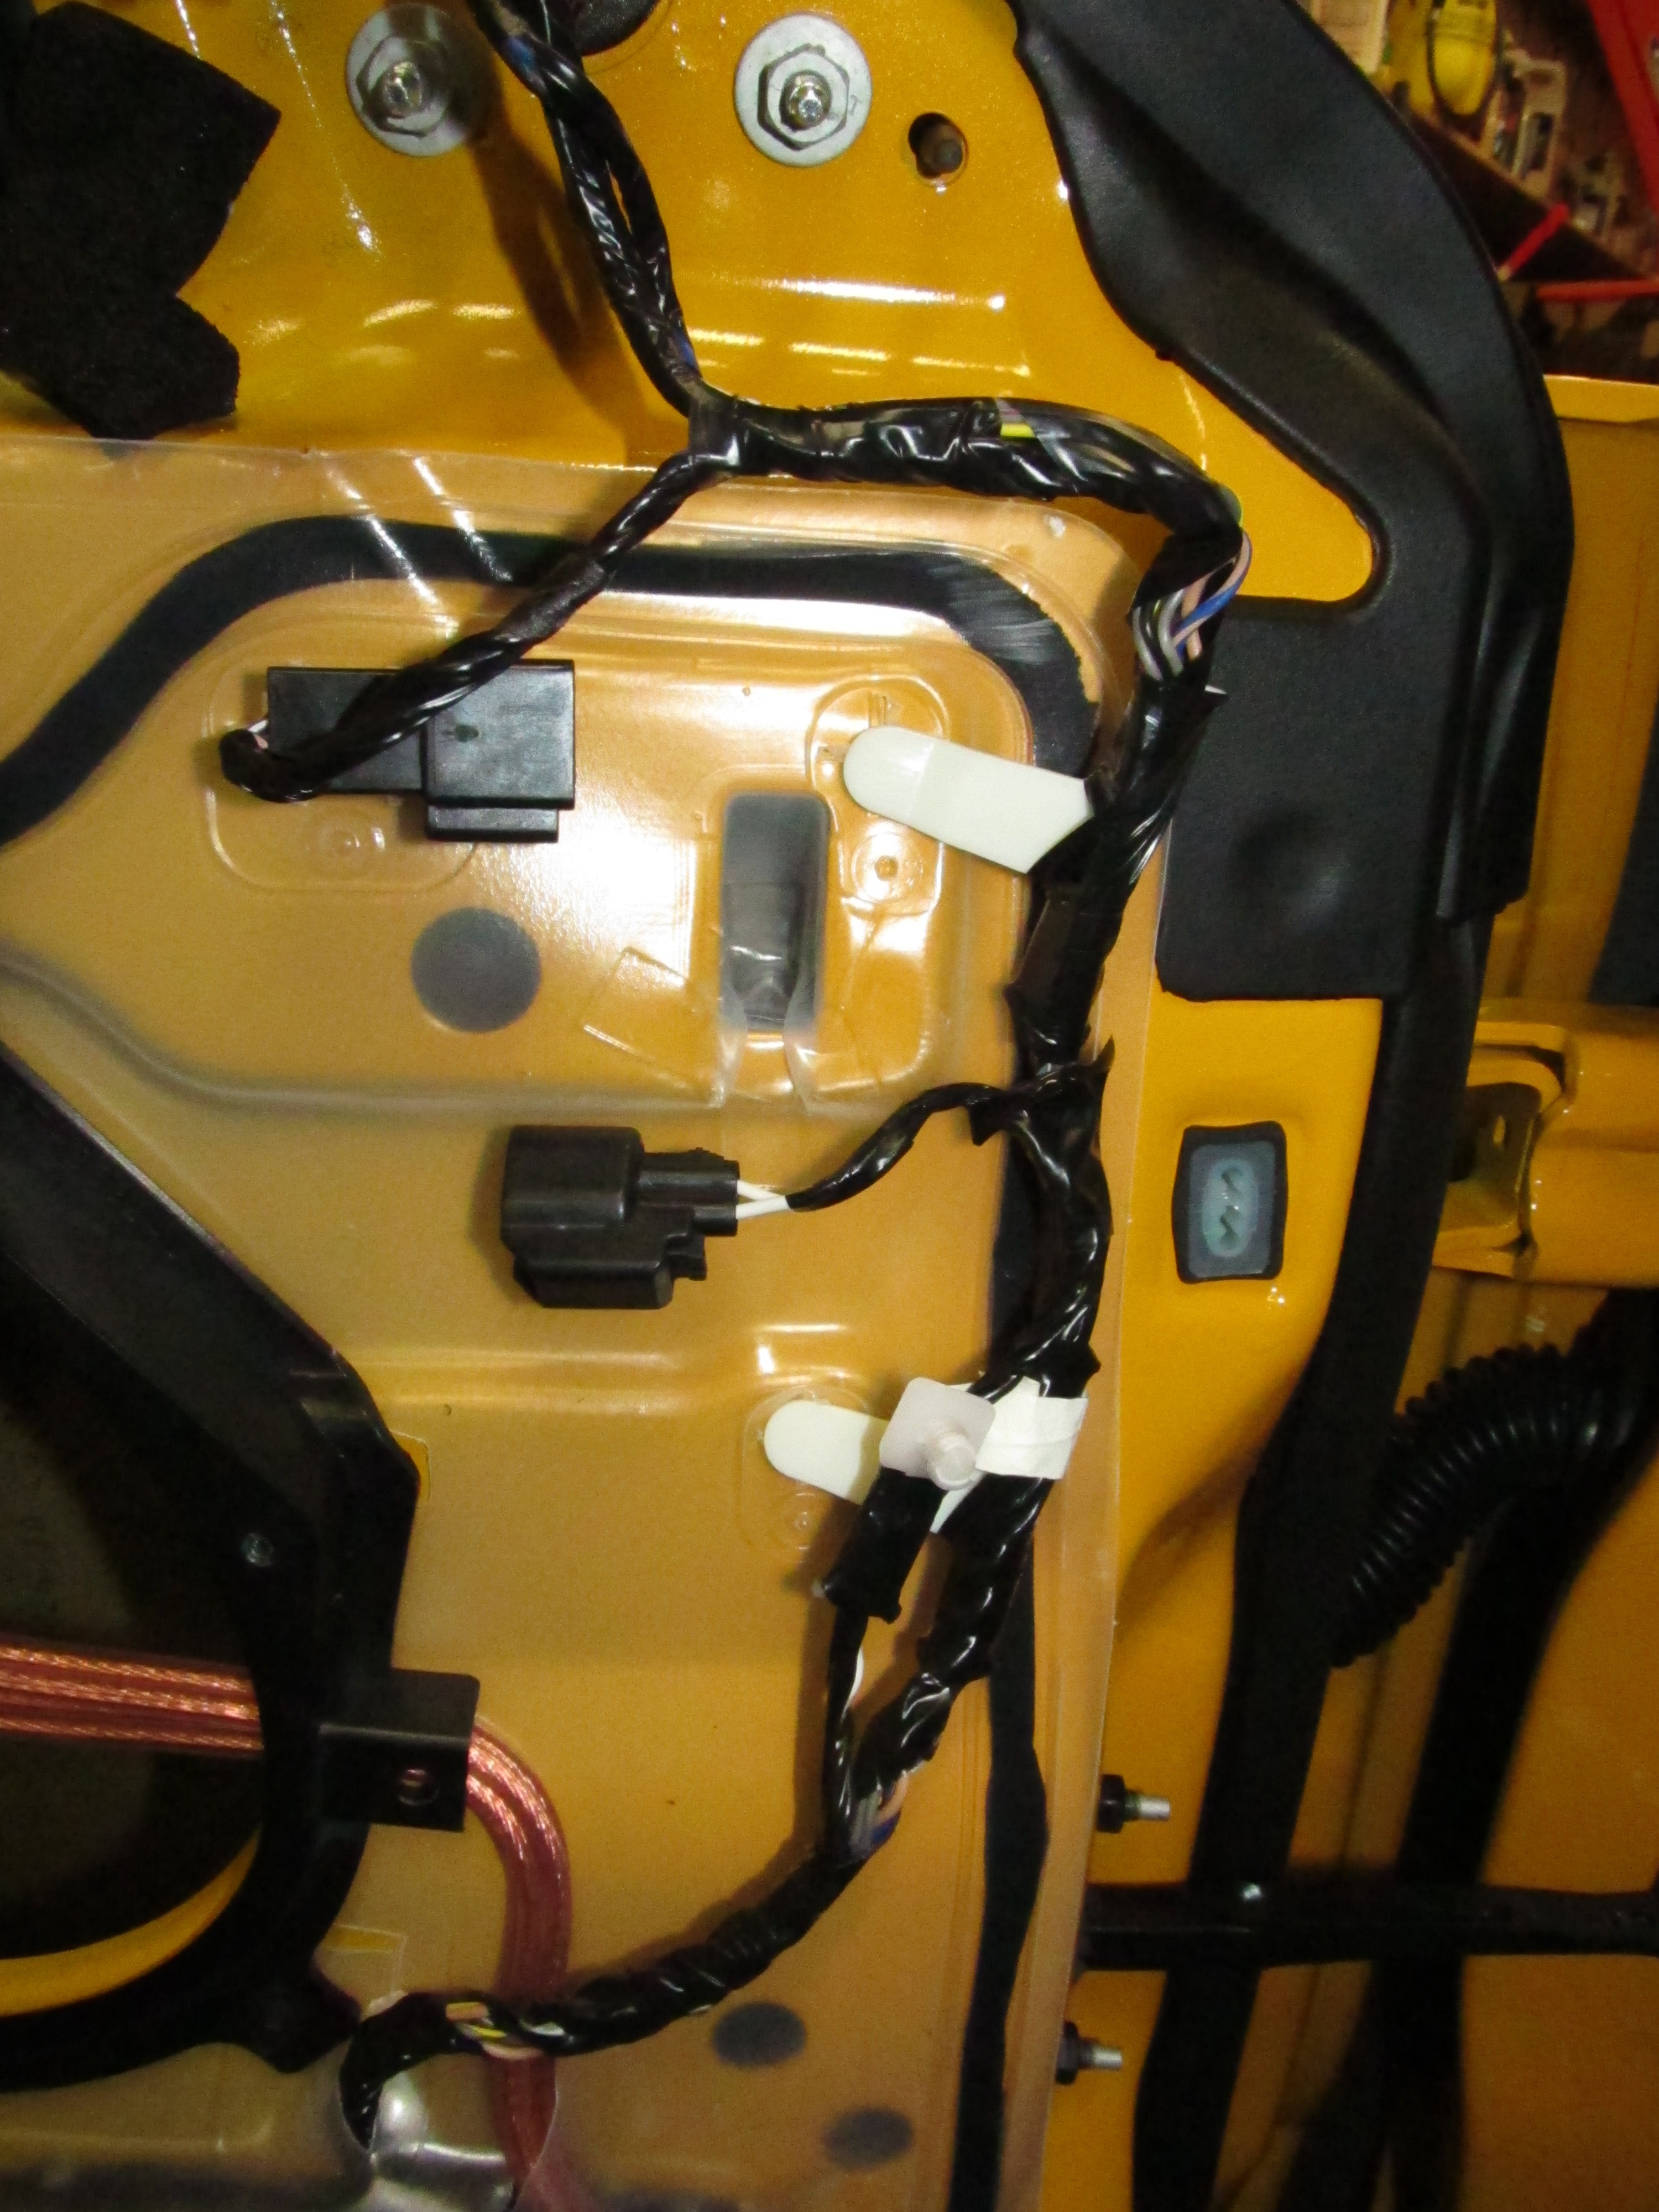
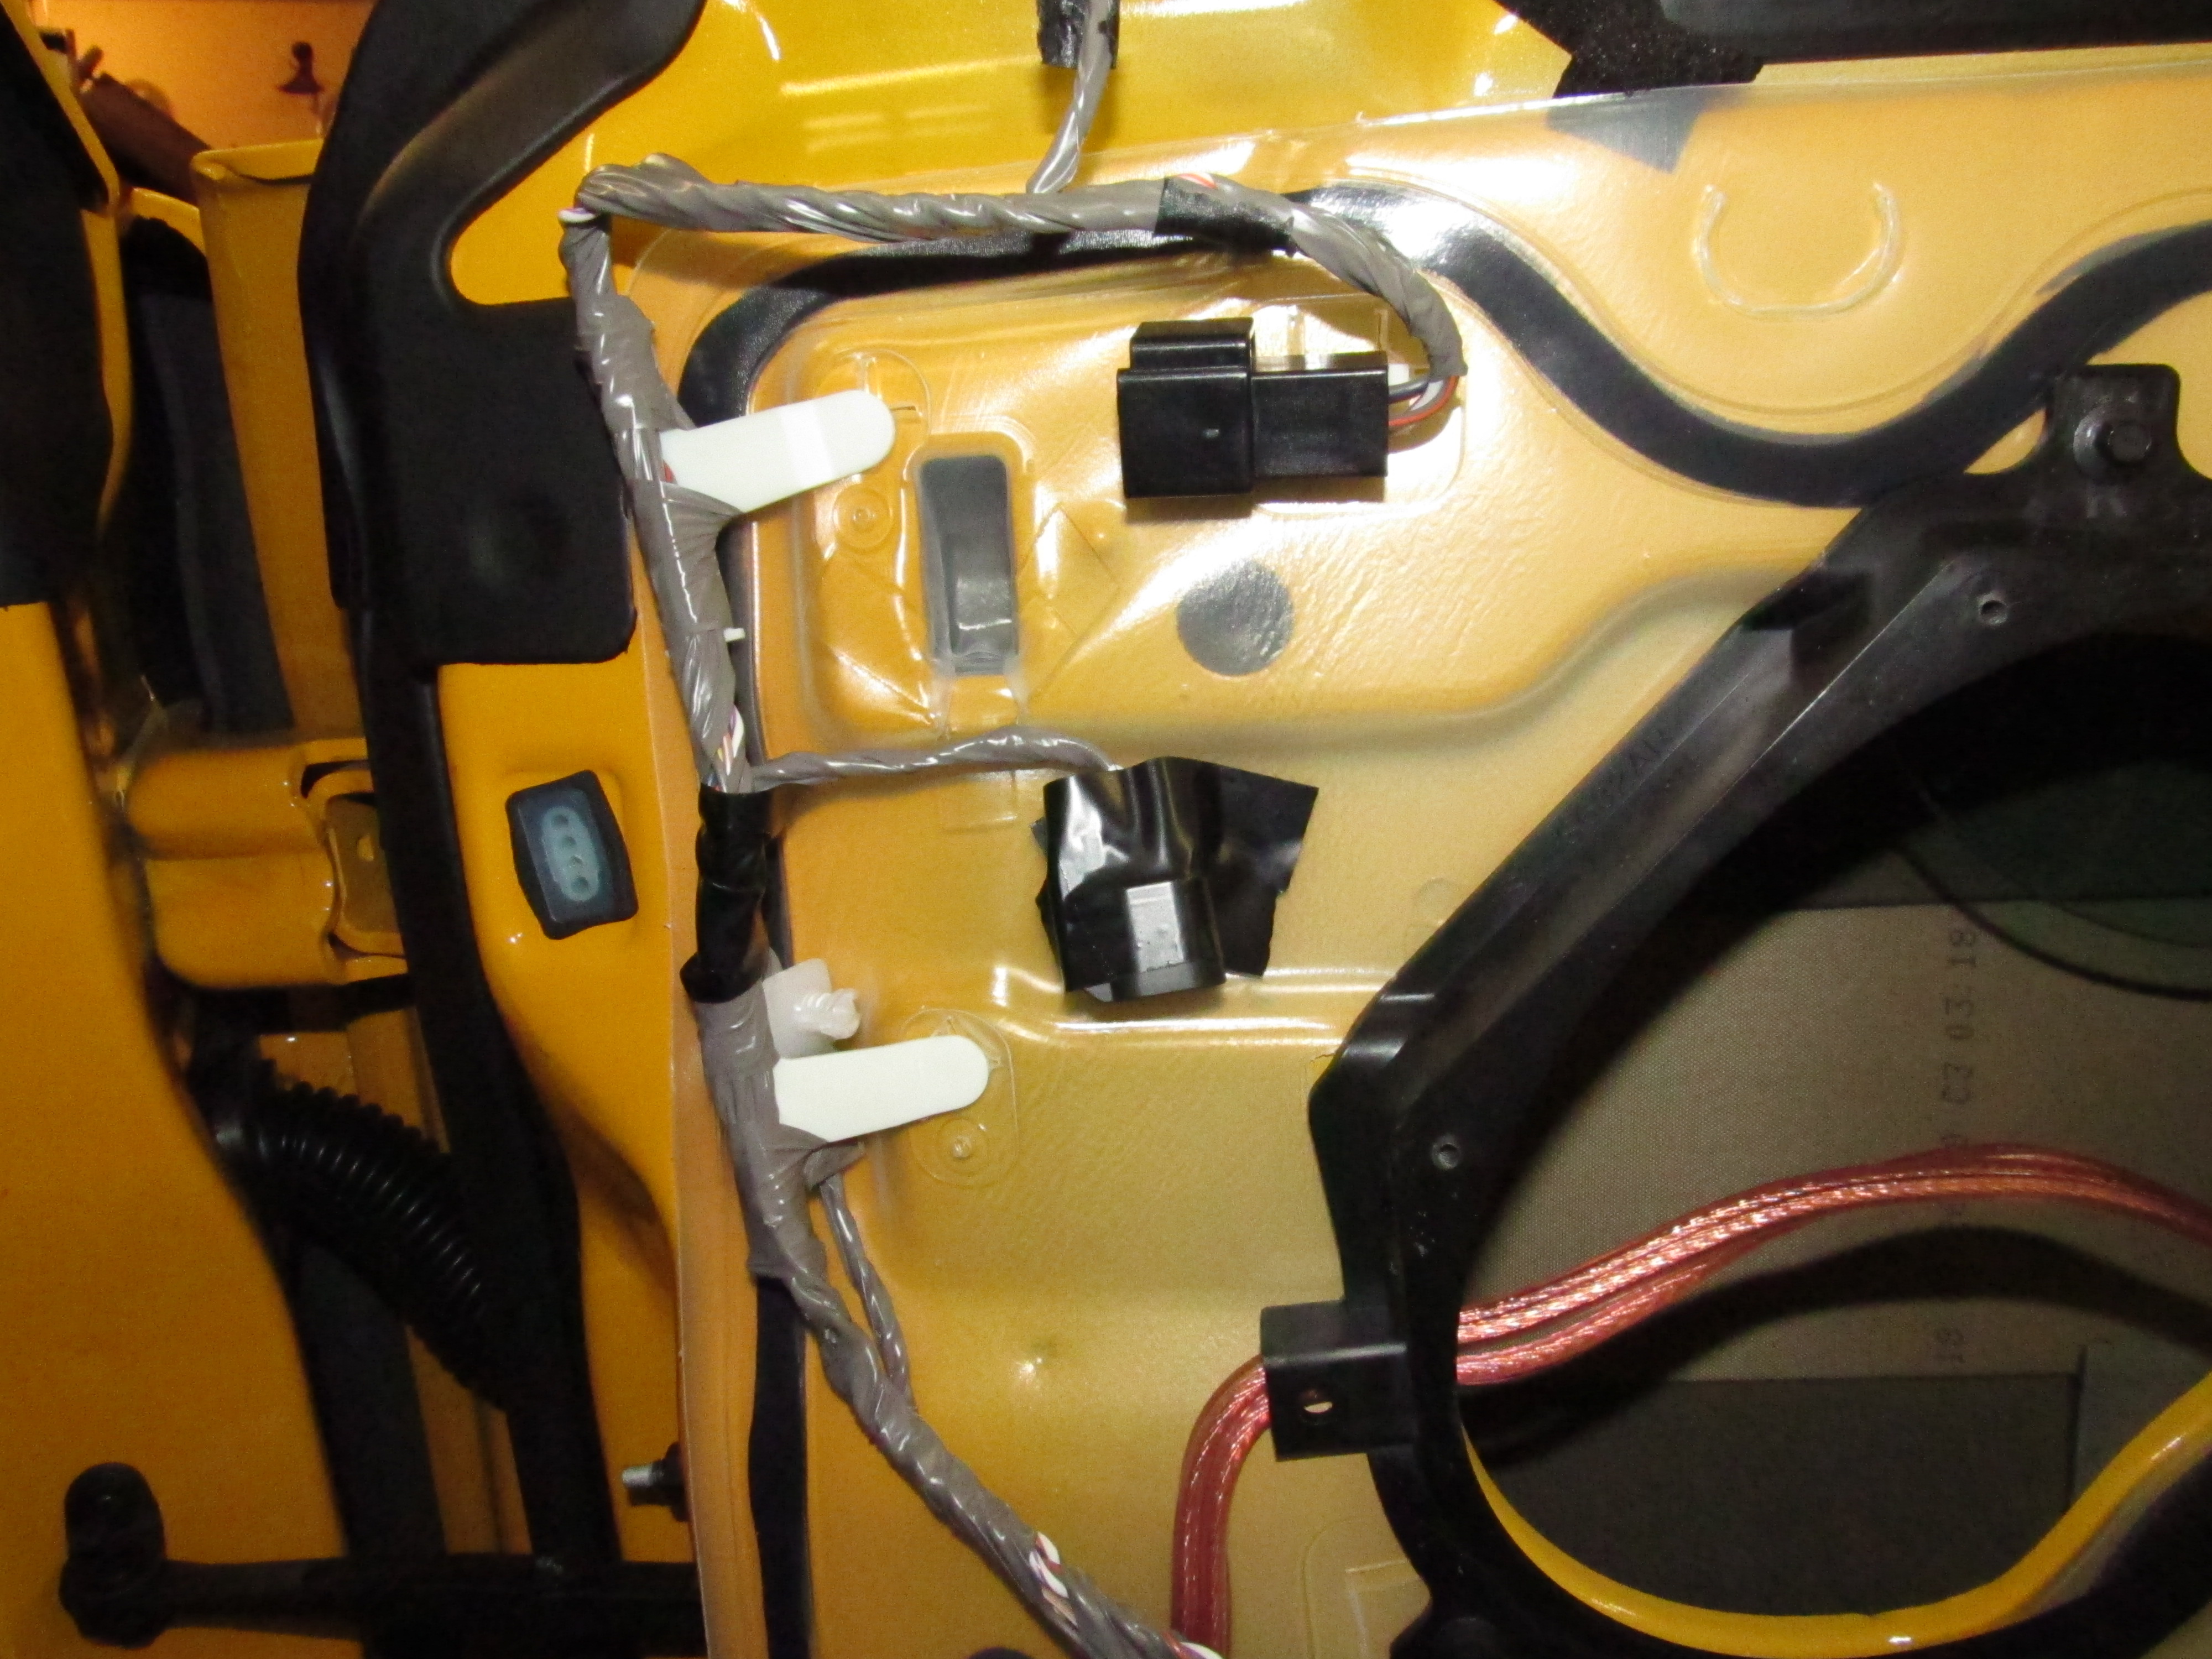
Door showing wire routing.

Factory harness taped out of the way.
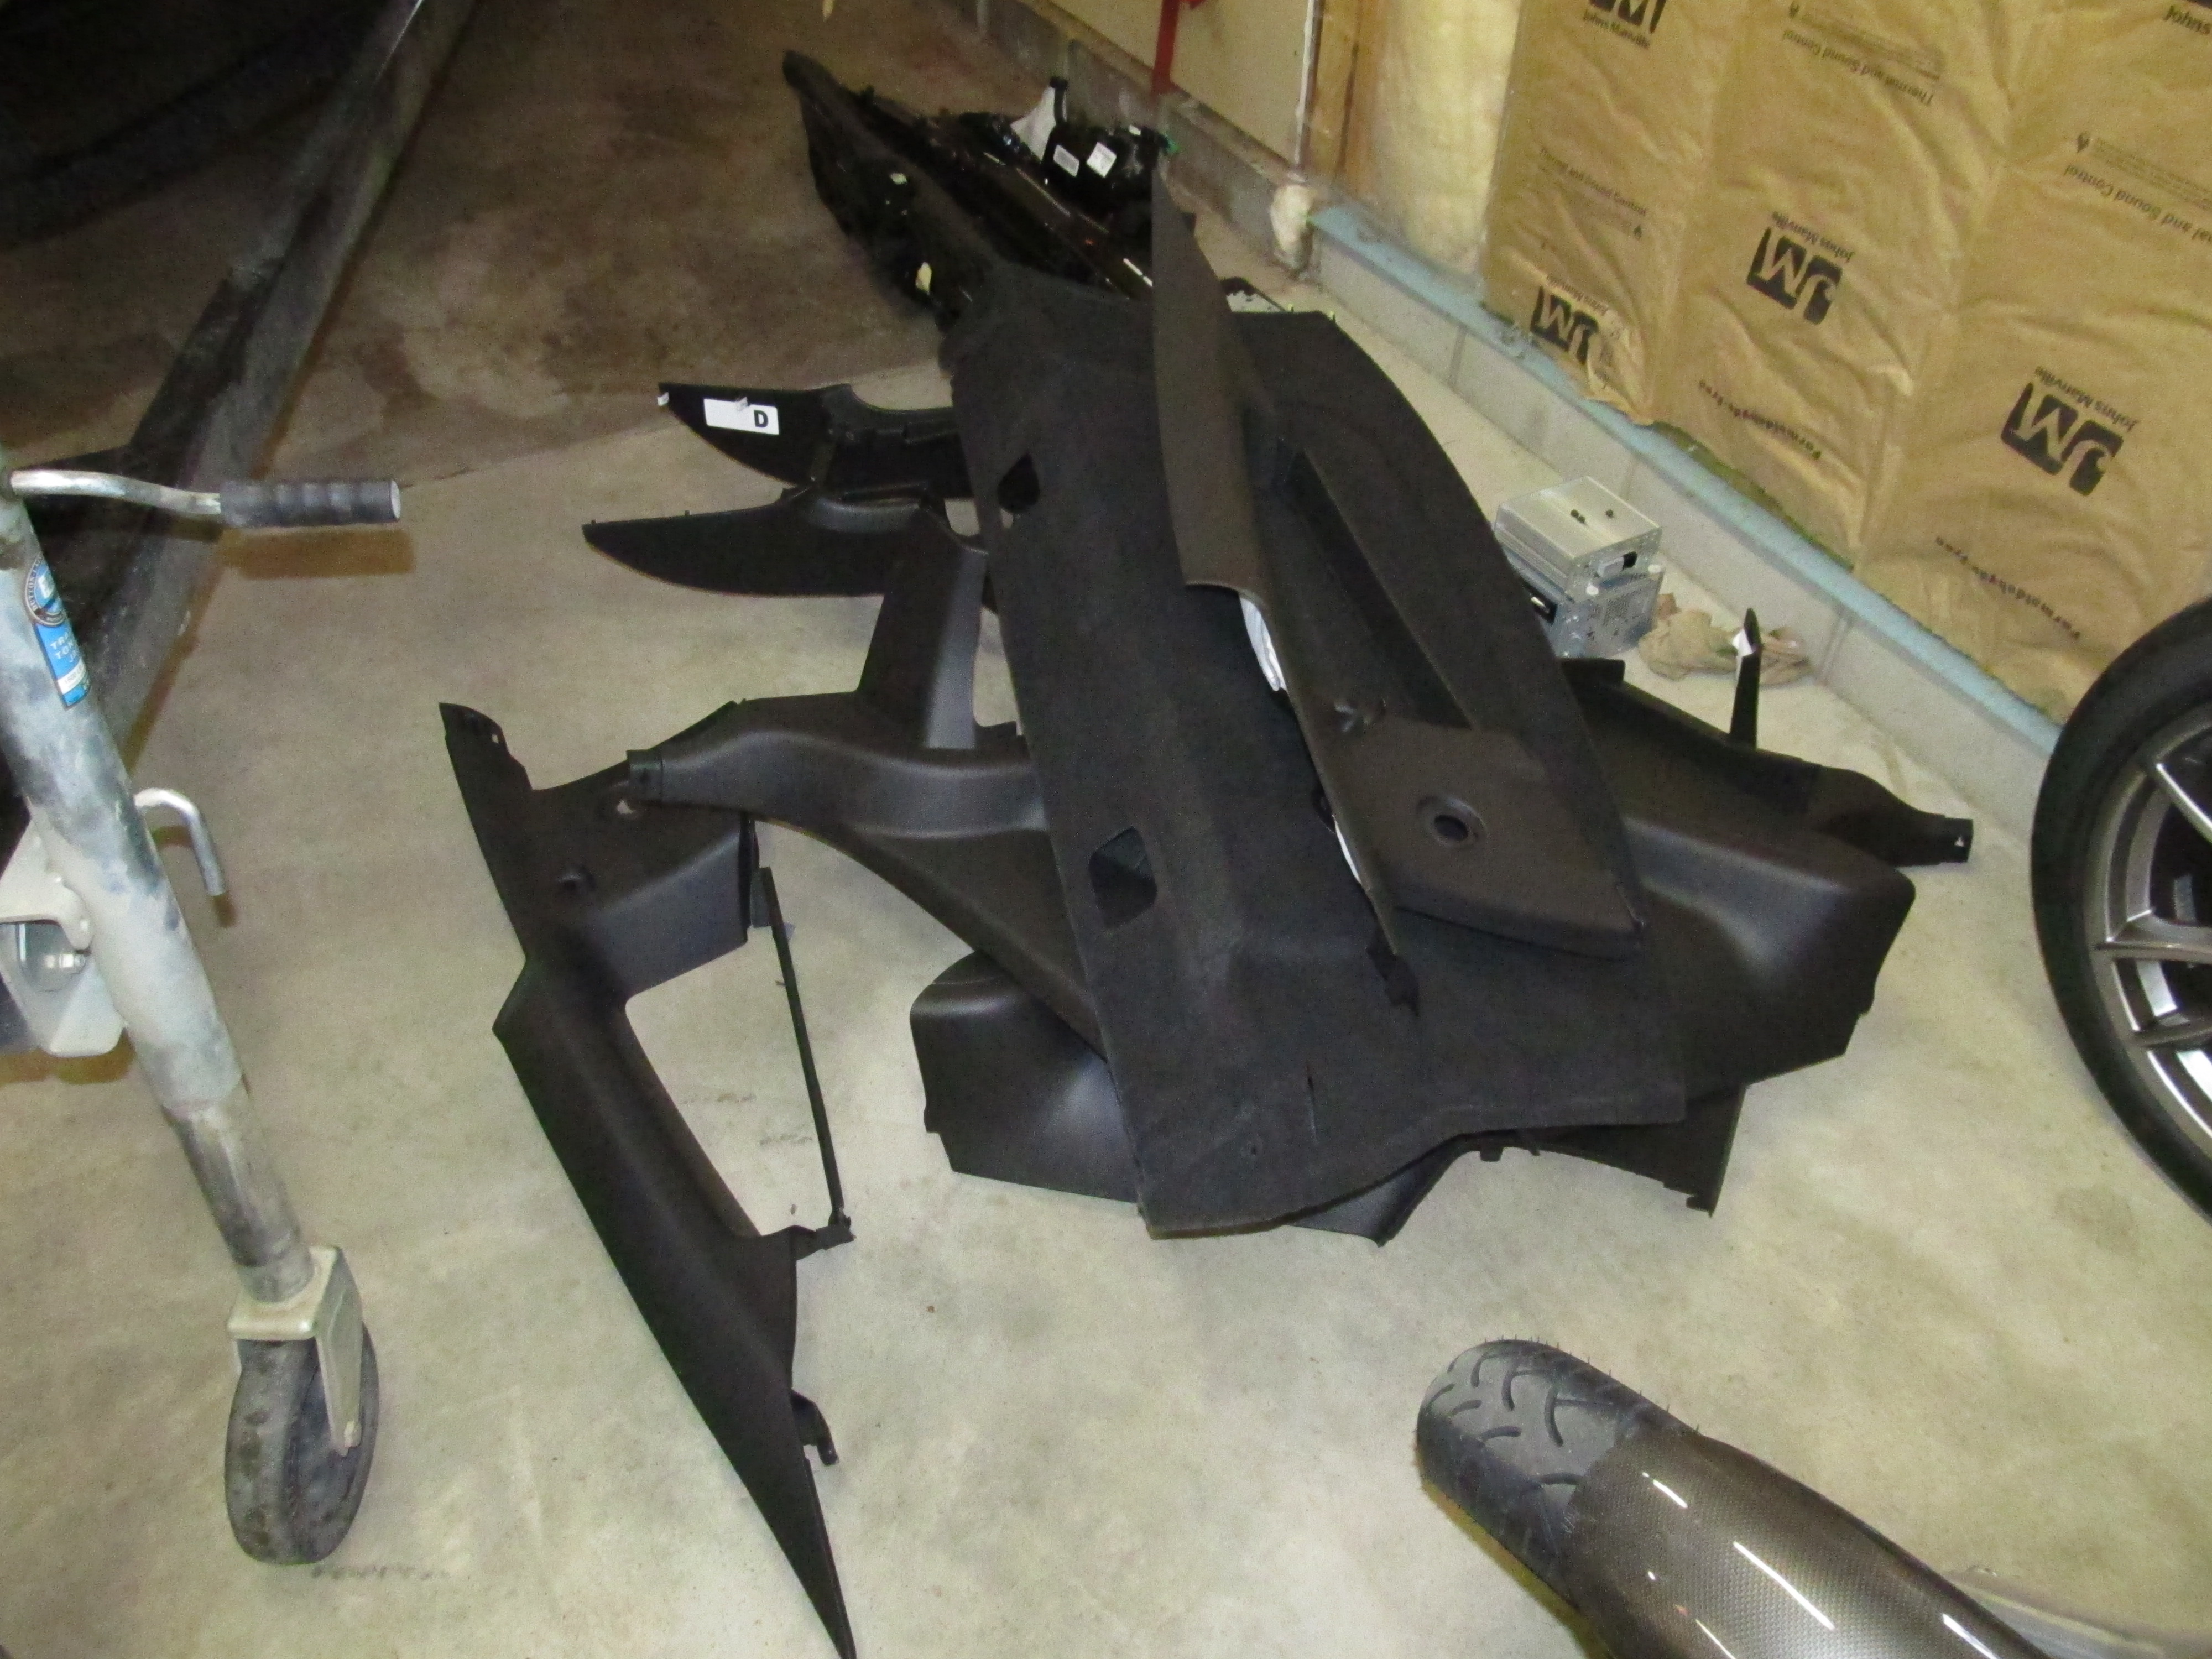
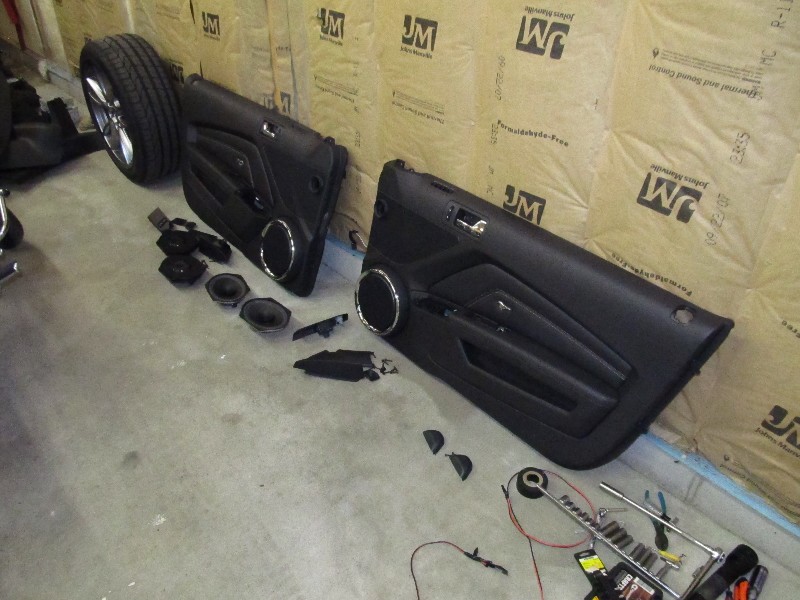
The carnage! All the parts off the car awaiting new stuff from the UPS and Fedex guys:

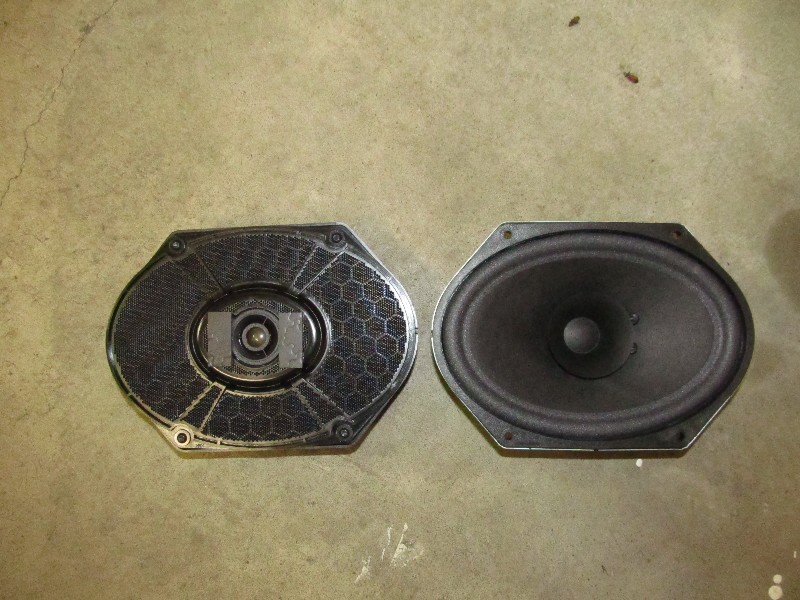
"premium" speakers LOL!
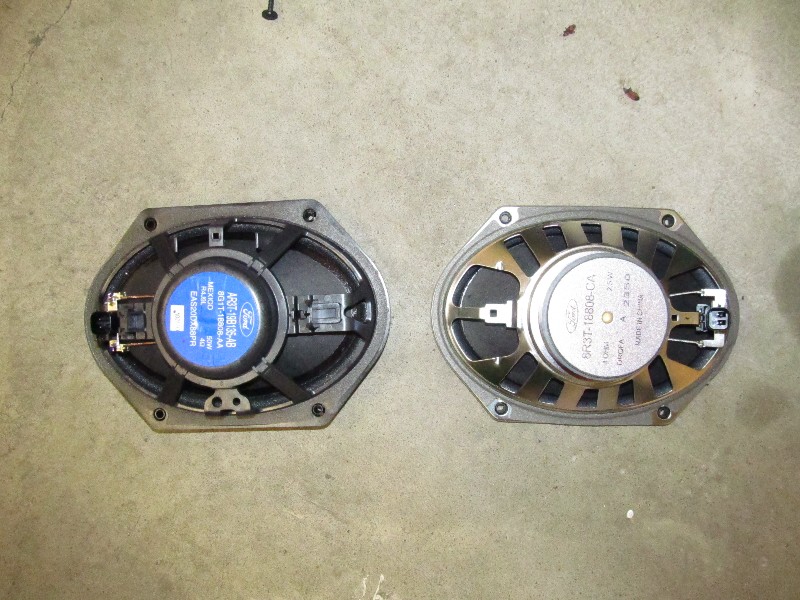
"premium" speakers LOL!
 Start Slide Show
Back to Stage 3!
Last updated: Sun, May 1, 2011.
Copyright © Mike vanMeeteren, 2011.