So, you've decided to put a stereo in your Mustang to fix the horribly deficient
Shaker 500 system that came stock with your car. I am in the same process myself,
and while all this information is kind of out there on the internet, it's stuff you
have to search for, so I figured, why not put it all down in one place?
Please note, all text and most images (except where noted) are mine. You are free to
distribute, print, use, etc, to your hearts content, but please leave this note and
the link to the original page in place. The original can be found here:
http://www.fast351.com/11GT/stereoinstall/disassemblyinstructions.html
Stage 1: Routing your amplifier wiring.
You need to run amplifiers off their own power cable sourced directly from the battery. The
easiest way to route the cables is using existing wiring locations, there's plenty of
room. Here we go:
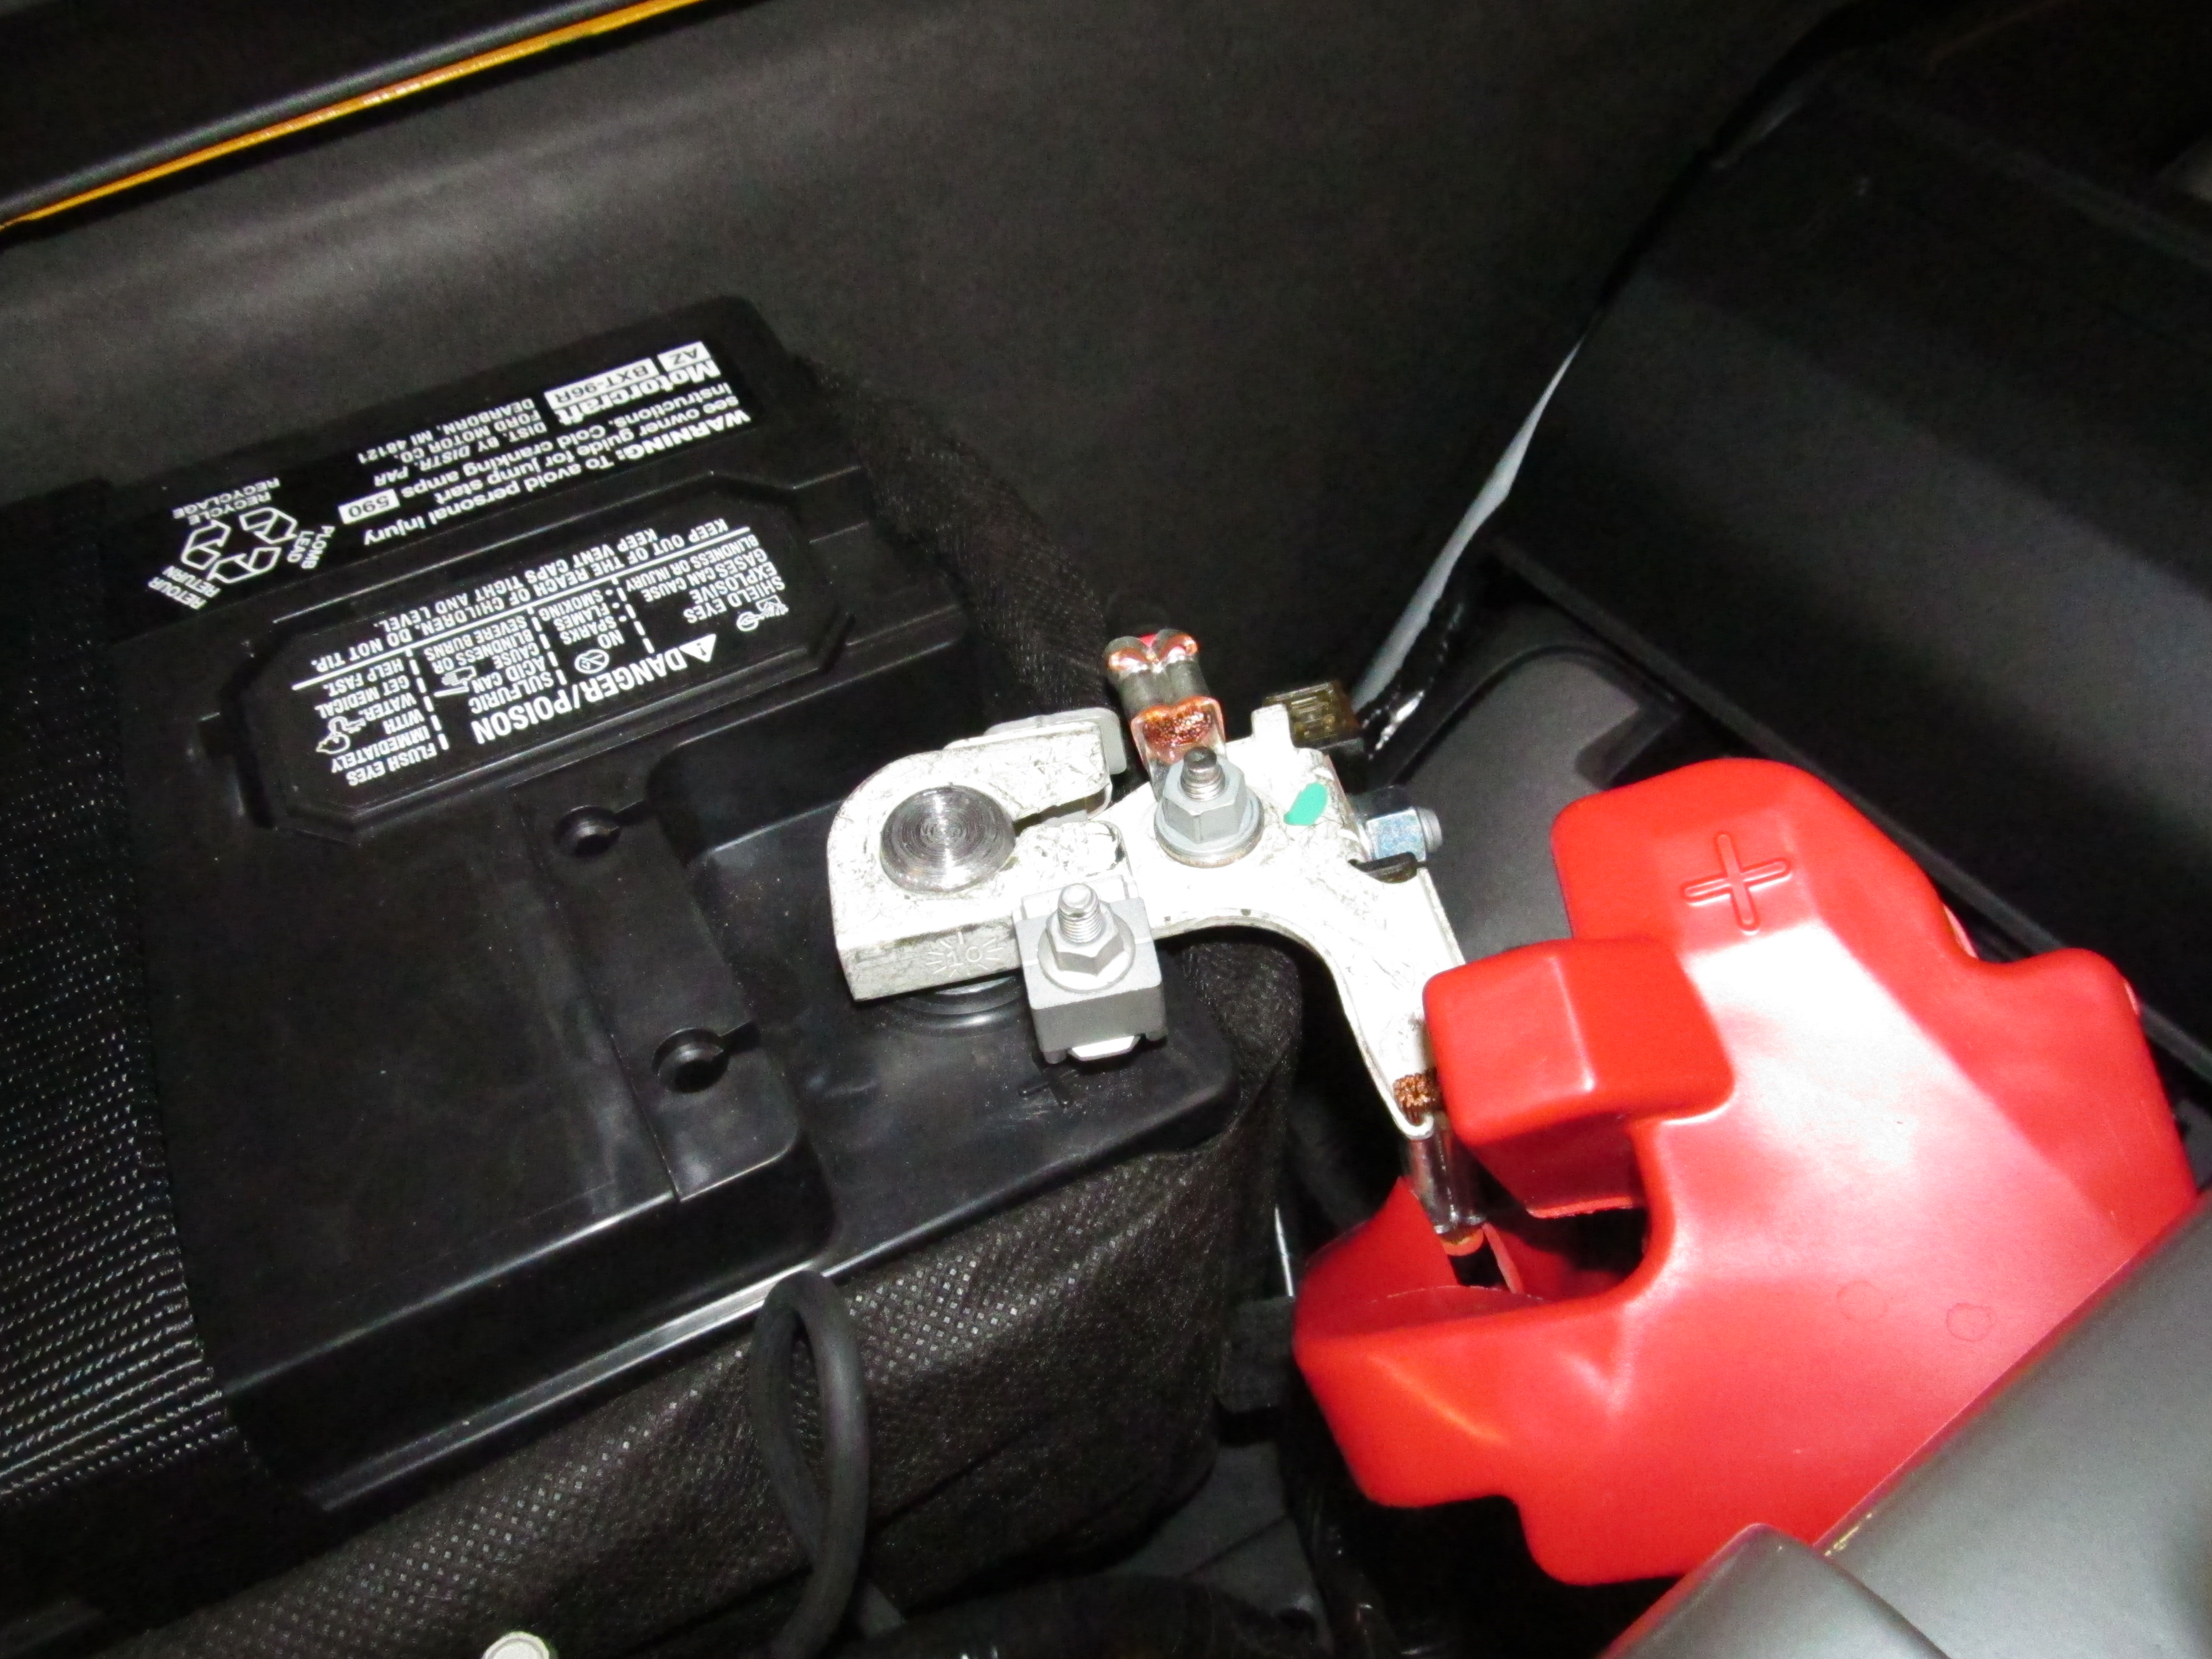
Step 1: Open the hood, locate the battery, disconnect ground (this is optional,
but if you're leary about working on a live 12V system, it's safest).
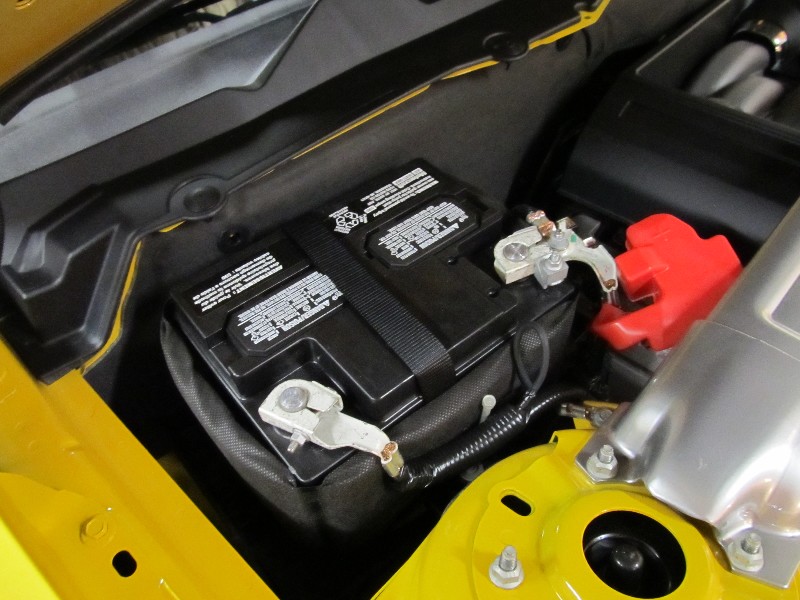
Battery

Closeup of positive post (where you will hook your cables)

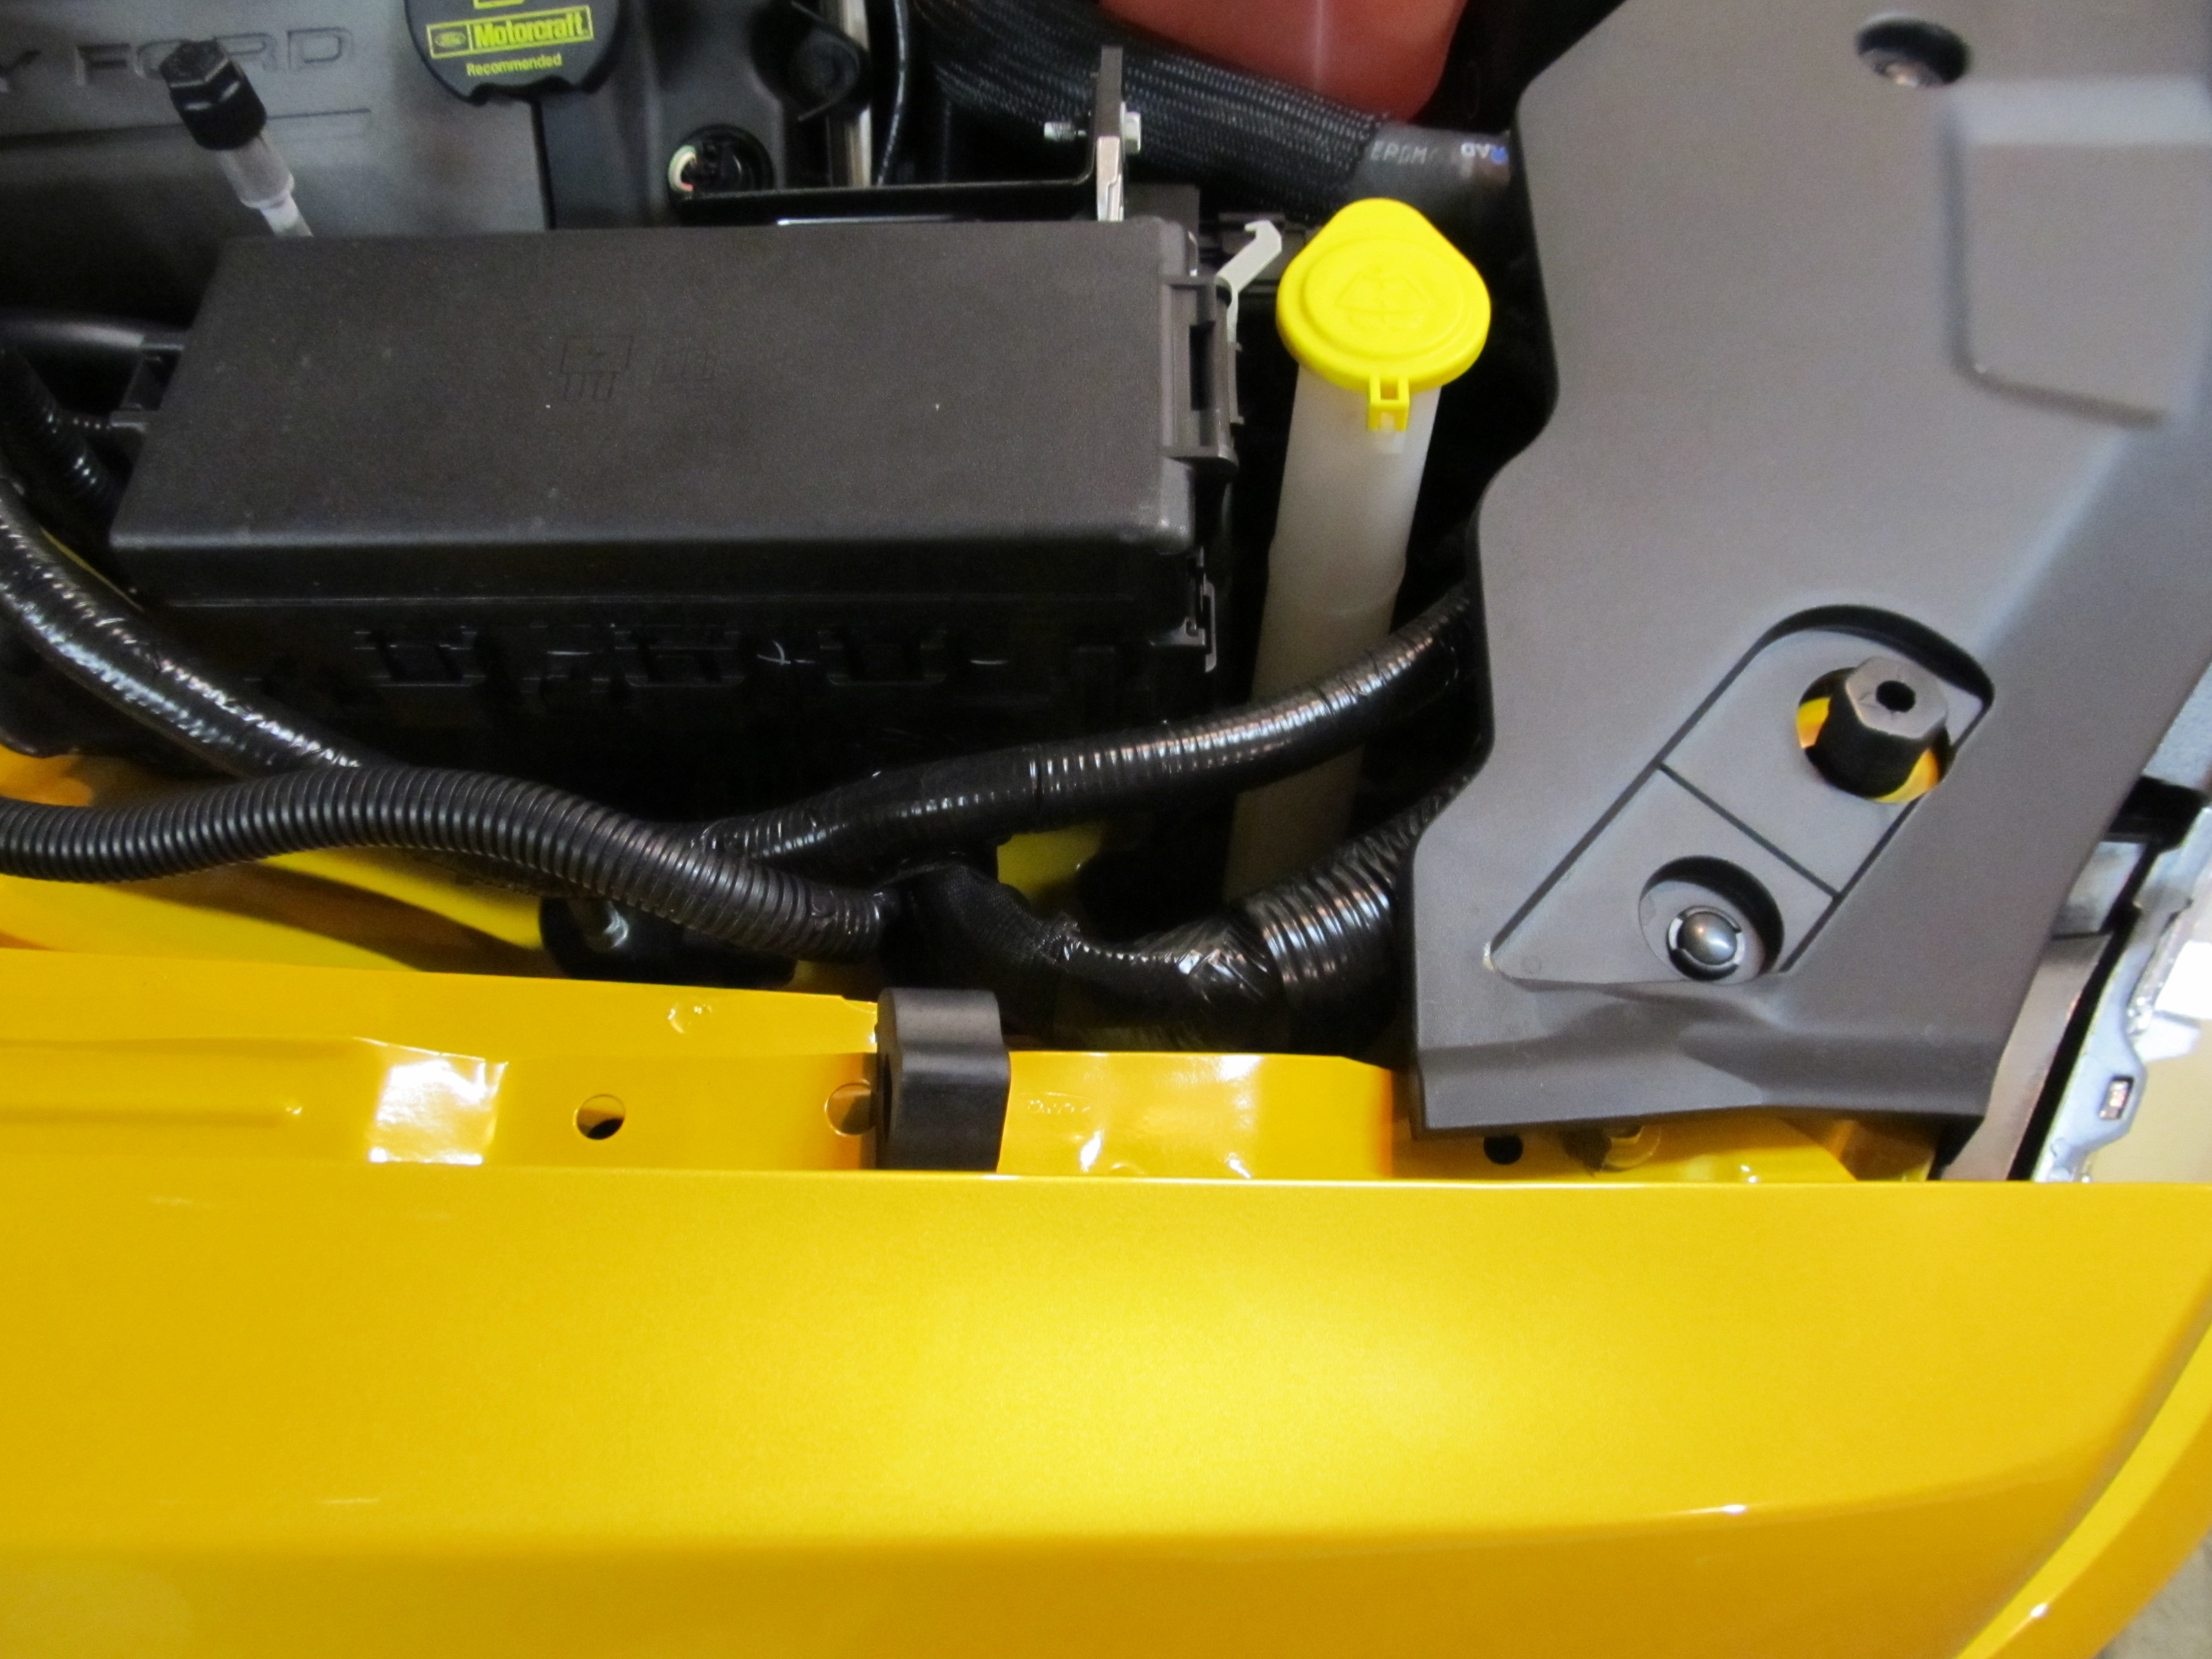
There are two places where you can run your battery cables. When you remove the fender liner
in the next step, you will see the choices clearly, but the factory harness that goes into the
car comes under this fuseblock at the front right headlight, then goes down (see next picture).
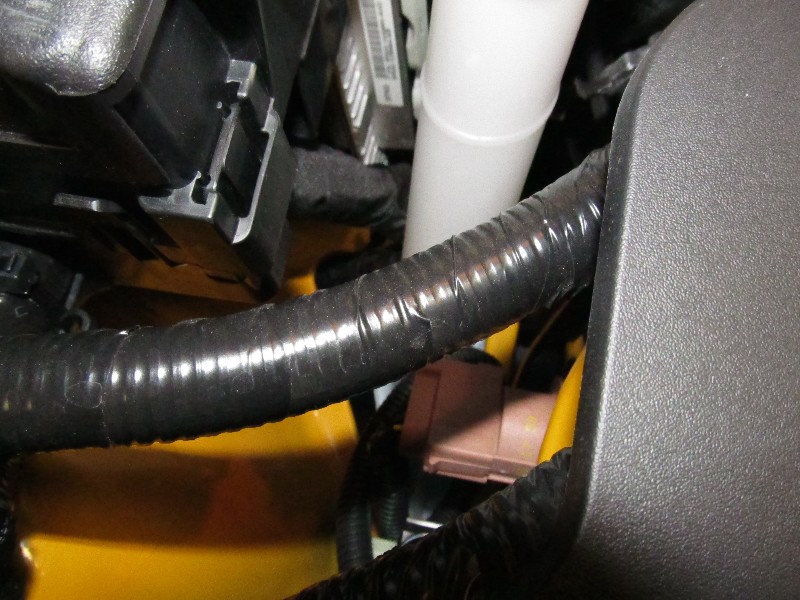
Closeup of where harness going to the passenger compartment goes out of the engine bay (the cloth-
wrapped one next to the computer).
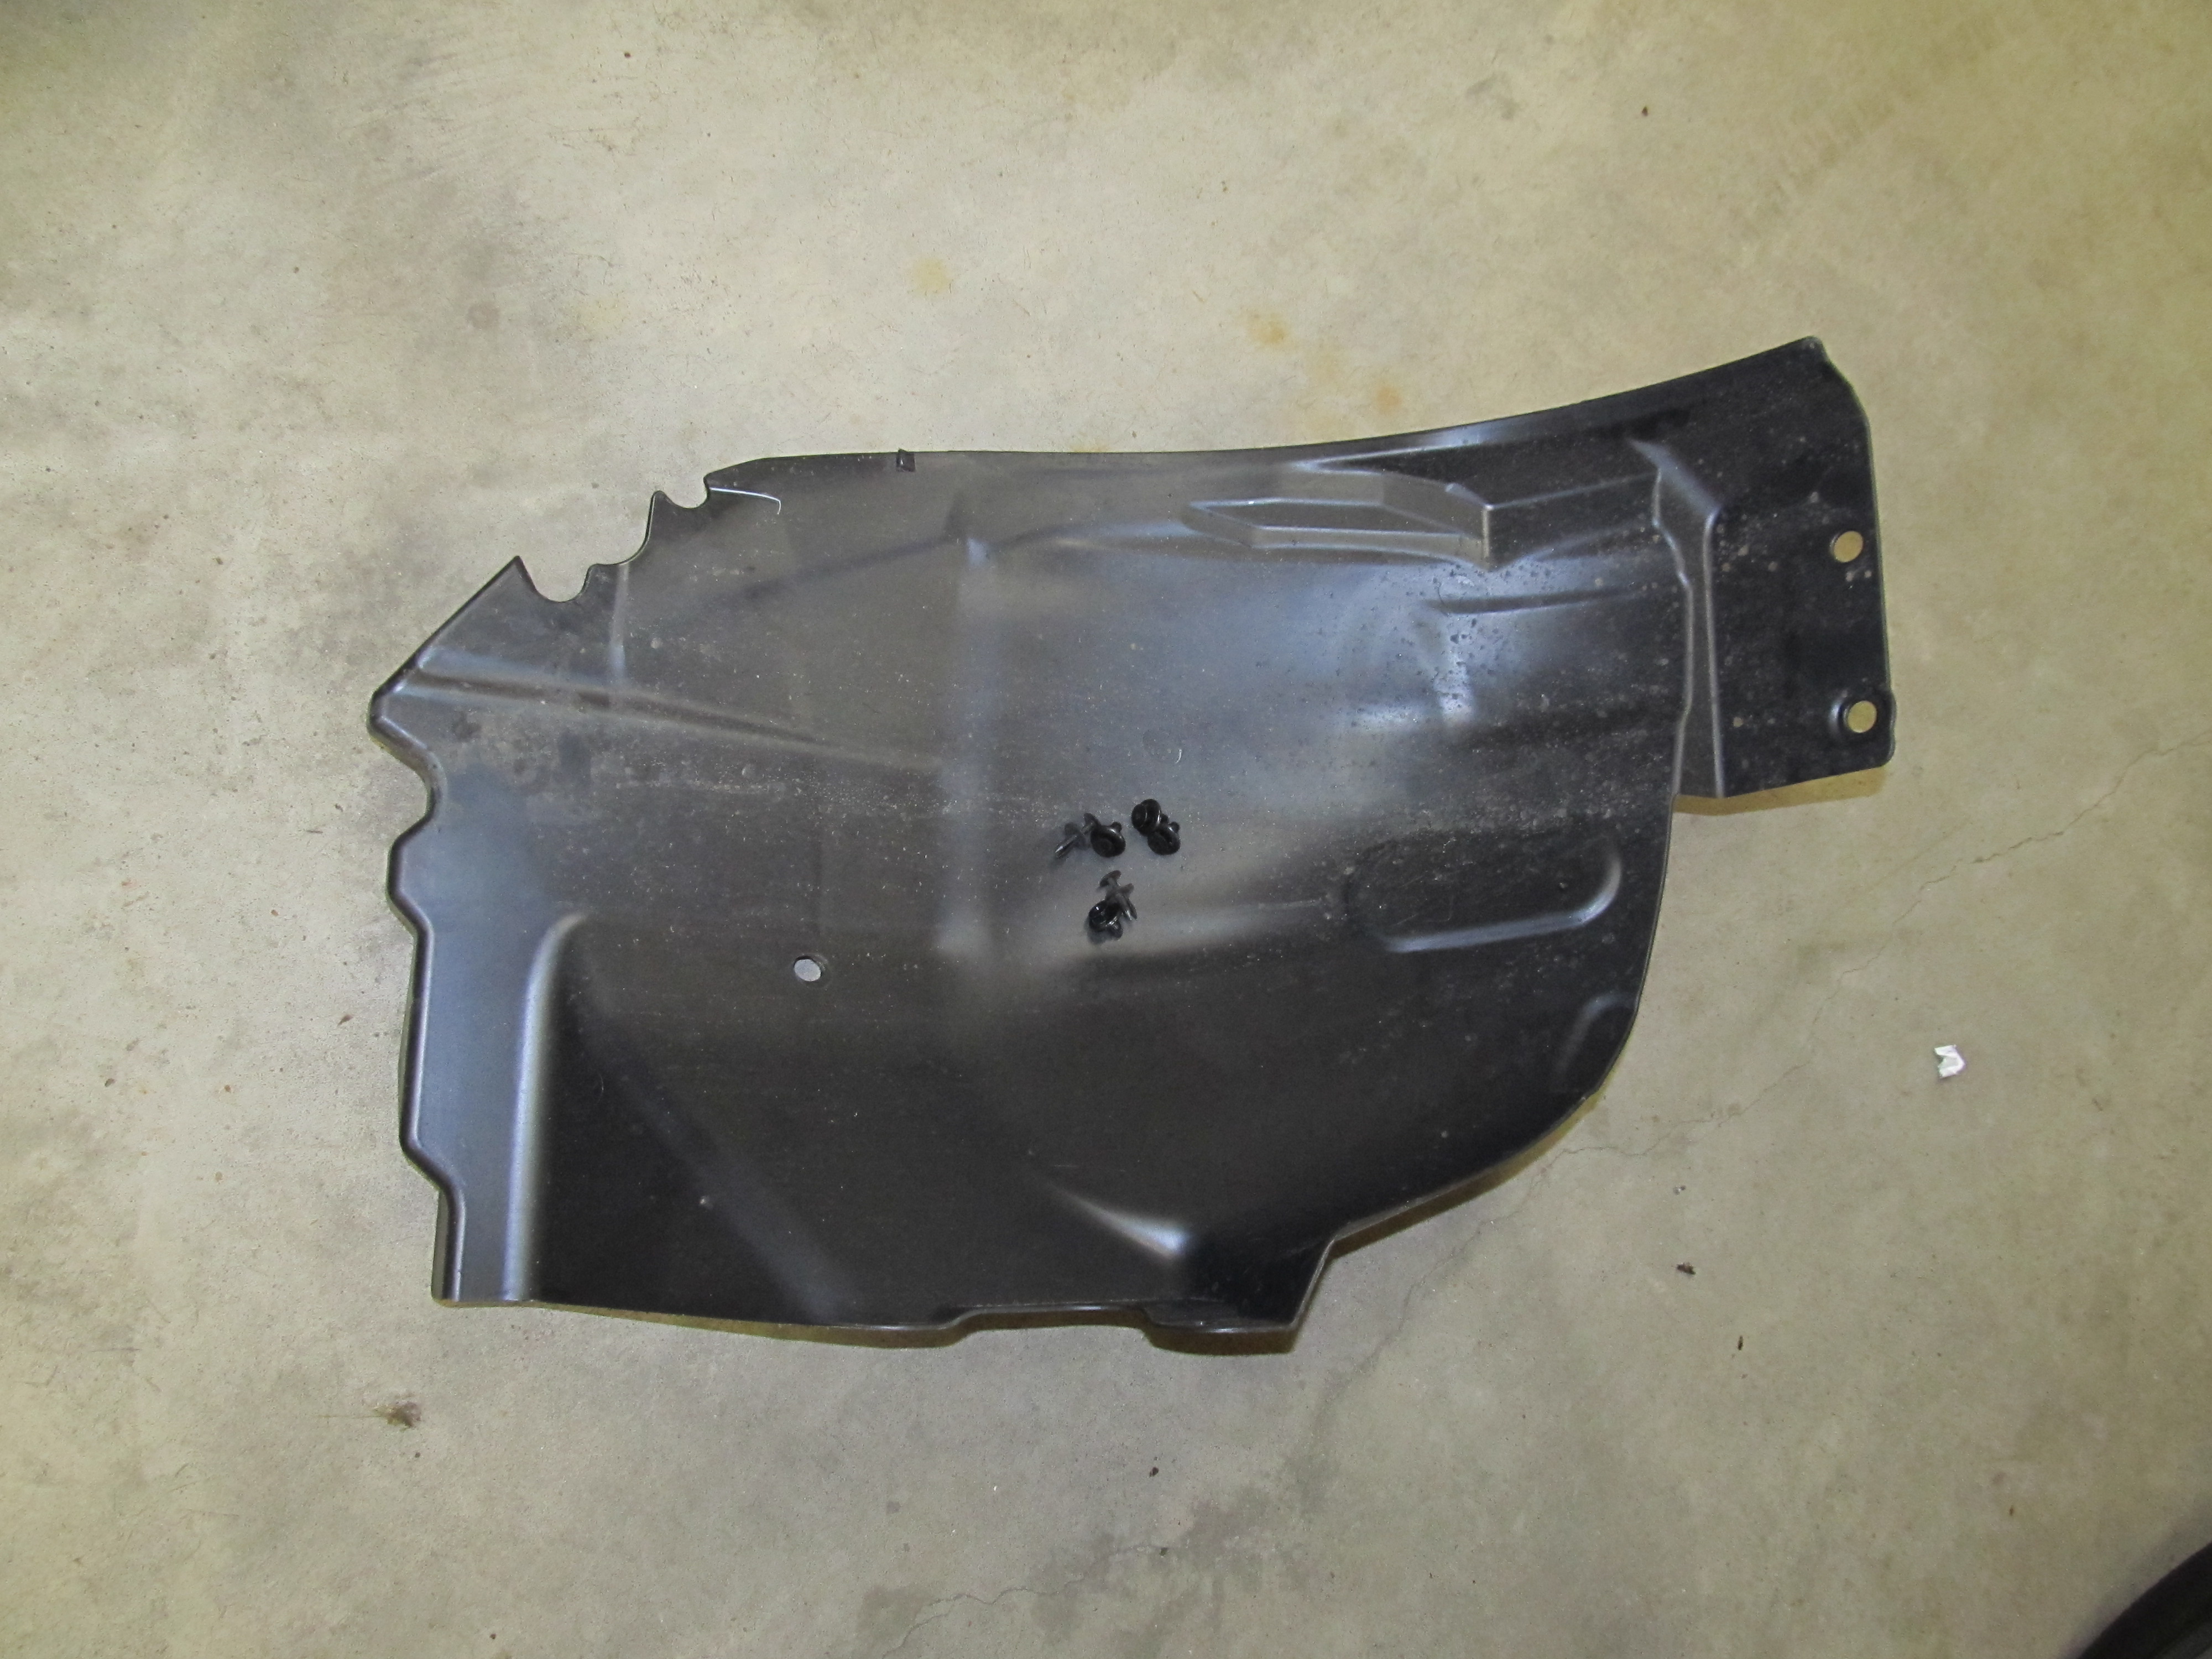
Step 2: Remove the passenger side wheel. Remove the fender liner. The fender liner is held in with 6 fasteners. Two run
through the rock guard, and are pushpin type. Take a small screwdriver and pull the center of the pin,
then remove the whole pin. The other four are slightly different with a phillips head. The phillips
head just releases the center pin. Turn it 1/4 turn counterclockwise and remove the pin. Now, the
fender liner will be stuck behind the rock guard, which is part of the rocker panel. The easiest way
to remove it is to start at the front, roll it up like a taco shell, then rotate it out from behind
the rock guard:
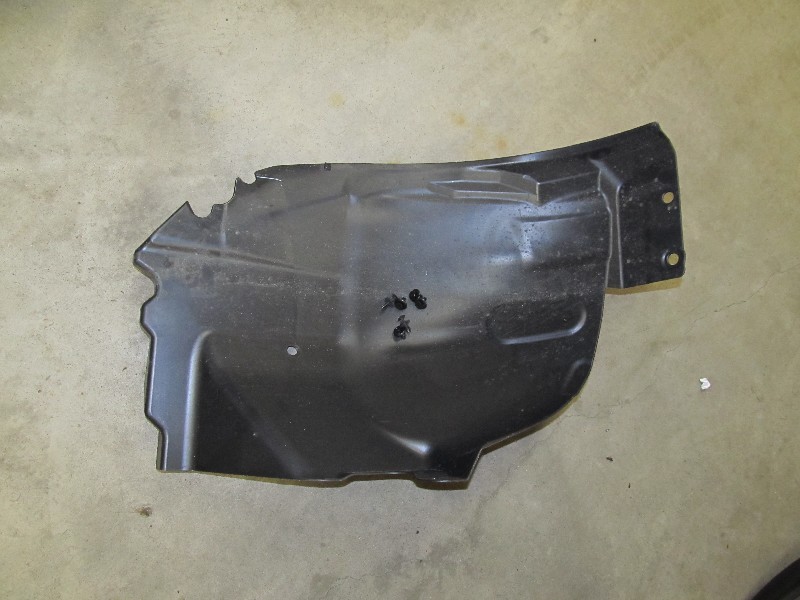
Fender liner removed, with it's 6 fasteners.
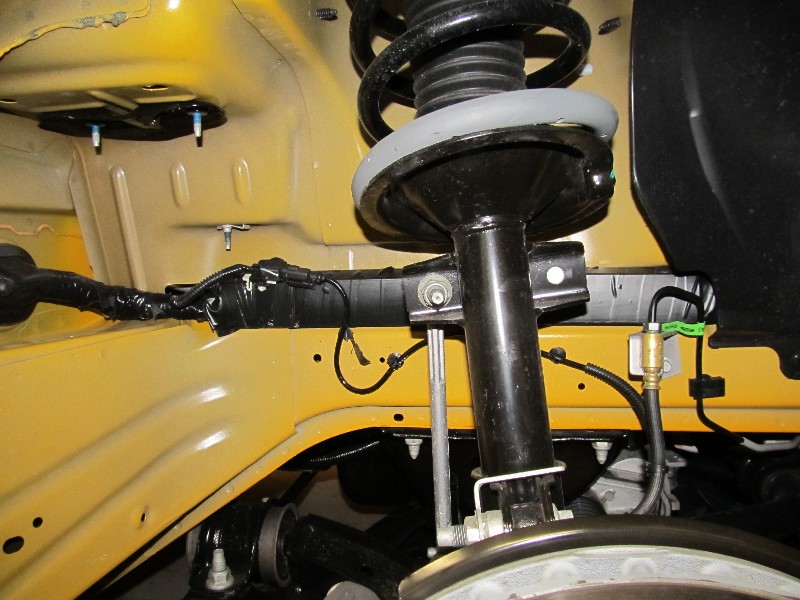
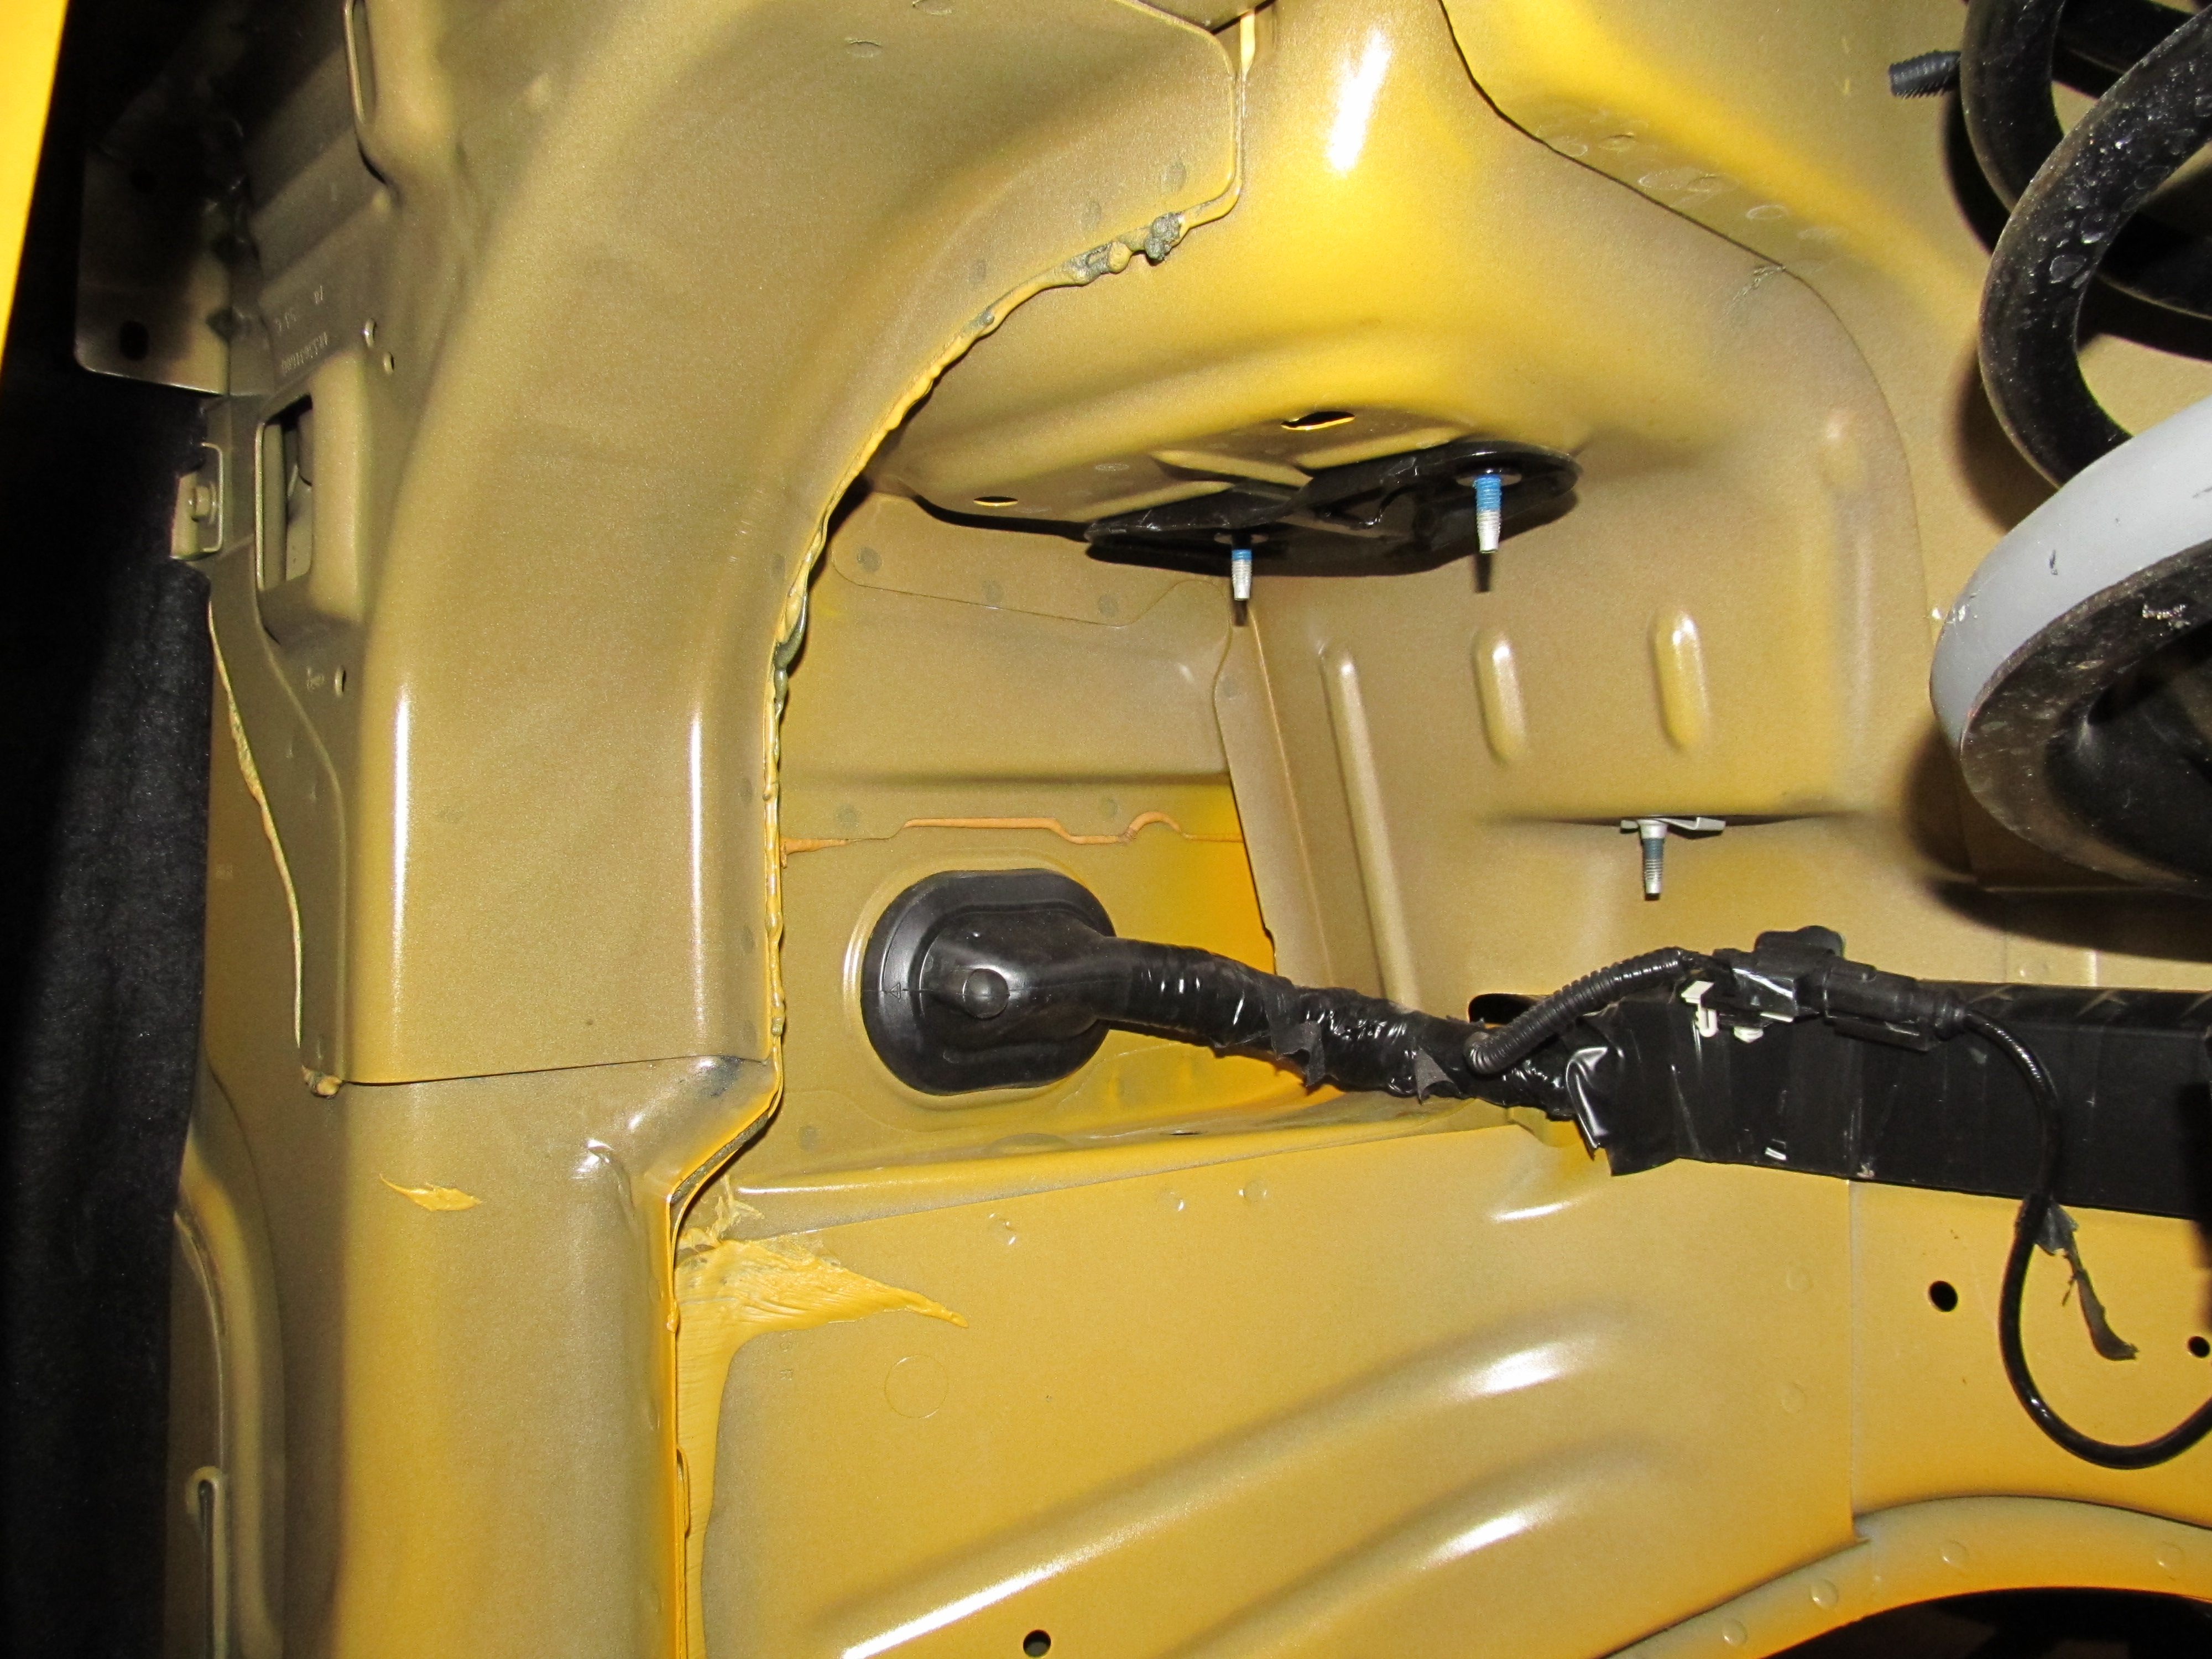
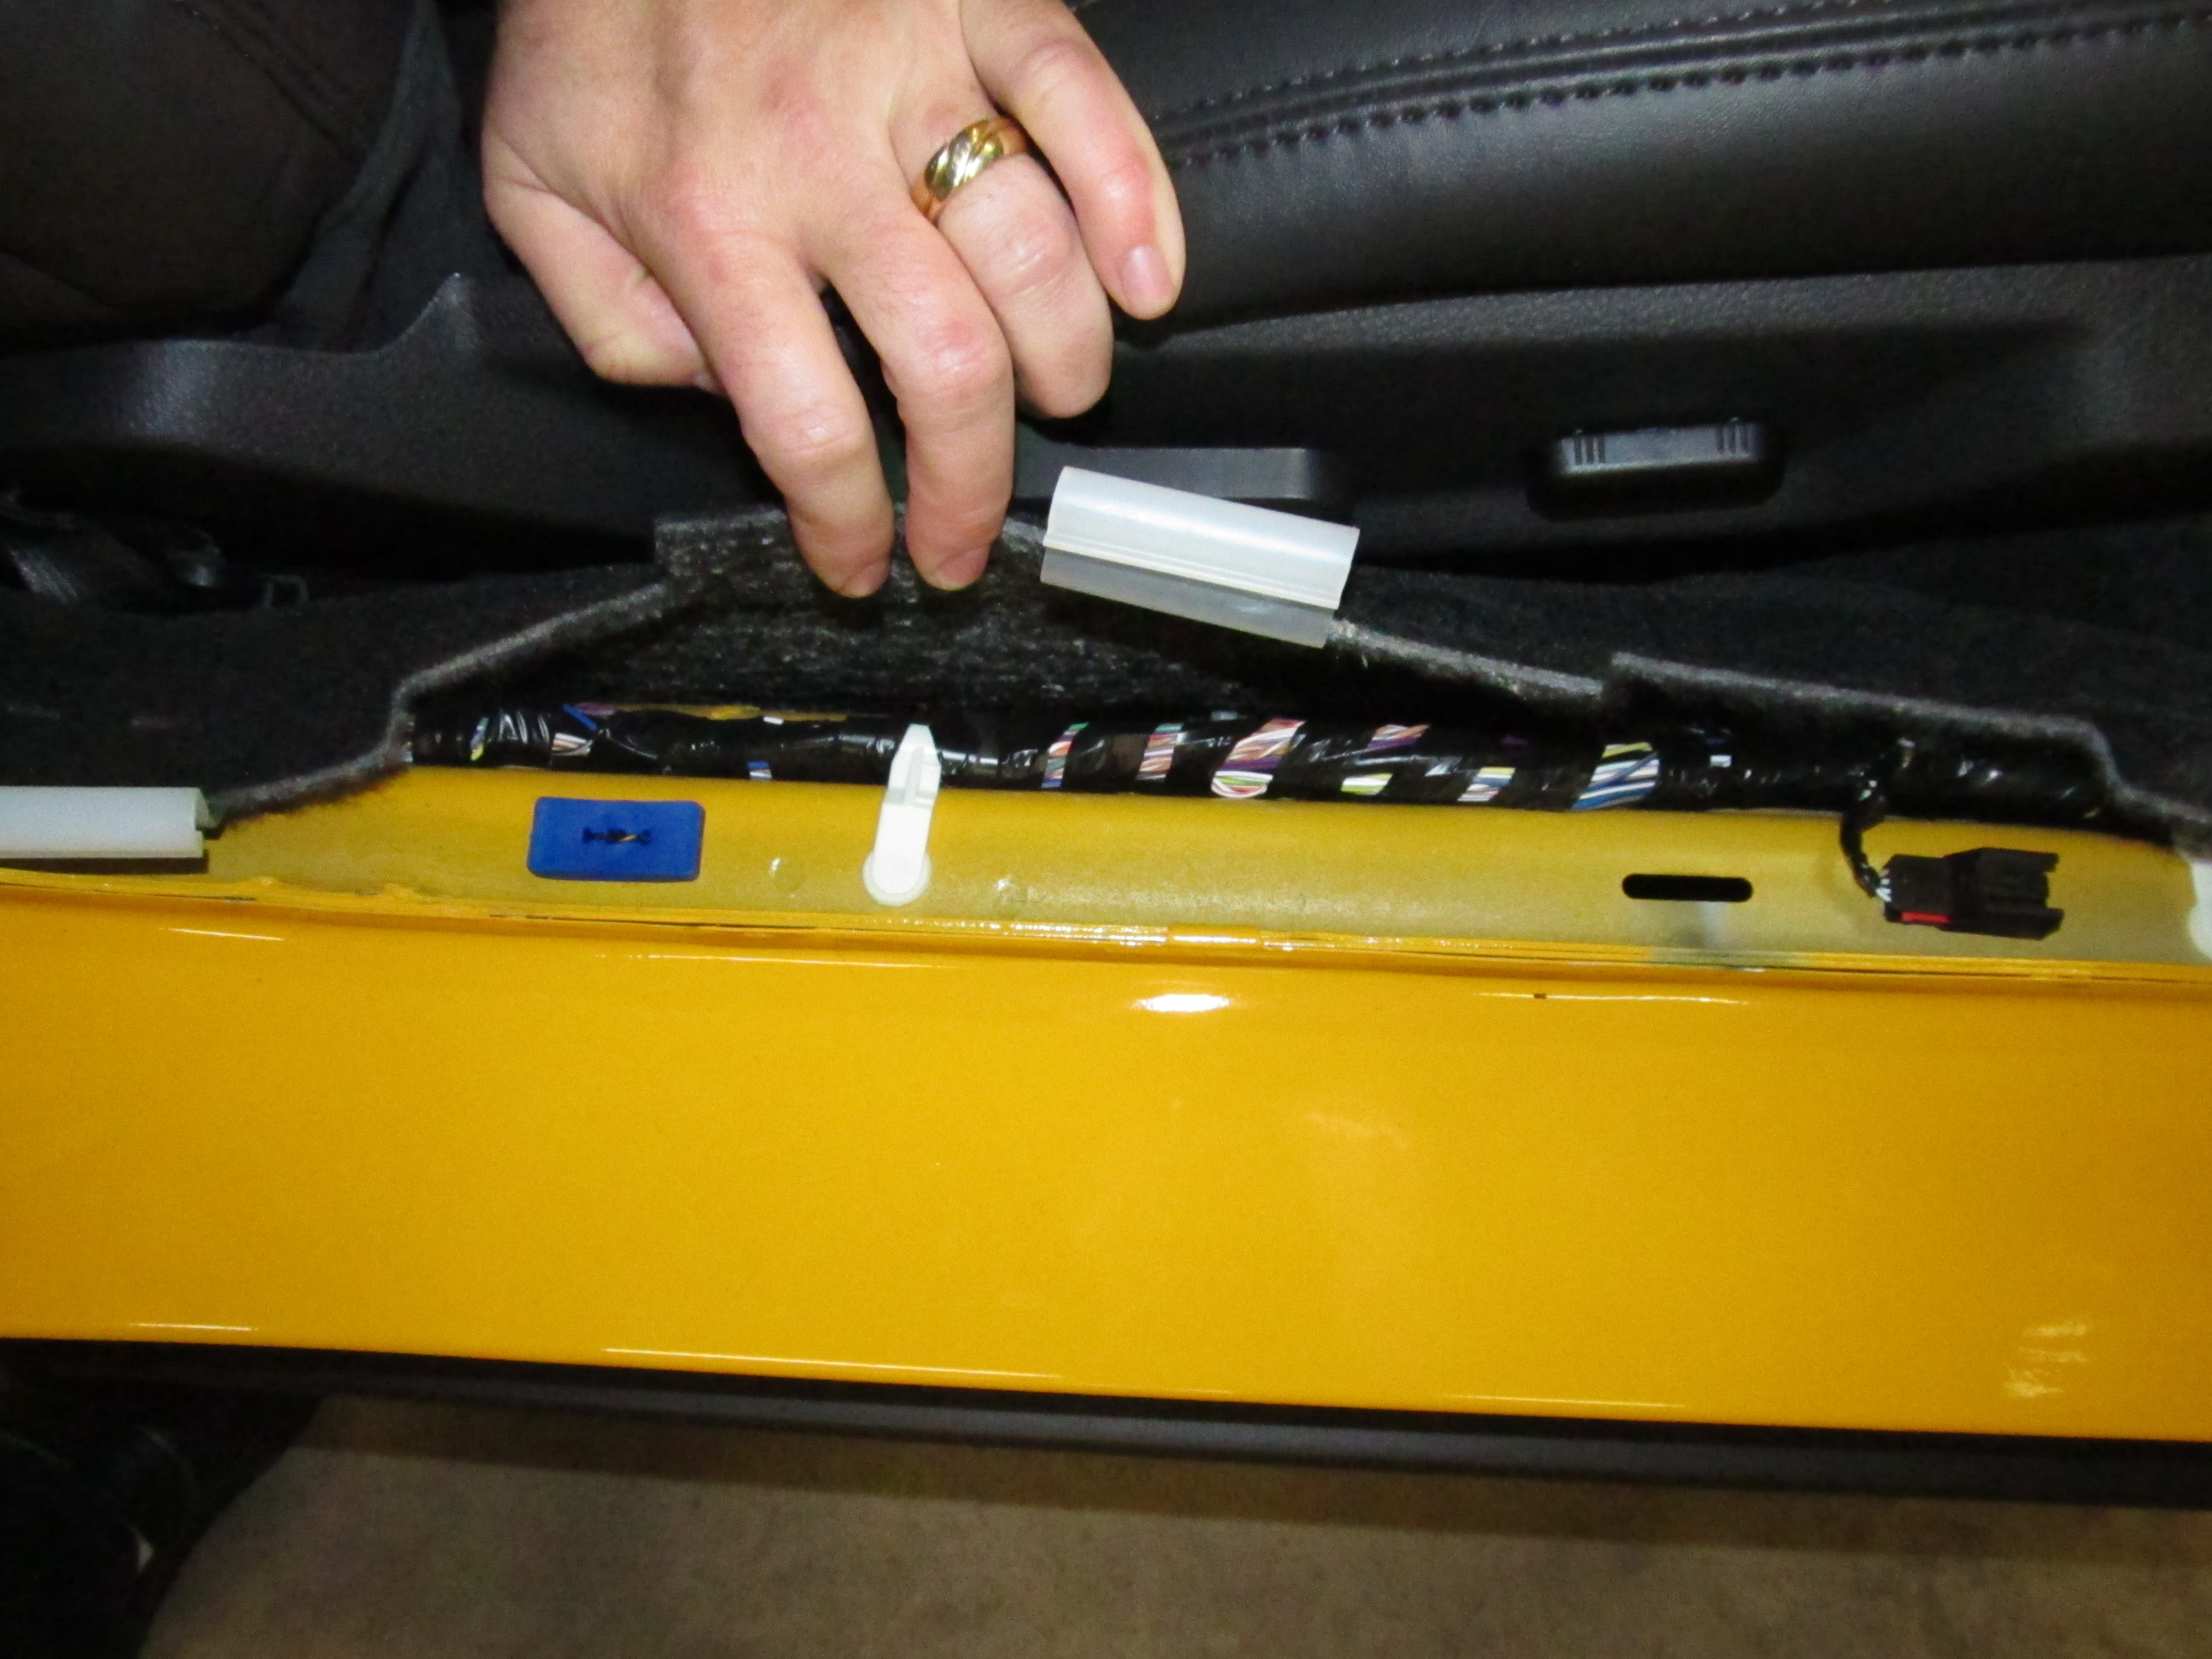
Here is where the factory harness runs. You could run your new cables on top and zip-tie to the
existing harness channel.

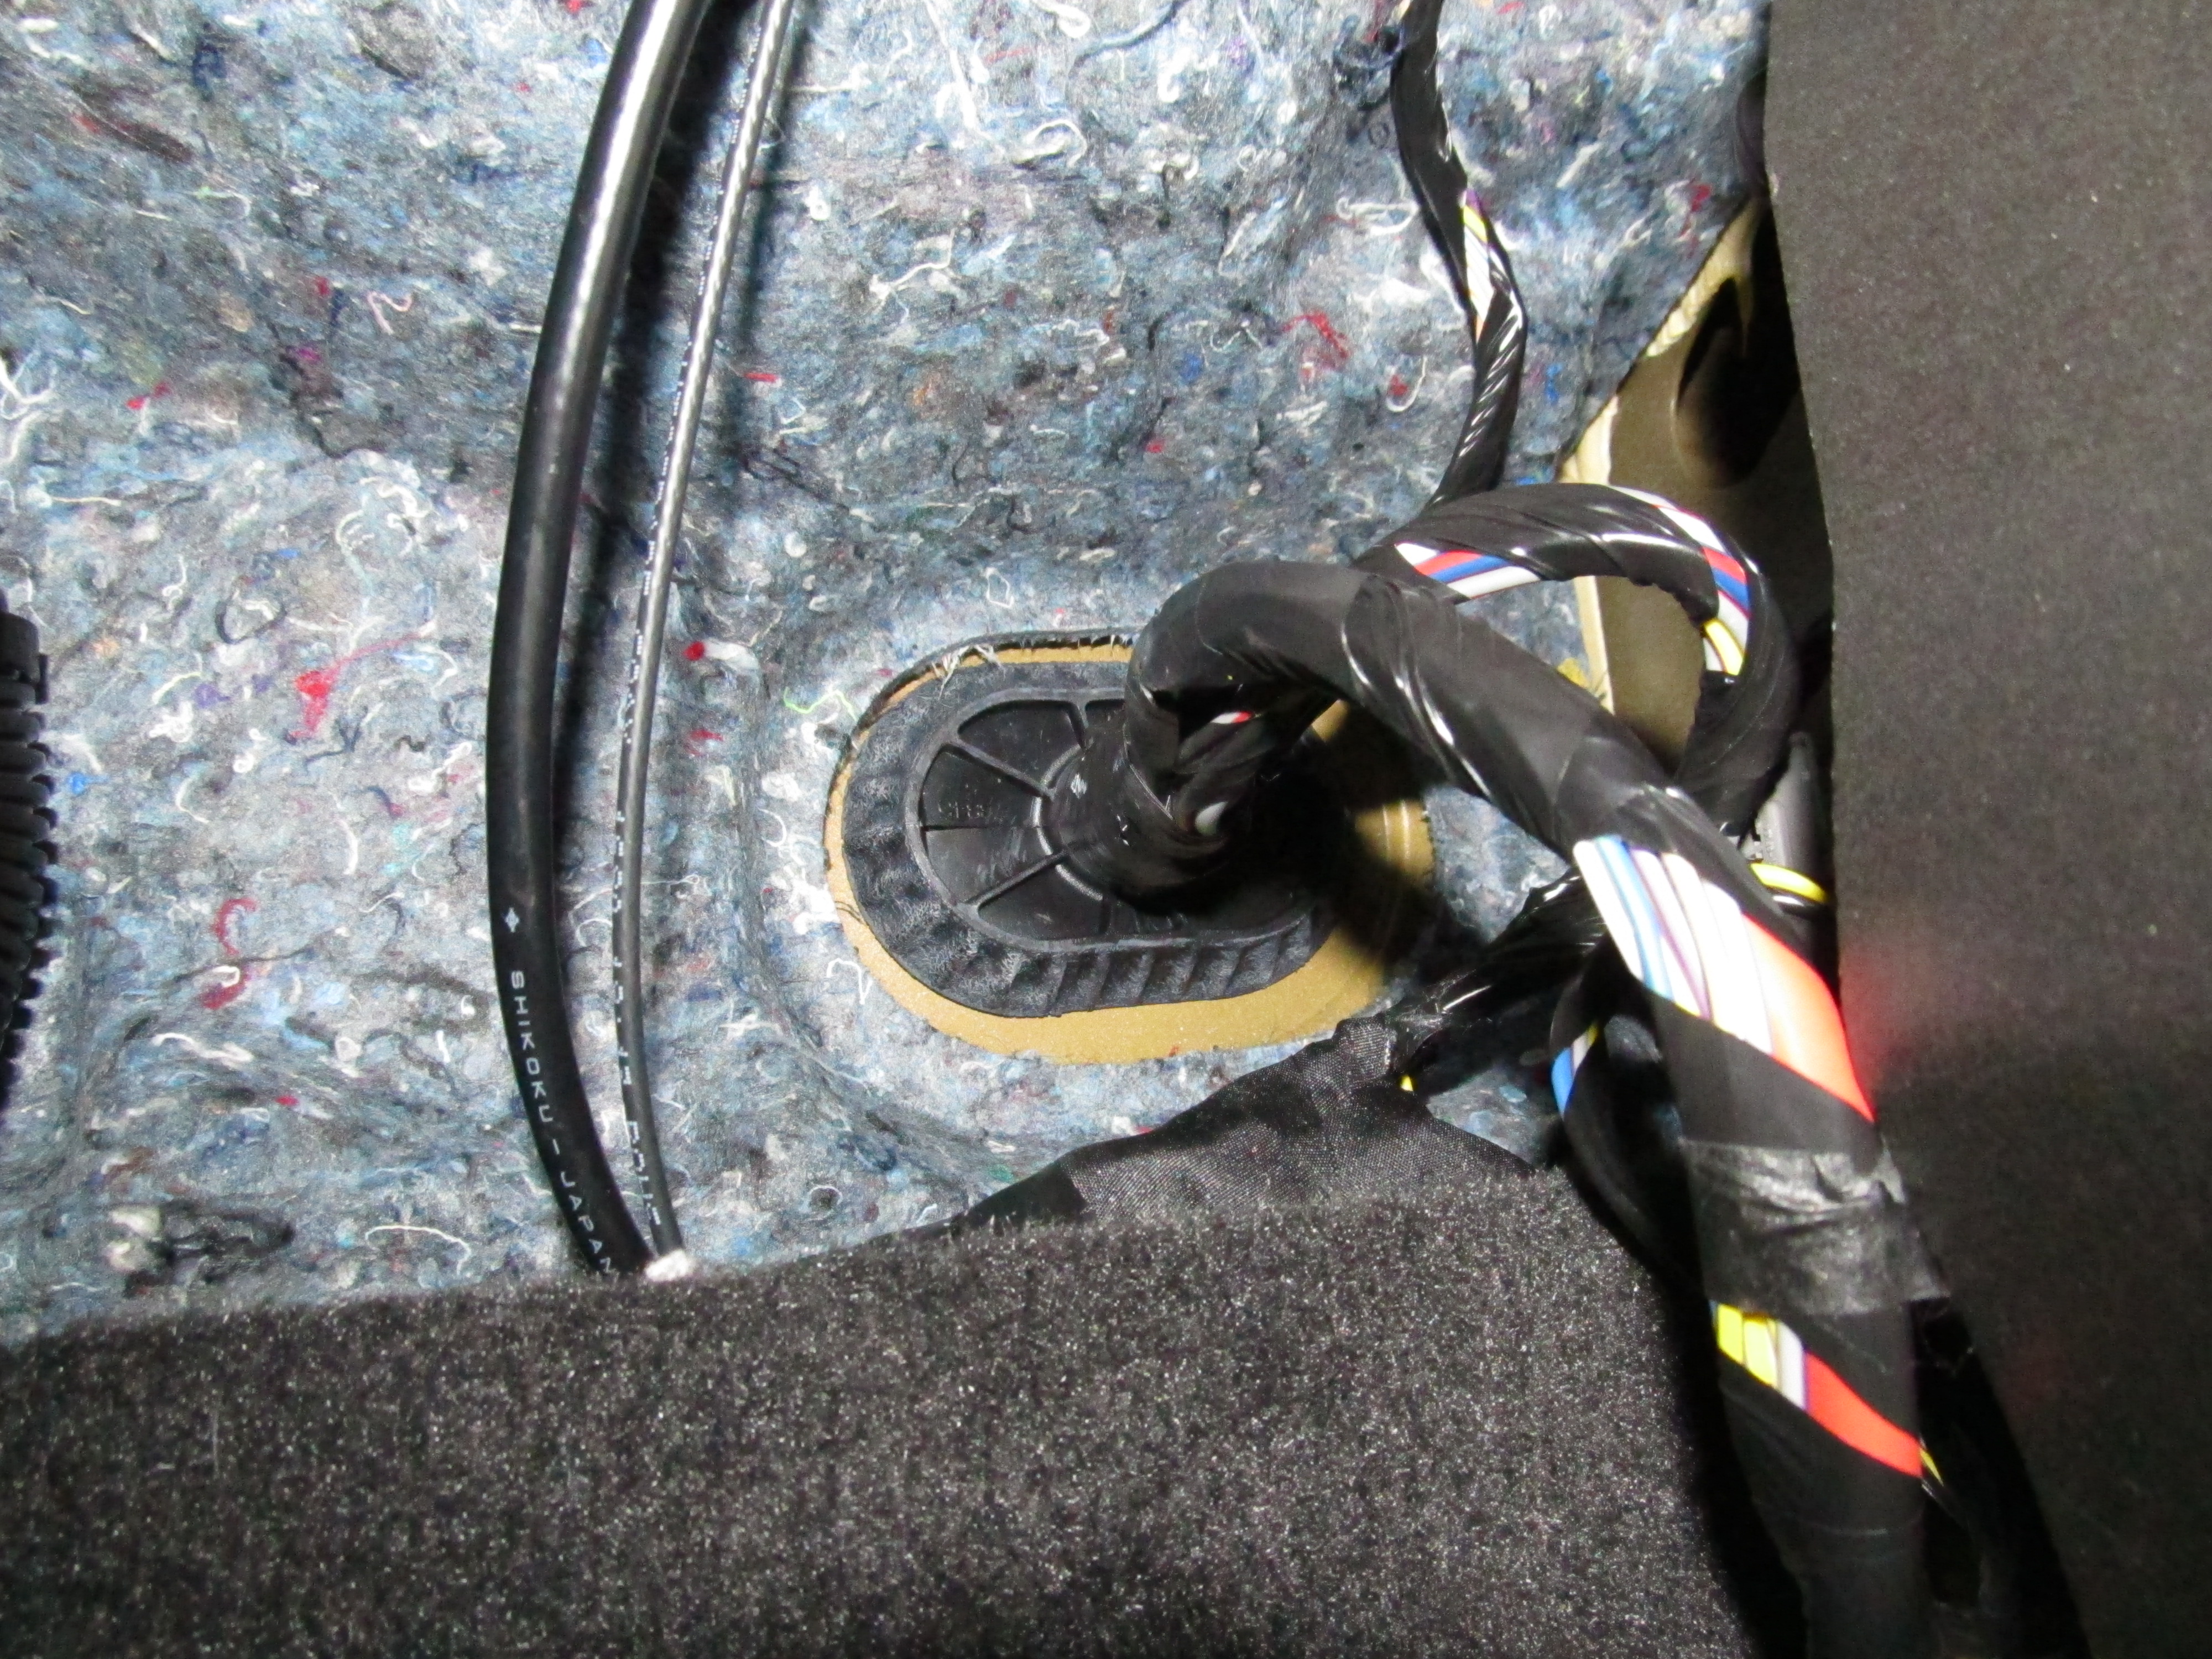
This is the grommet that runs into the car. There is a nub there which can be cut off to expose a
hole in the grommet that will enter the car. Also note there is a gap between the firewall and
inner fender. You could run the cables here as well. I haven't decided where I will run mine yet.
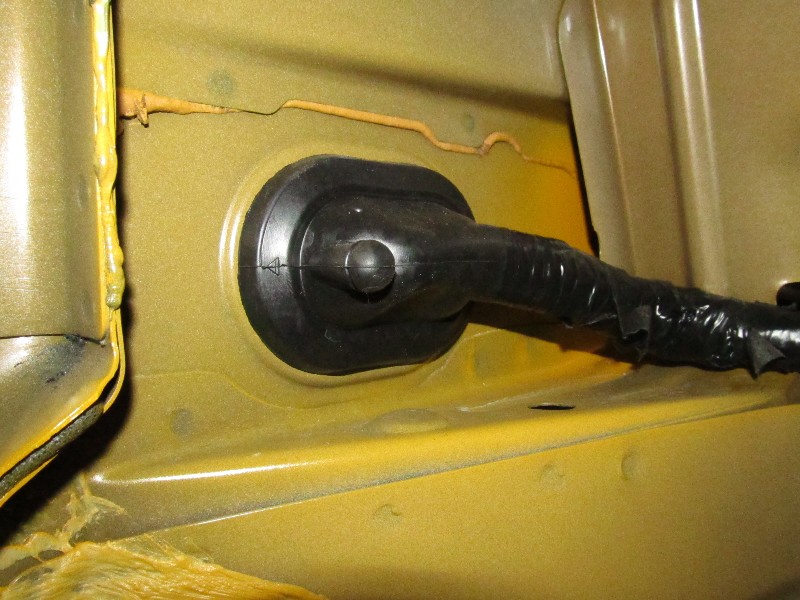
Closeup of body grommet.
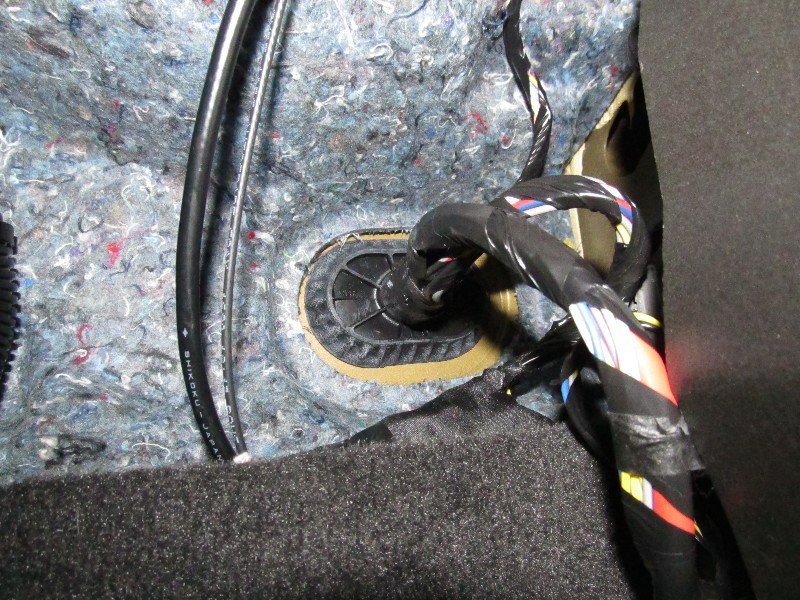
Where the grommet comes out inside the car, in the passenger side footwell.
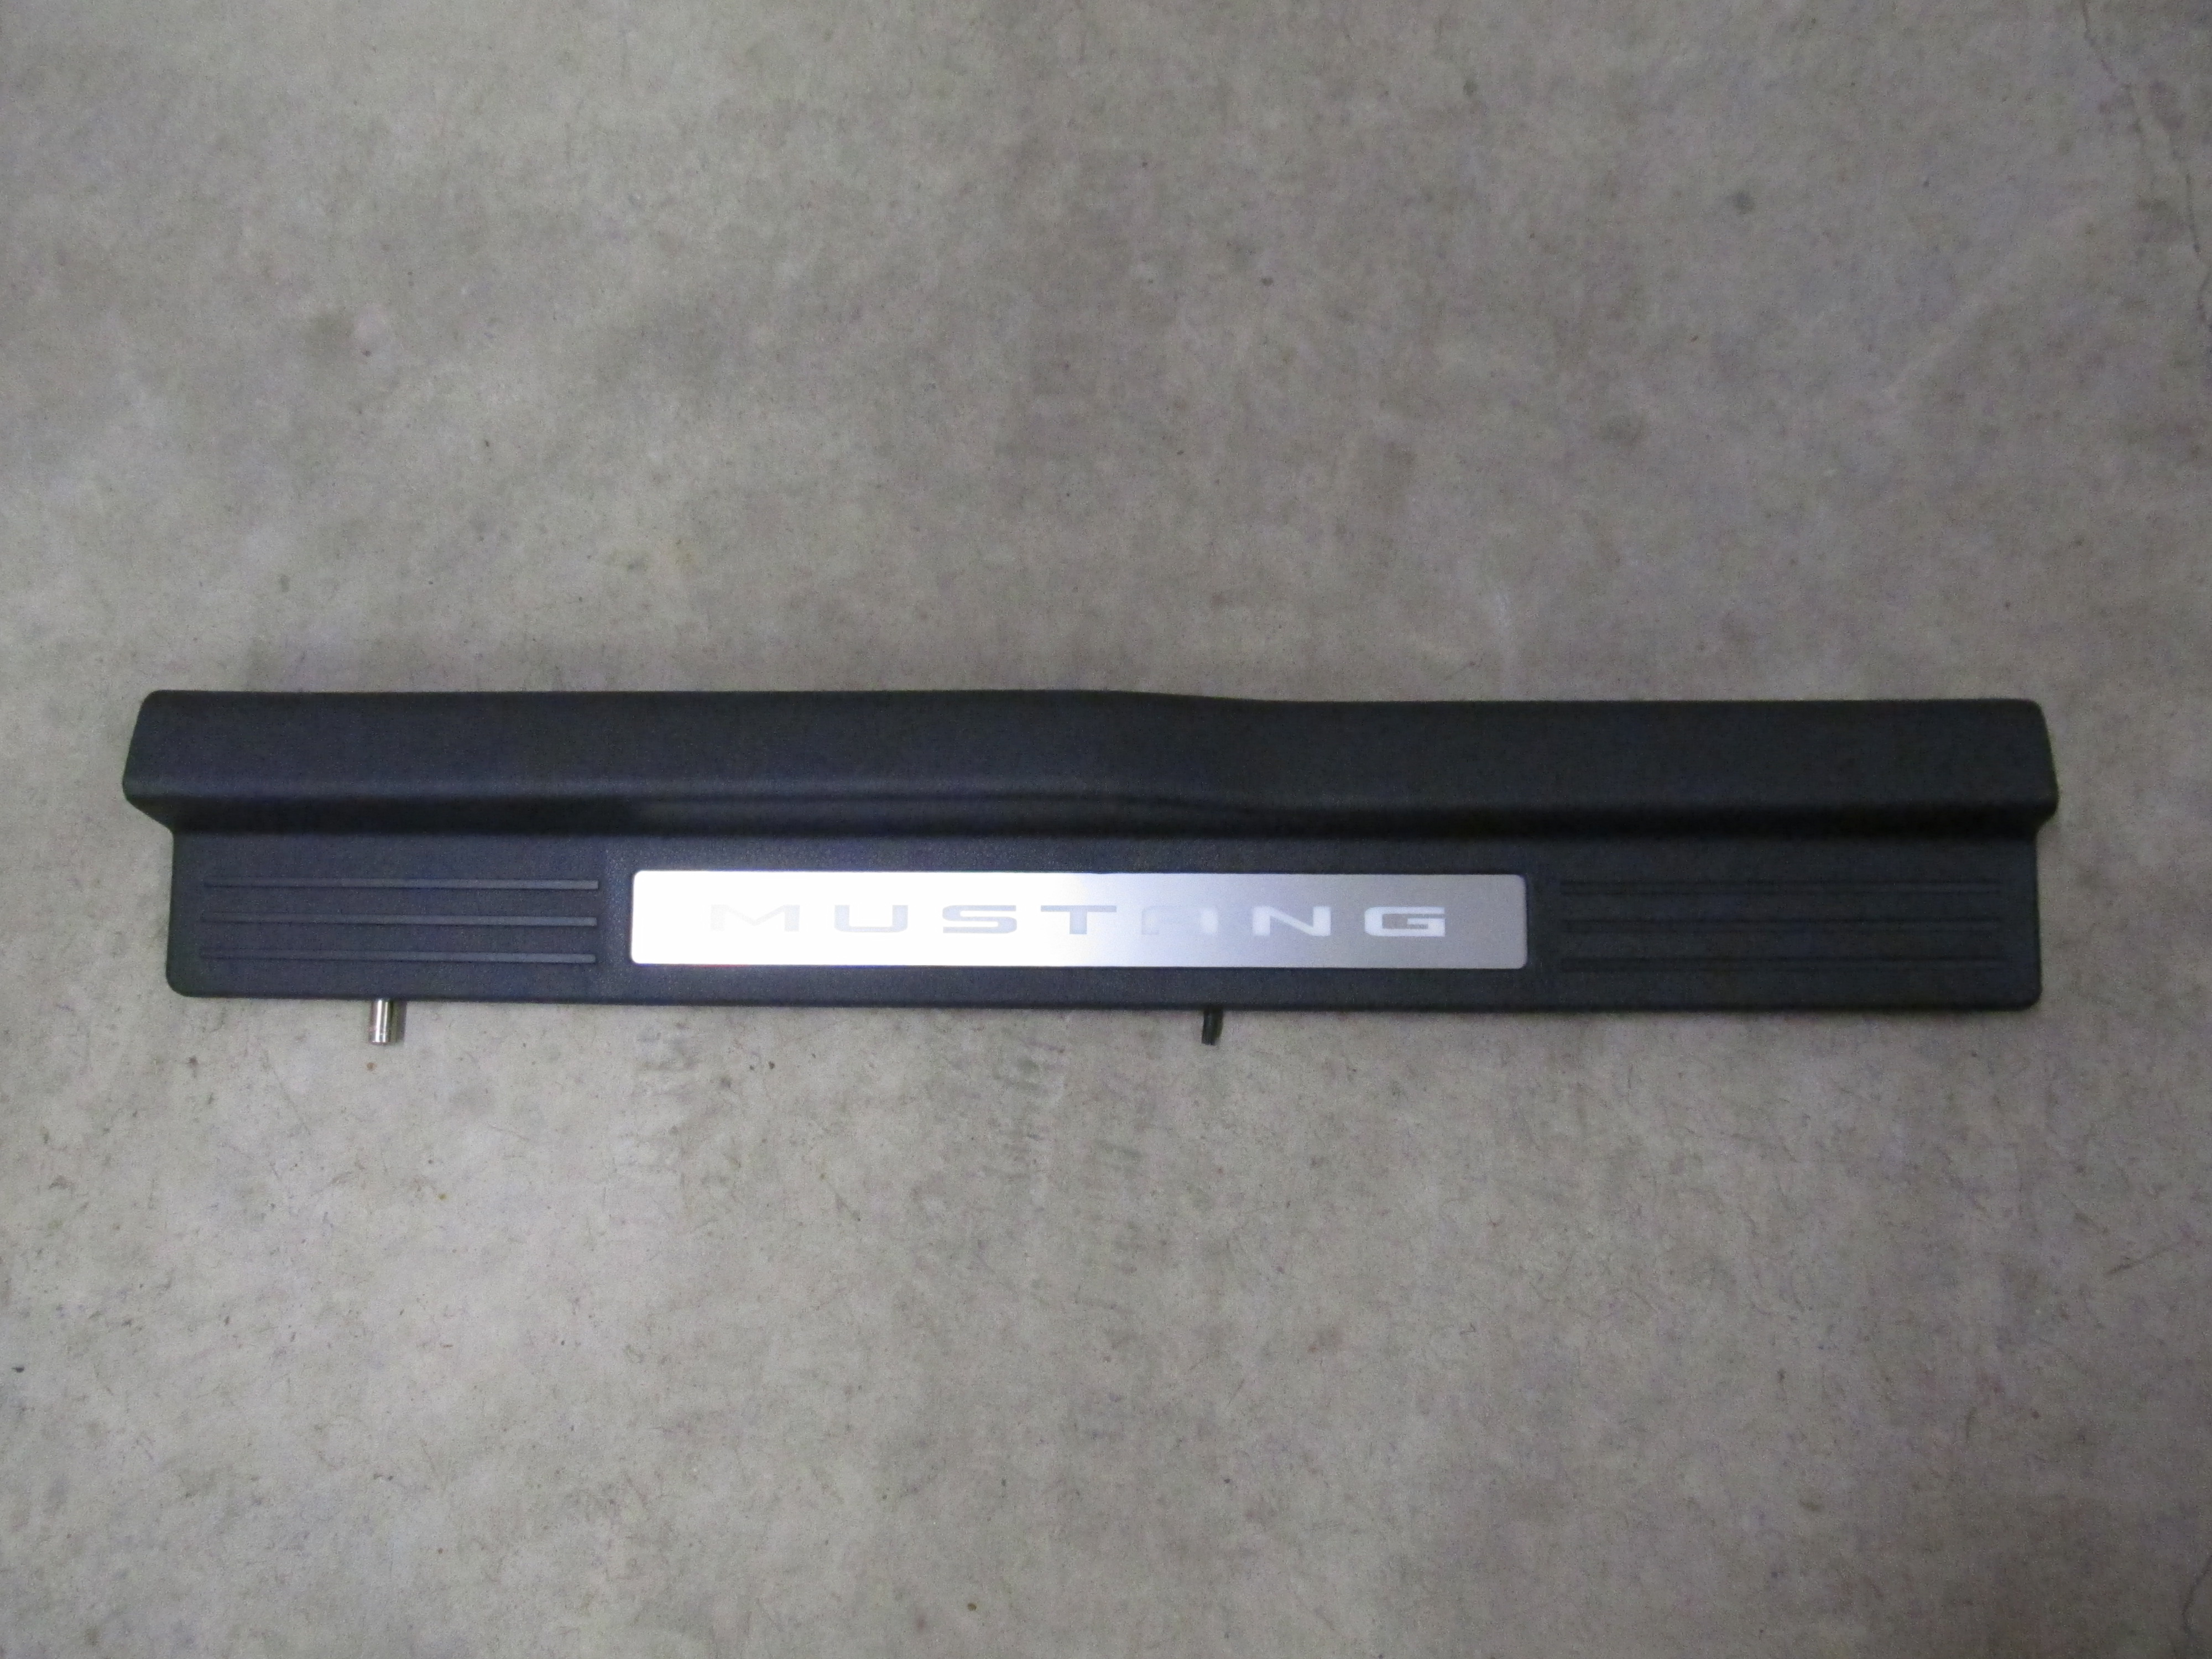
Step 3: Remove the passenger side sill plate. This plate "simply" pulls off. It is held
on by four clips. You will think that you are breaking your car. Trust me, you're not, it's just really
on there good. It is held on with double sided foam tape on the paint, which is what makes it hard
to remove. Just start pulling at the front of the sill plate, on the inside of the car,
and it will come off. Disconnect the ambient lighting connector and remove:
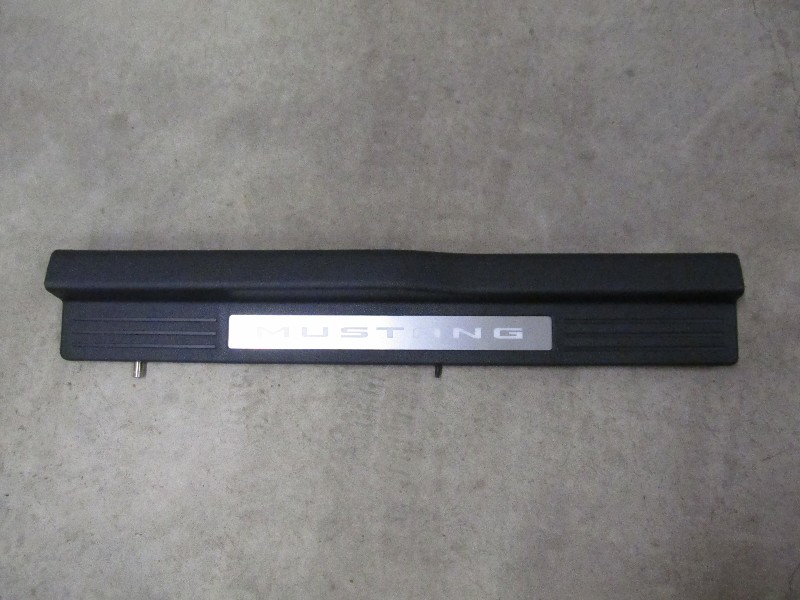
Sill plate.
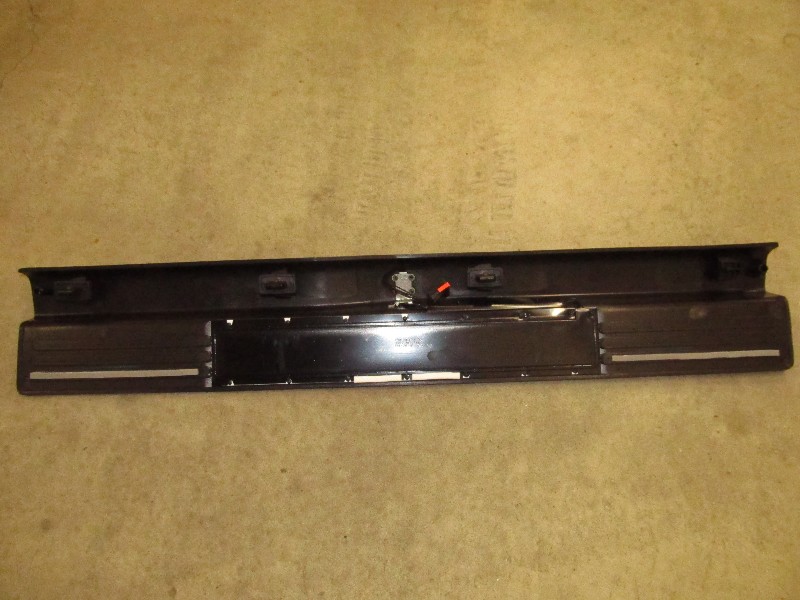
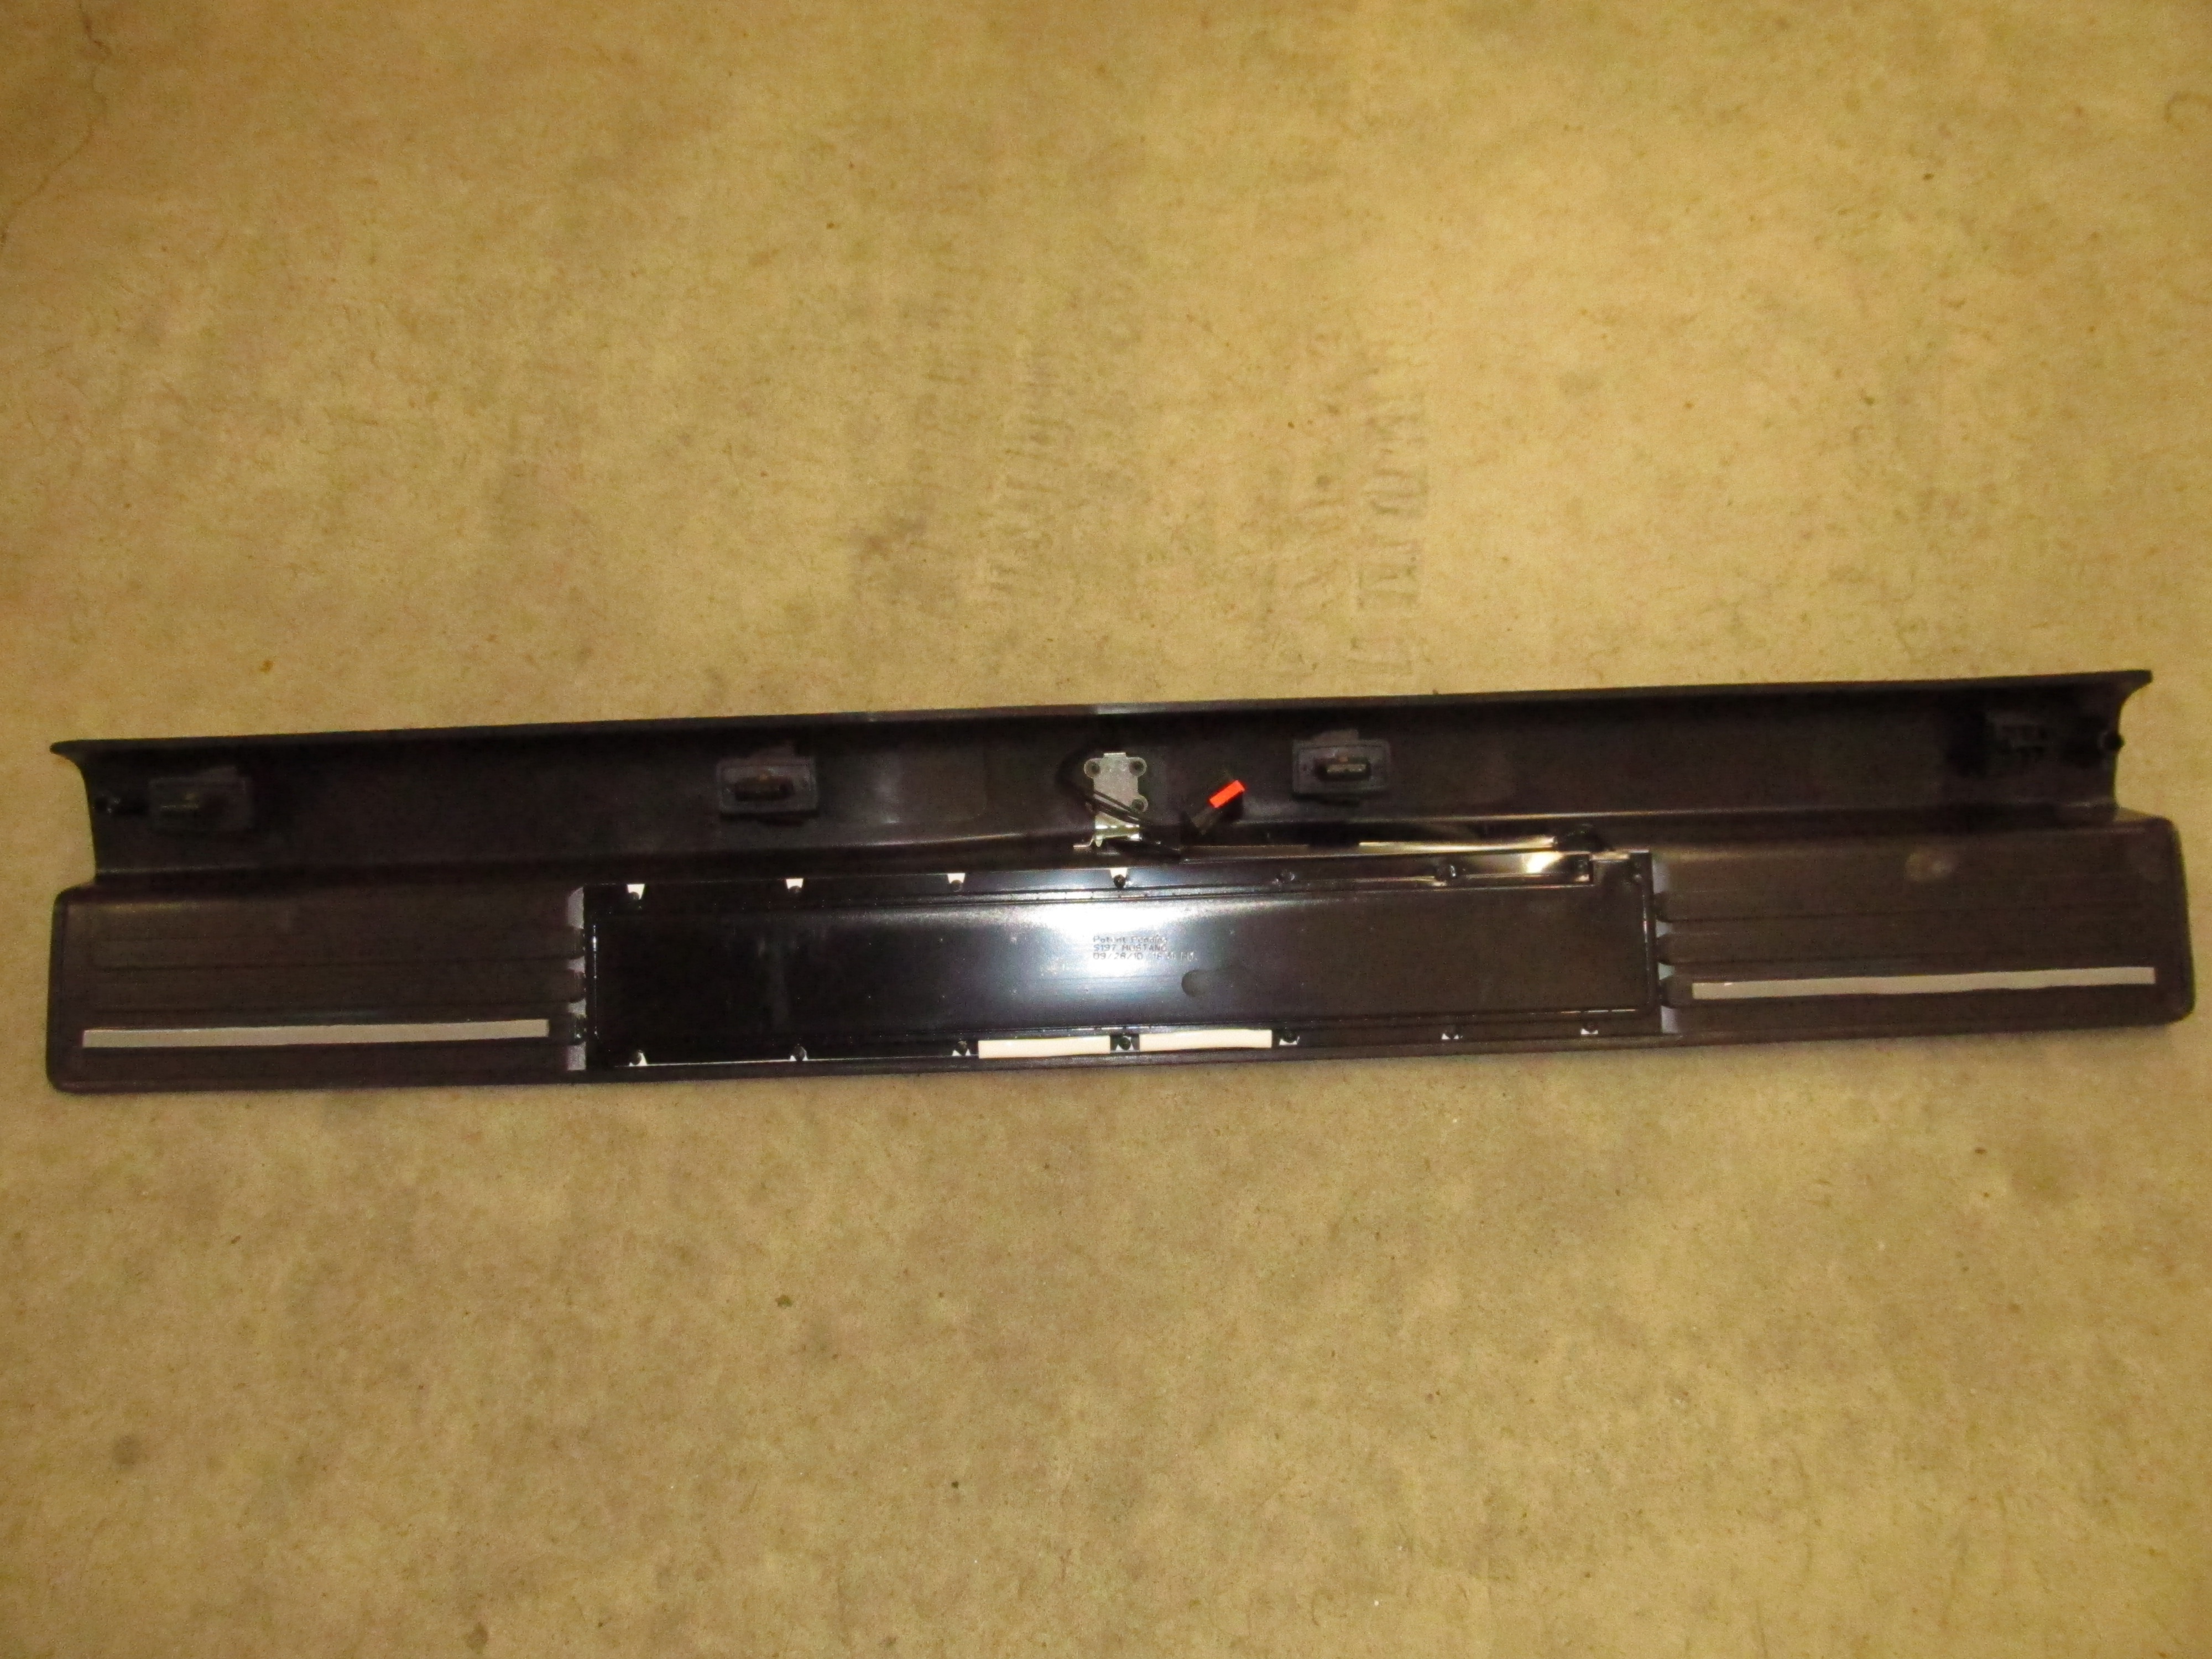
Sill plate when removed. Note the four clips and the double sided tape.
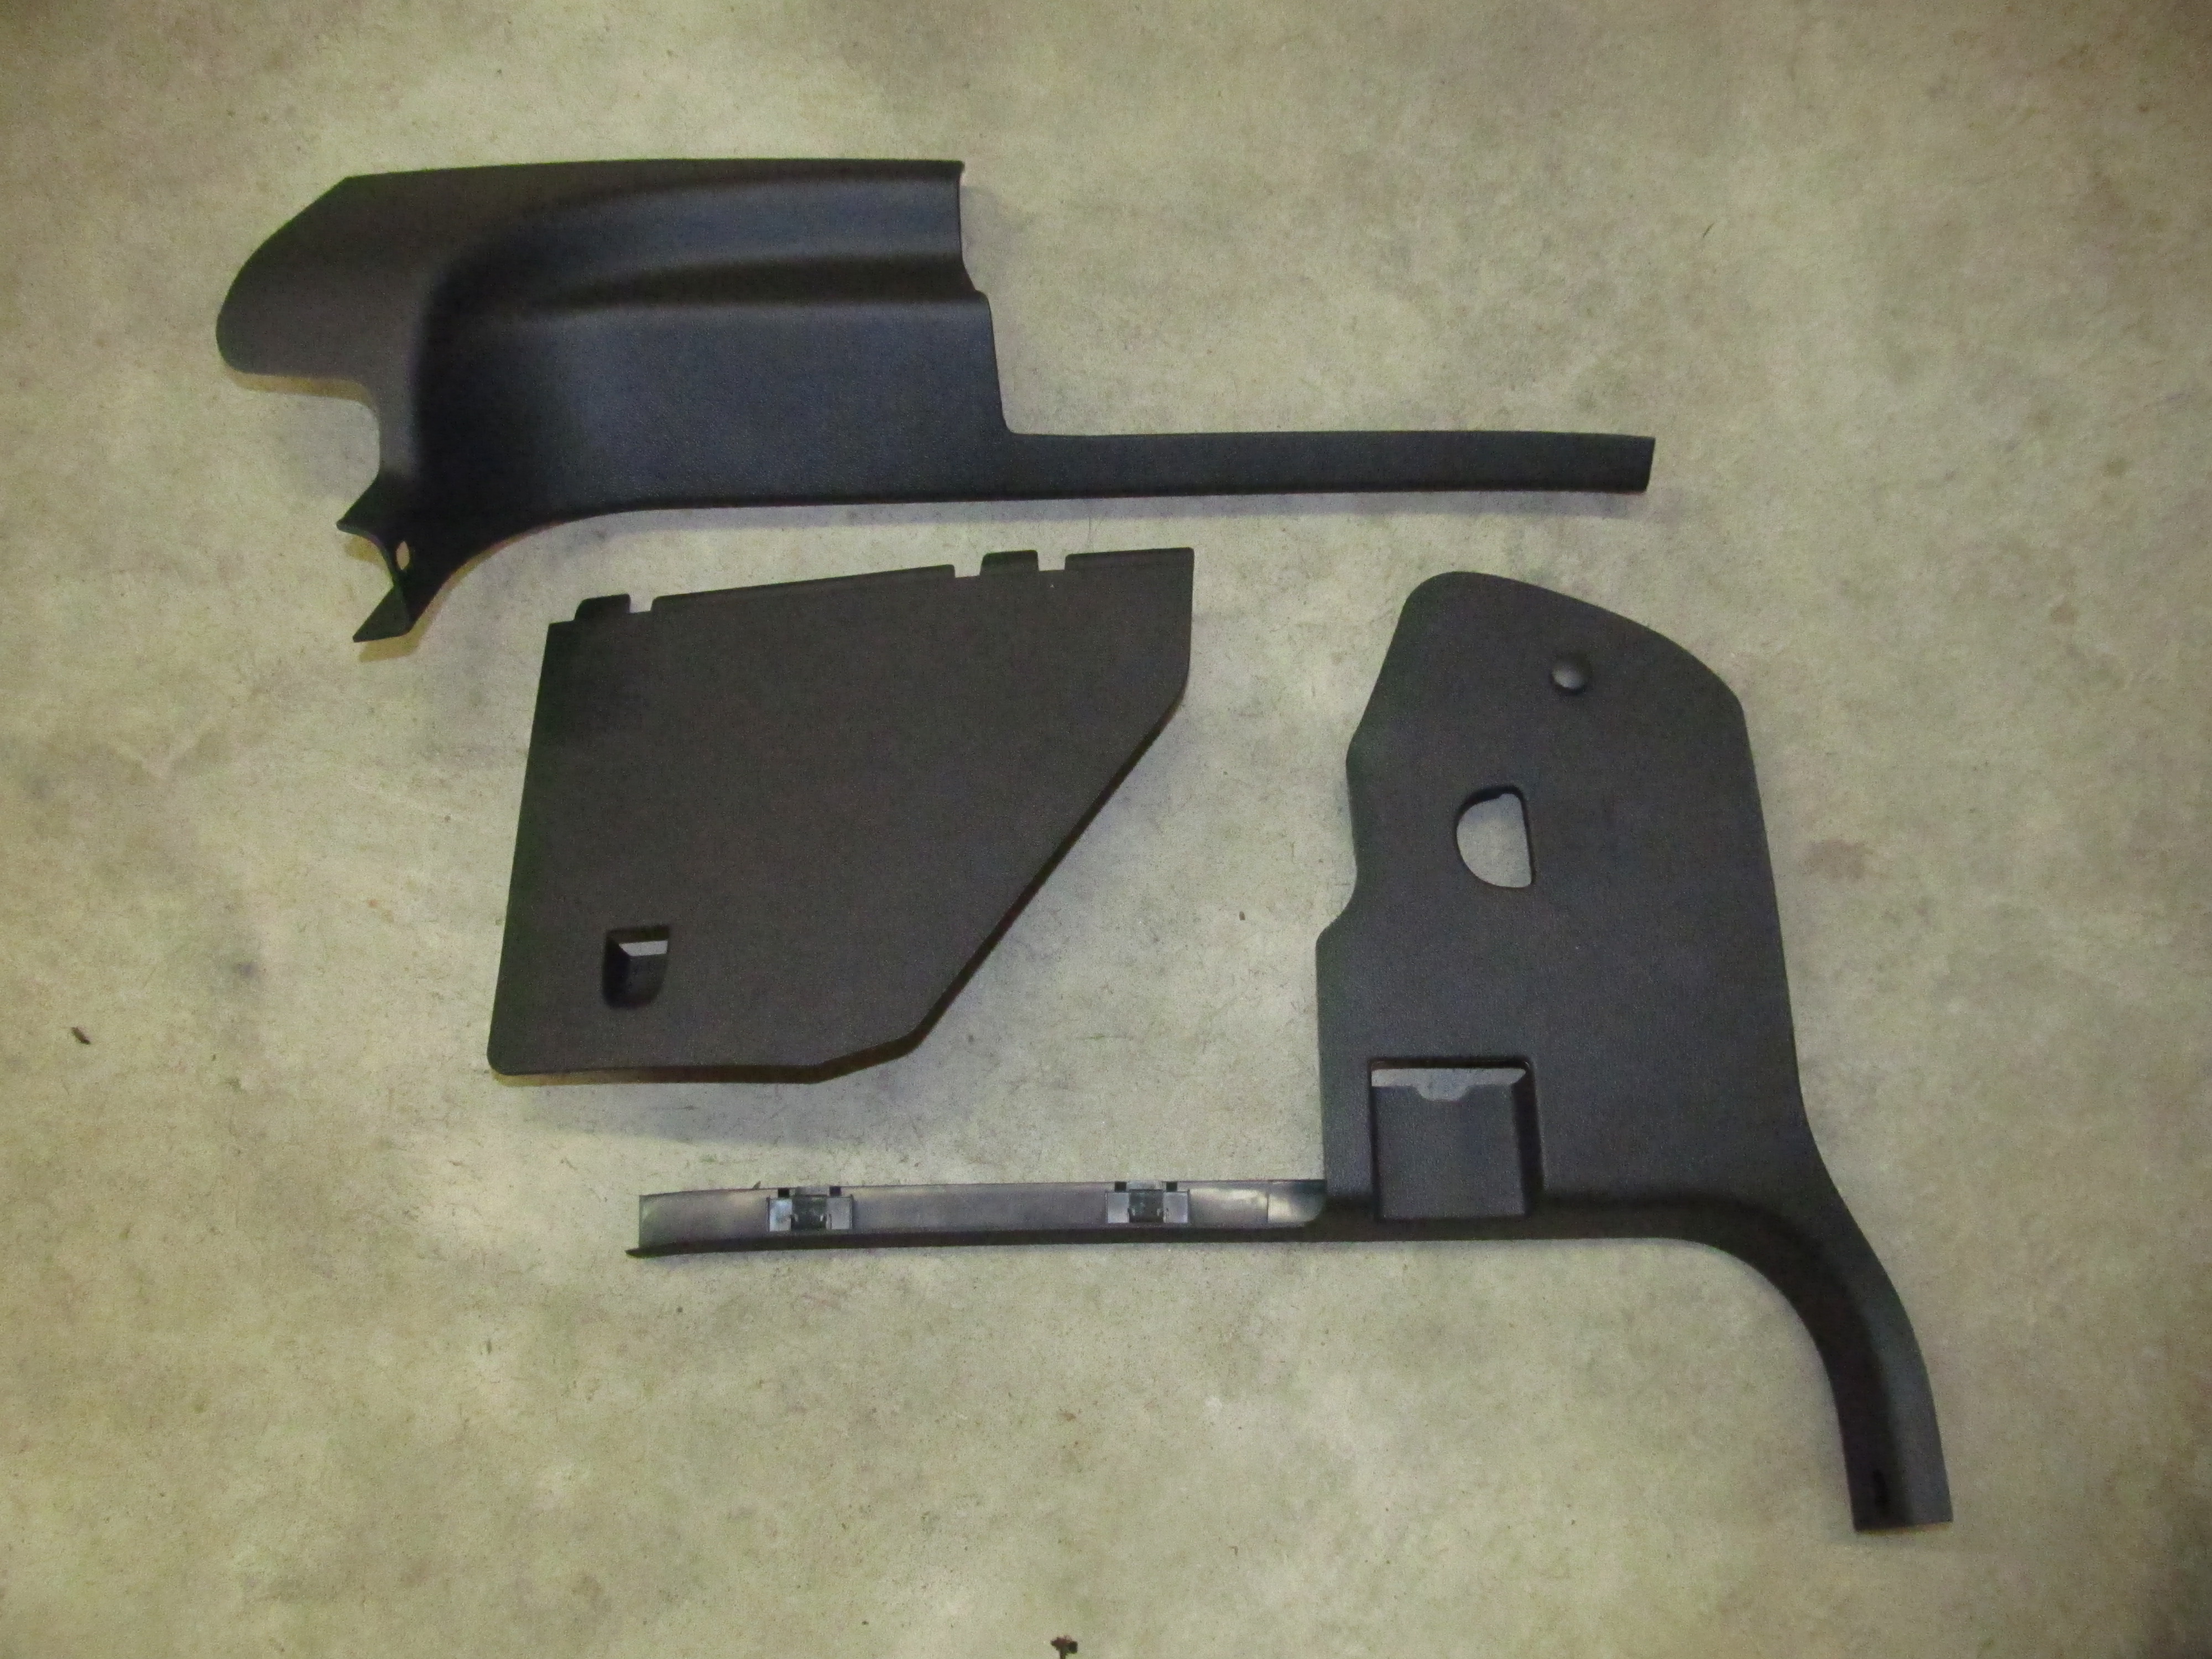
Step 4: Remove the passenger side kick panels (footwell). These just pull off. Start with the
cover plate, then remove the vertical piece.
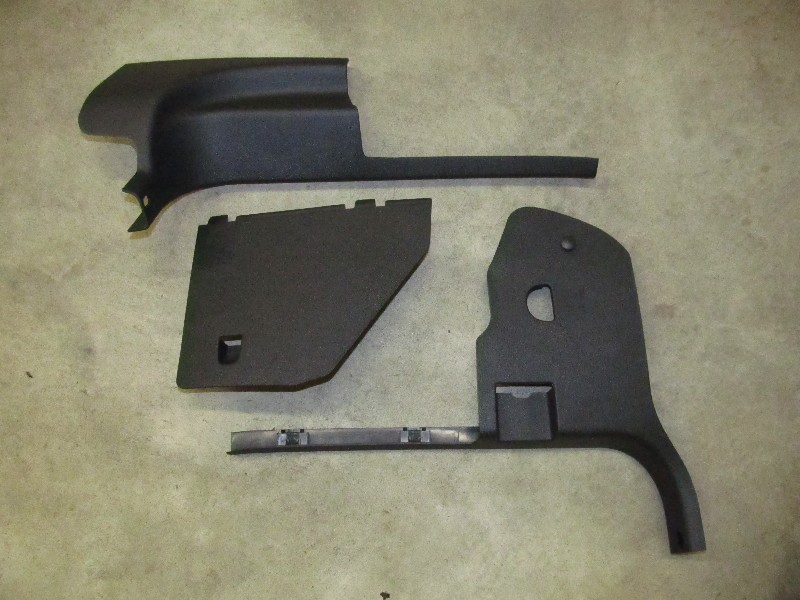
Kick panel and plate (drivers side also shown)
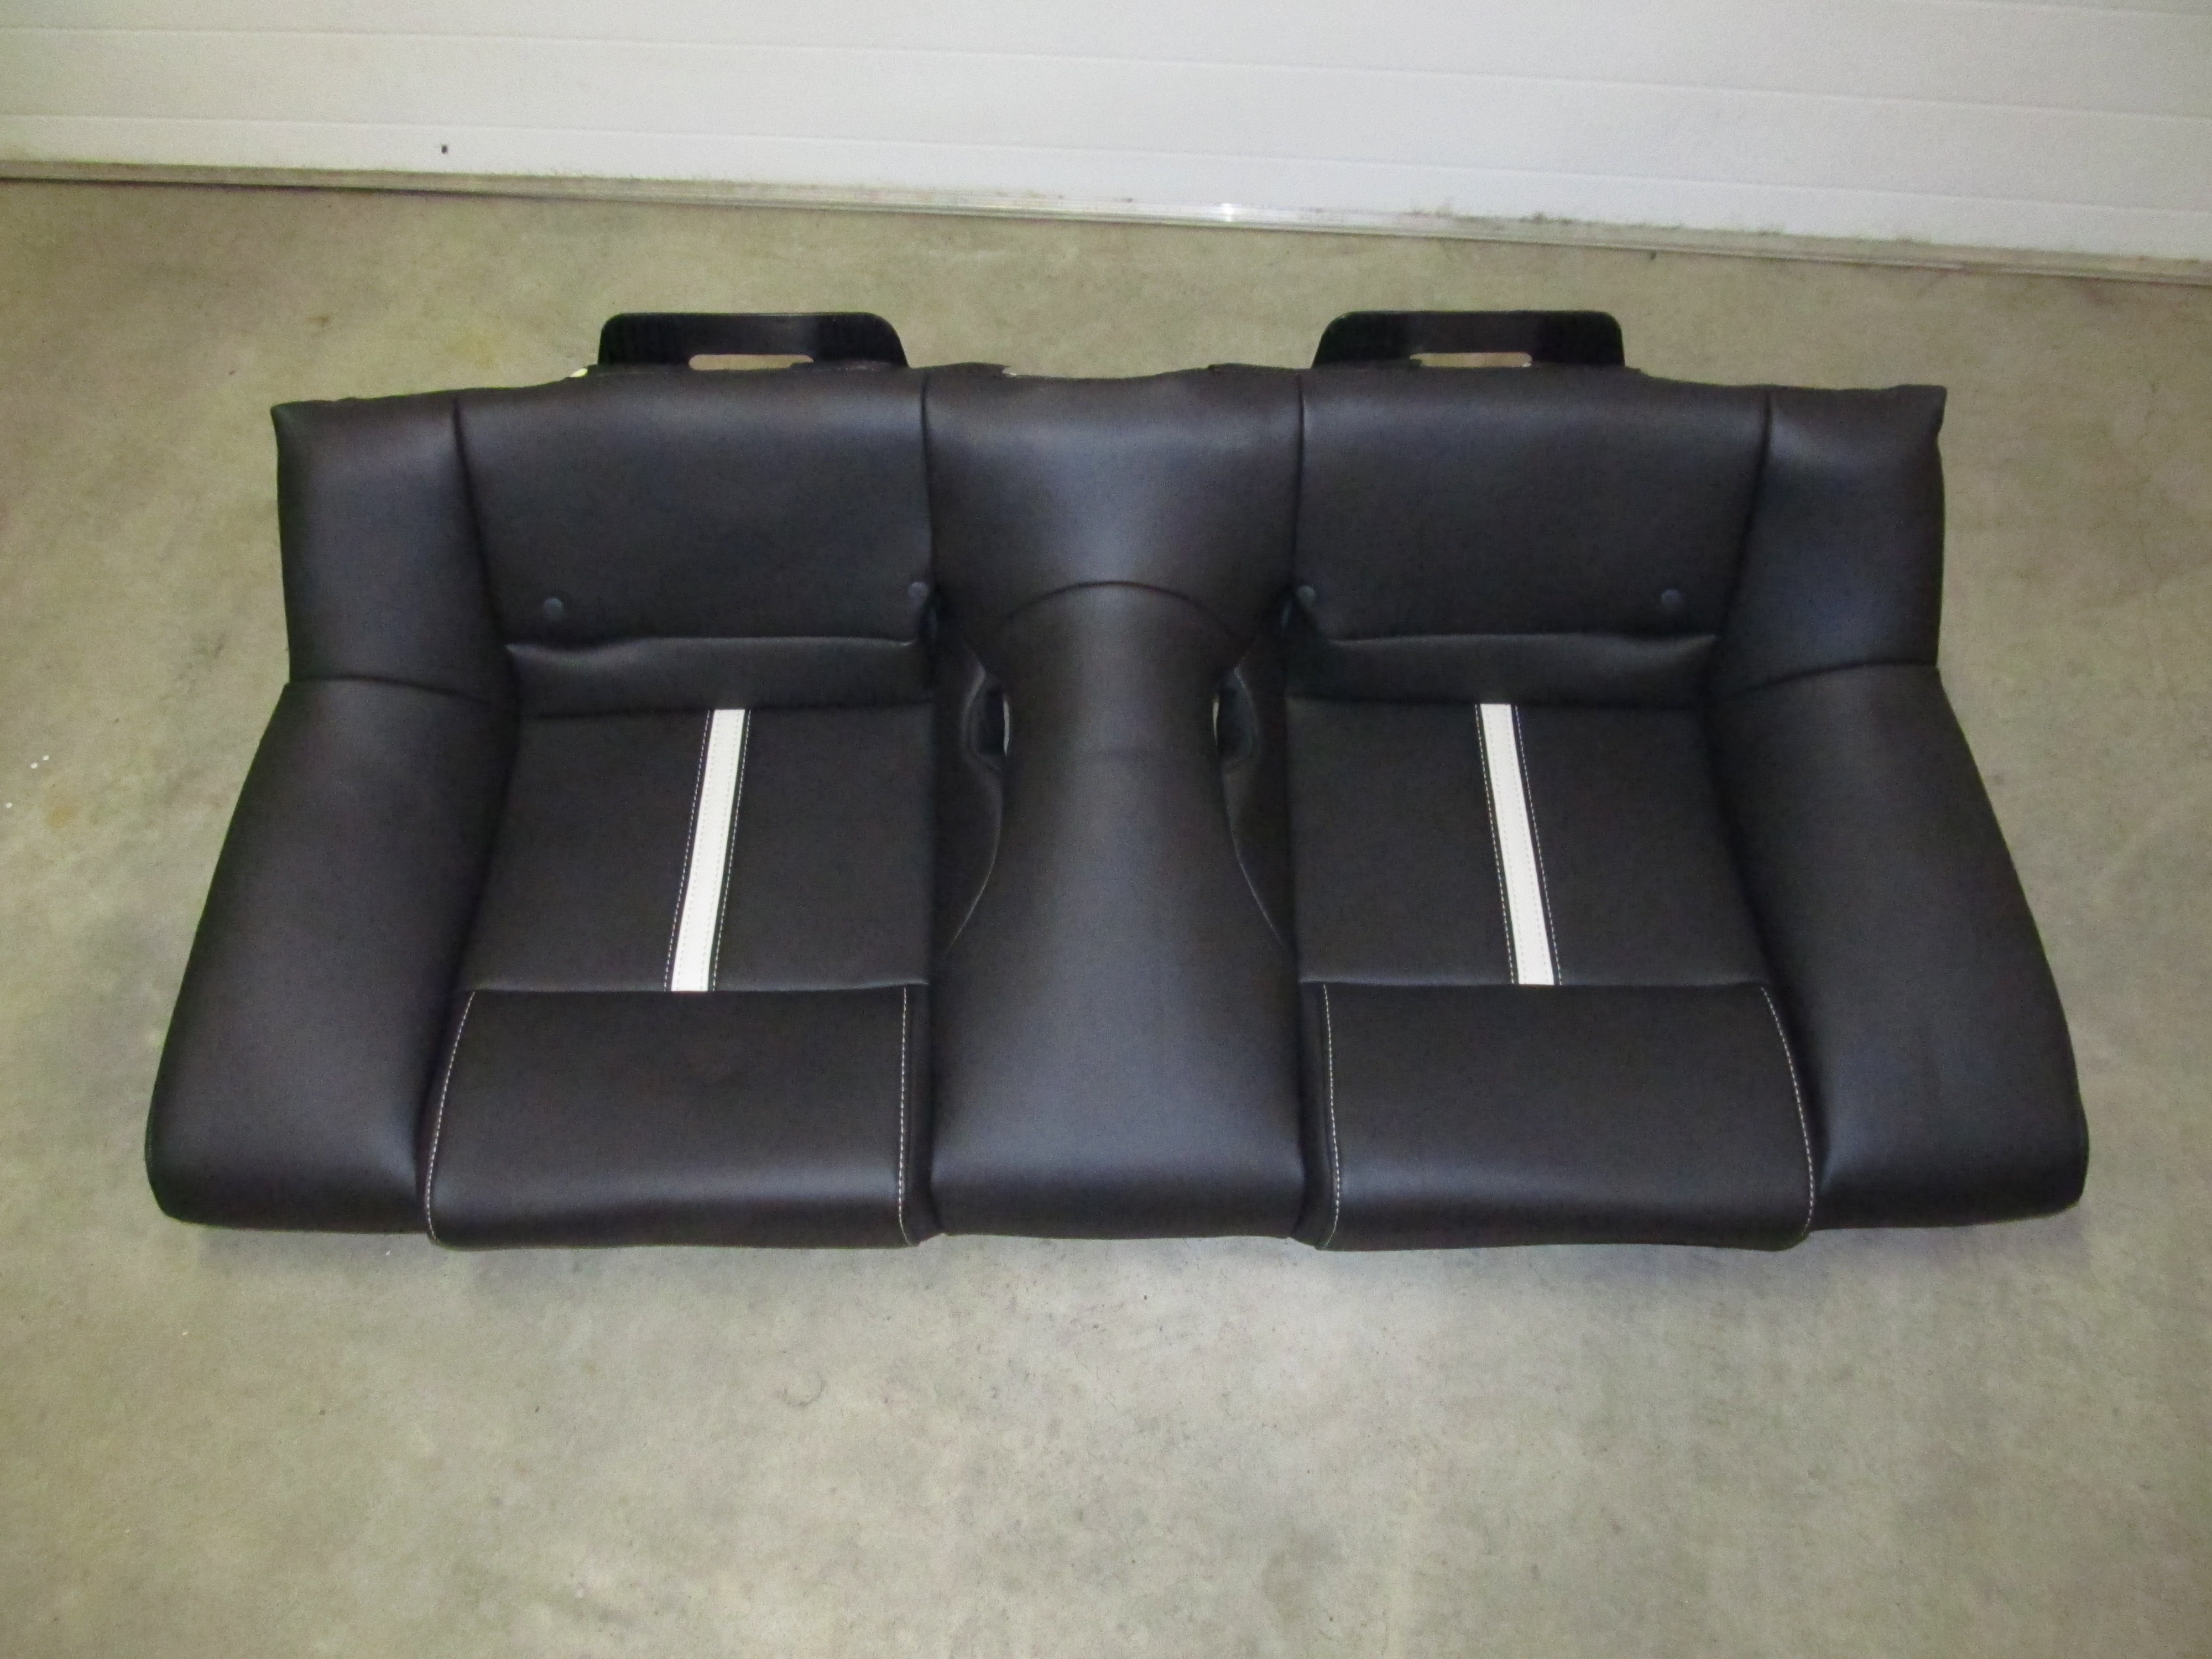
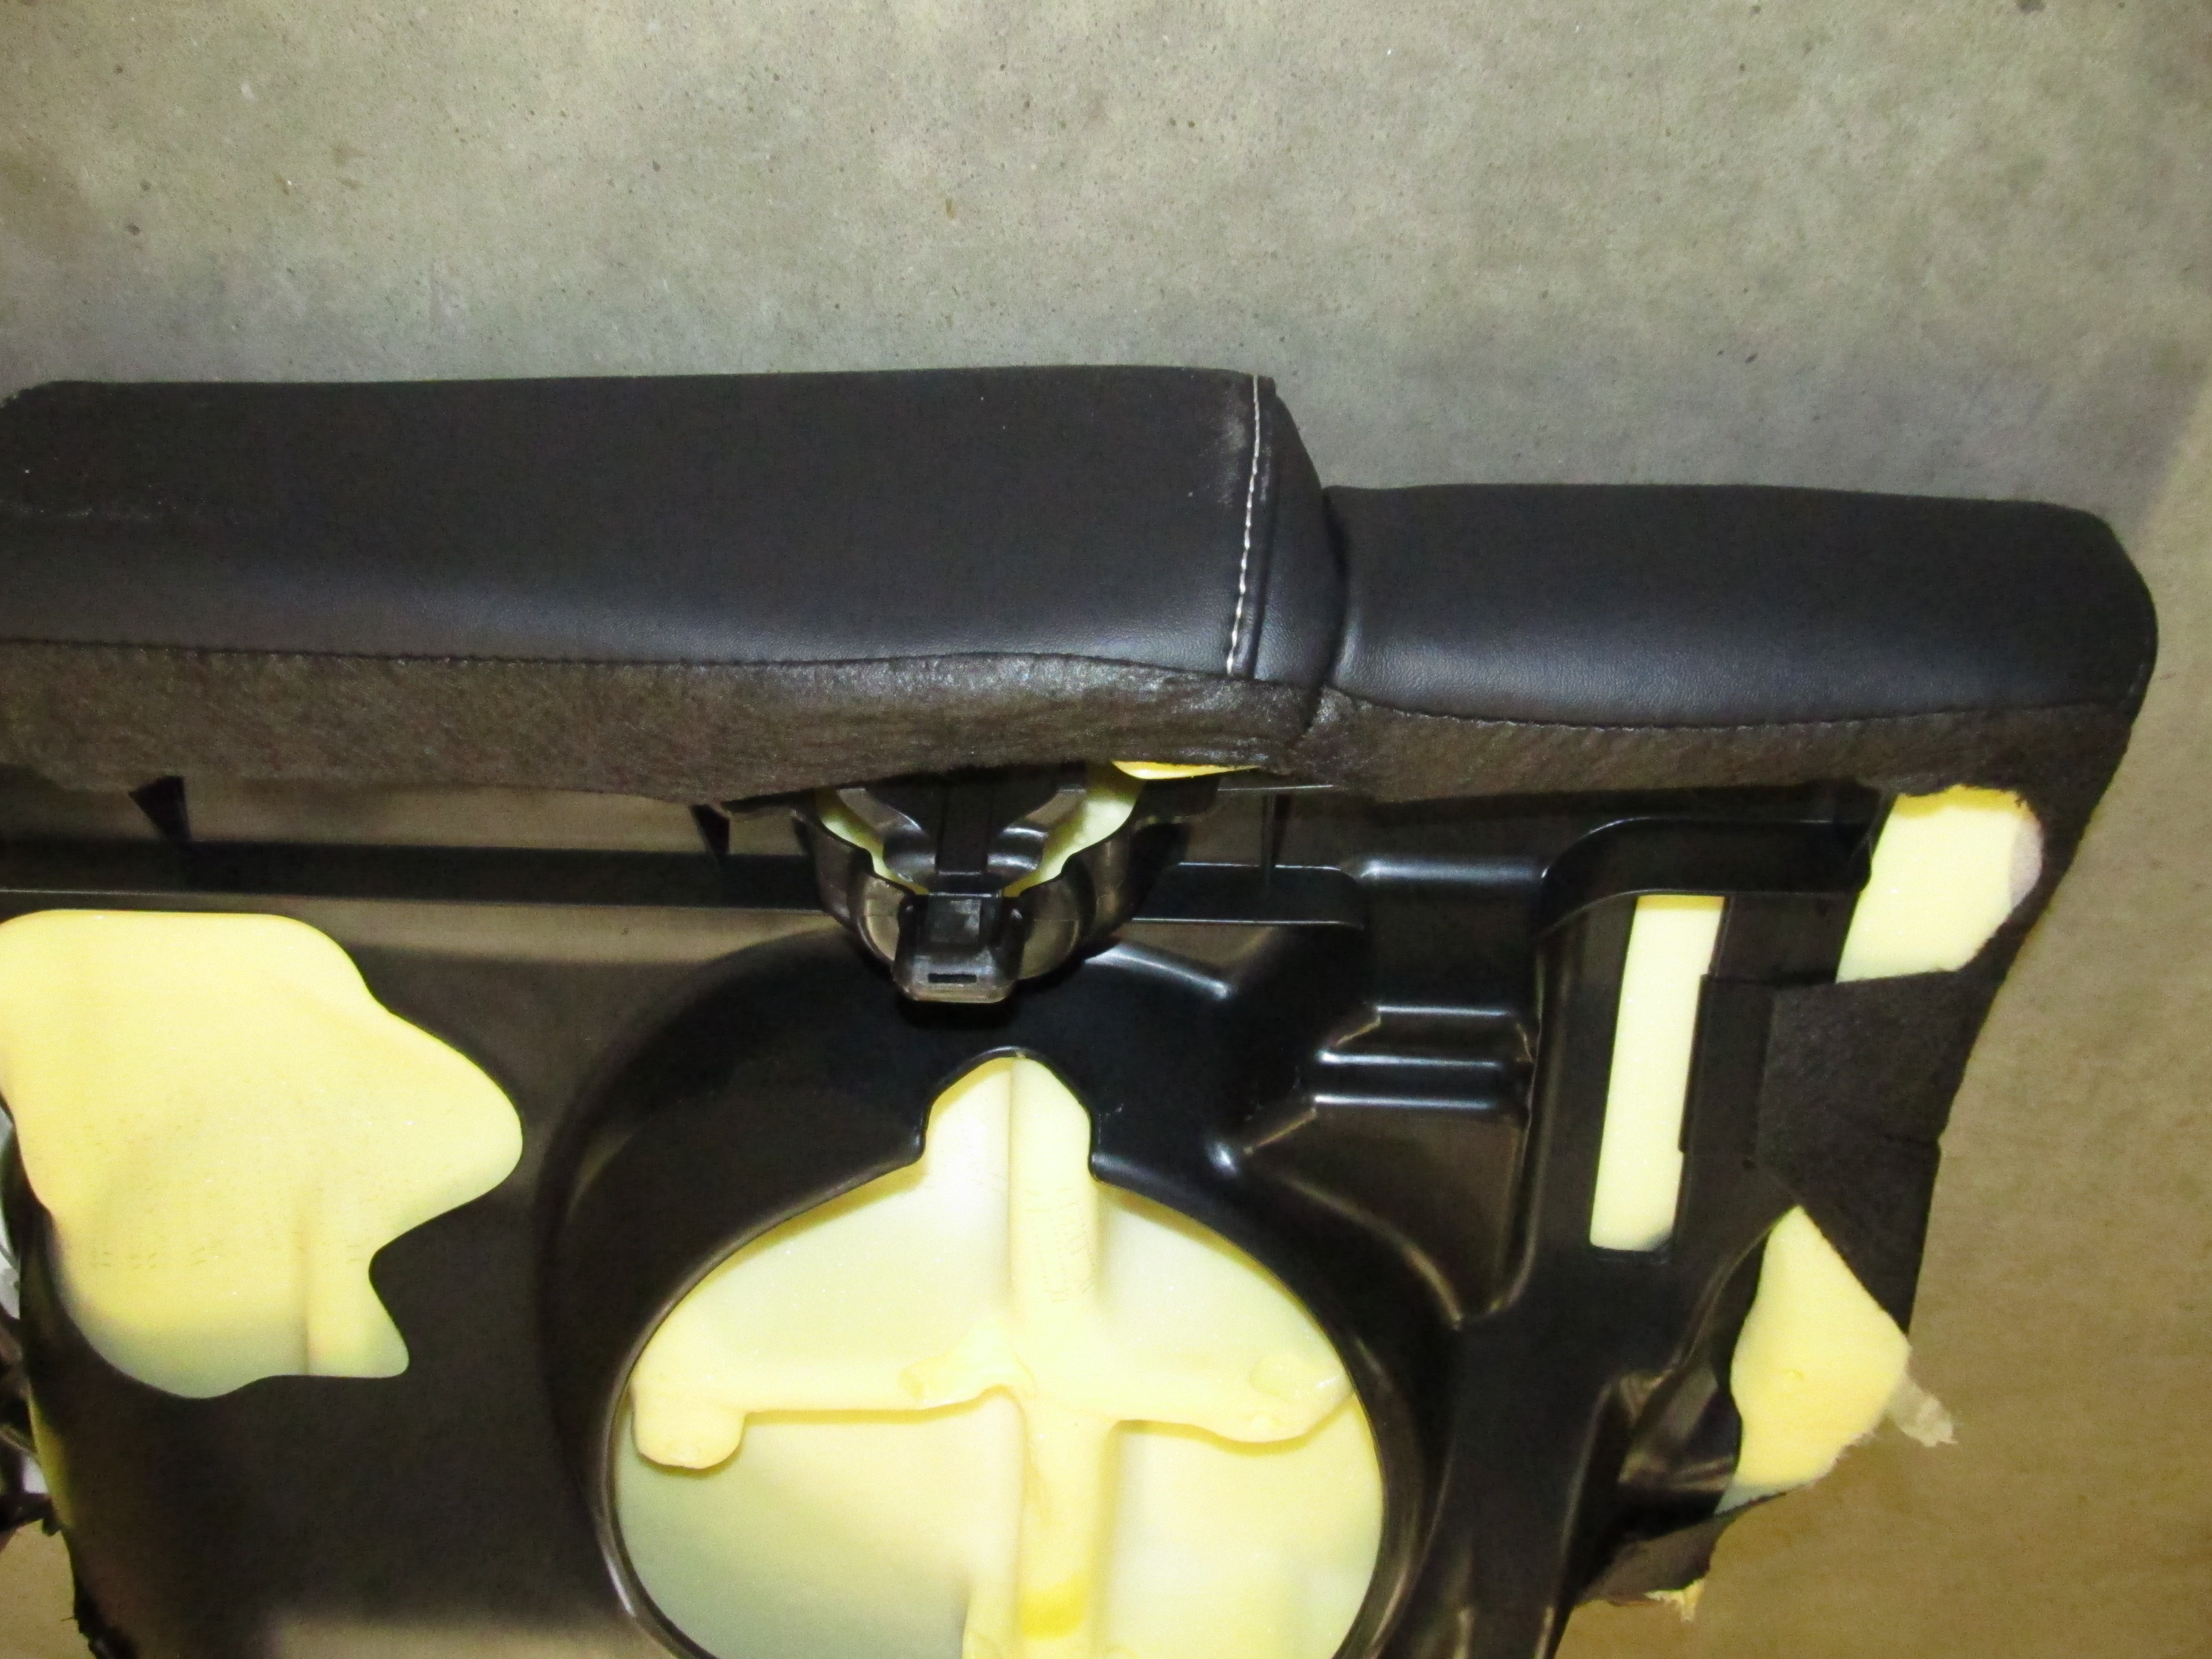
Step 5: Remove the rear seat bottom. The seat bottom is held in with two clips at the front.
Once released, the entire seat bottom comes out. Press the clip release by pushing with your finger
under the seat about six inches from each outside edge.

The rear seat when removed.

Closeup of the clips you need to release.
Seat bottom.
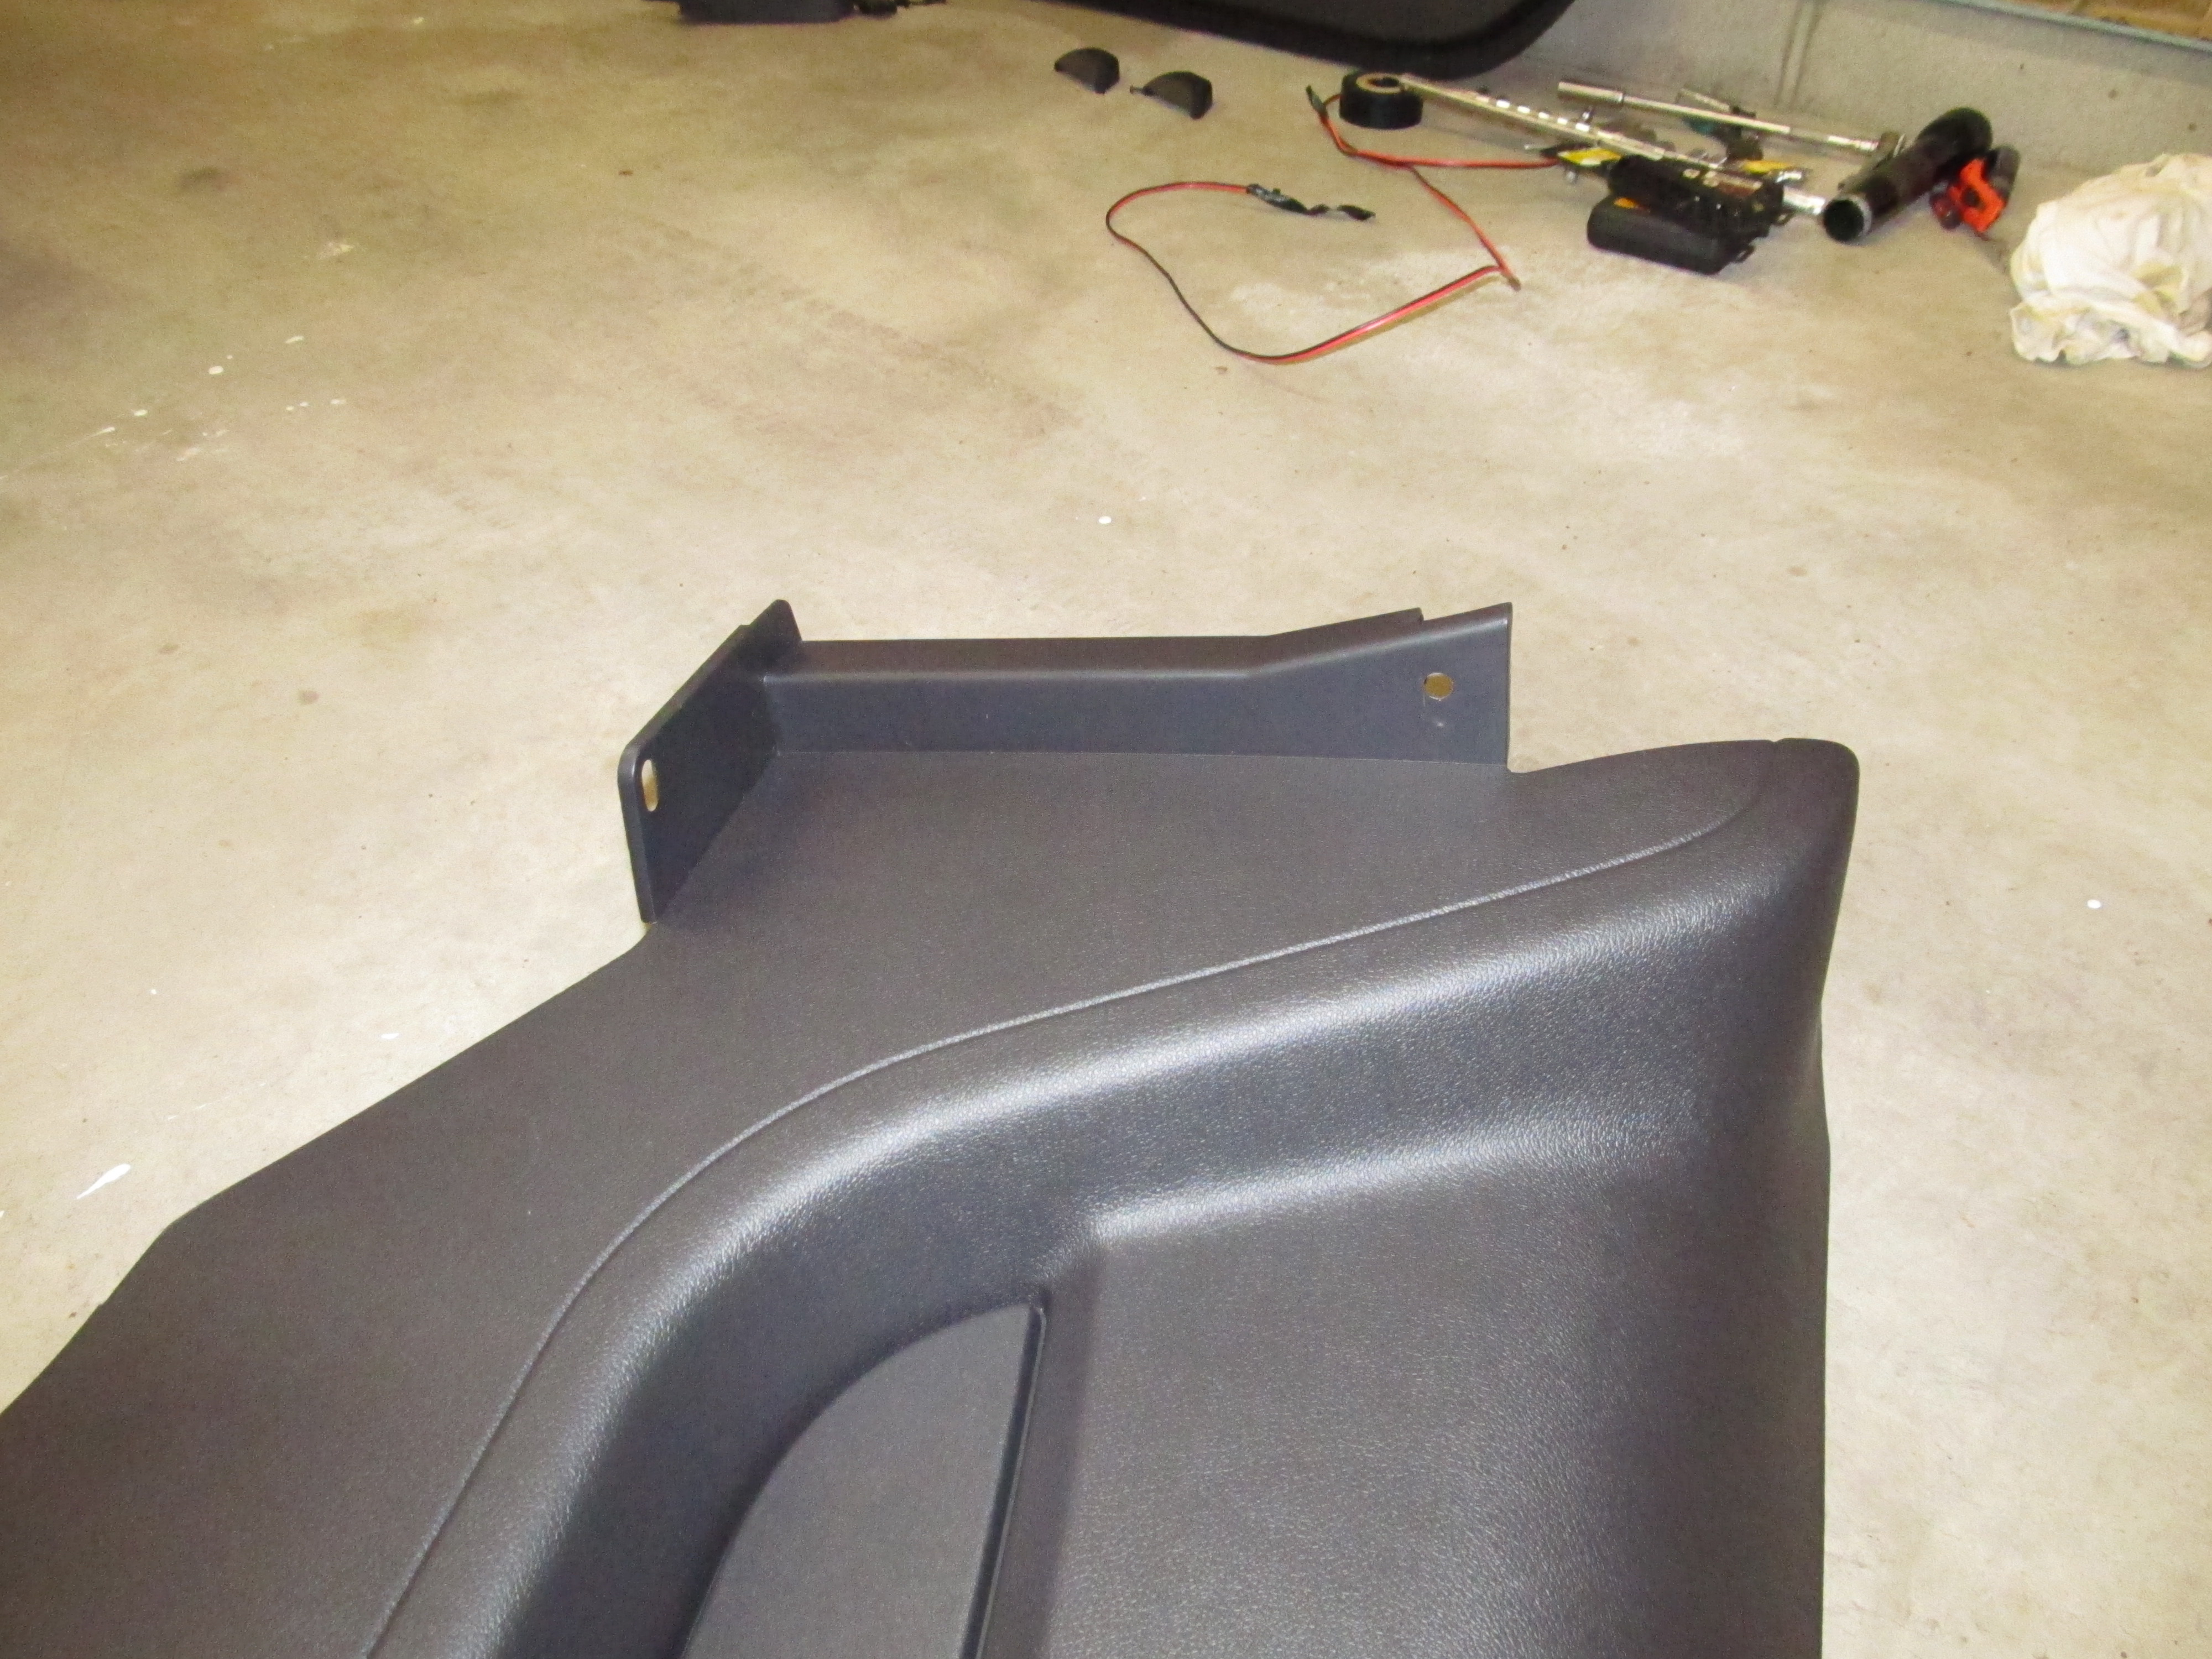
Step 6: Remove the rear passenger side kick panel. There are three push pins you need to remove in
order to get the panel loose. Once those are out, pull the plastic around the lip by the trunk push pin
Then work from front to rear. Get the panel loose from the body seam in the door opening. Then pull away
from the body towards the center of the car. The whole panel will just pop loose. Removing it from the
sail panel cover is a little tricky, but look where the clips hook in in the pictures below, and just
work it loose.
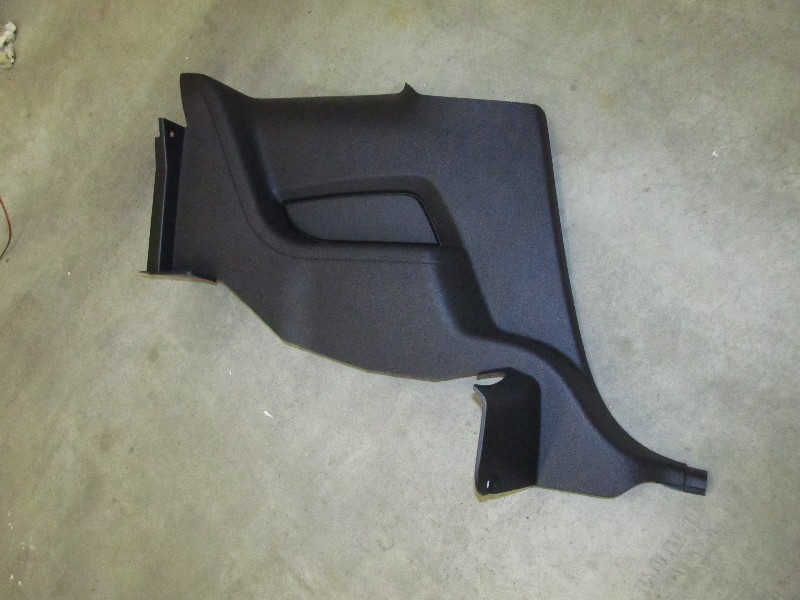
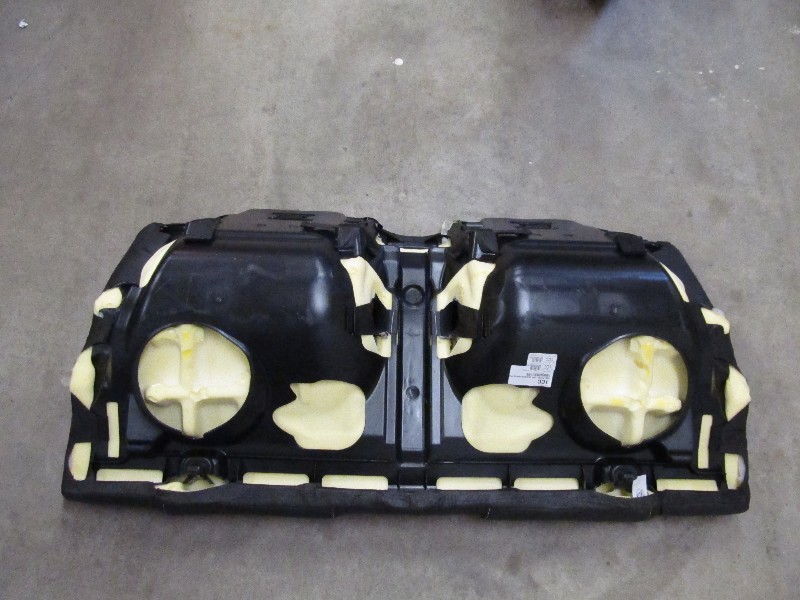
Rear kick panel when removed.

Here are the two push pins that you will need to remove which are behind the seat back.

The single push pin that needs to be removed from the footwell.
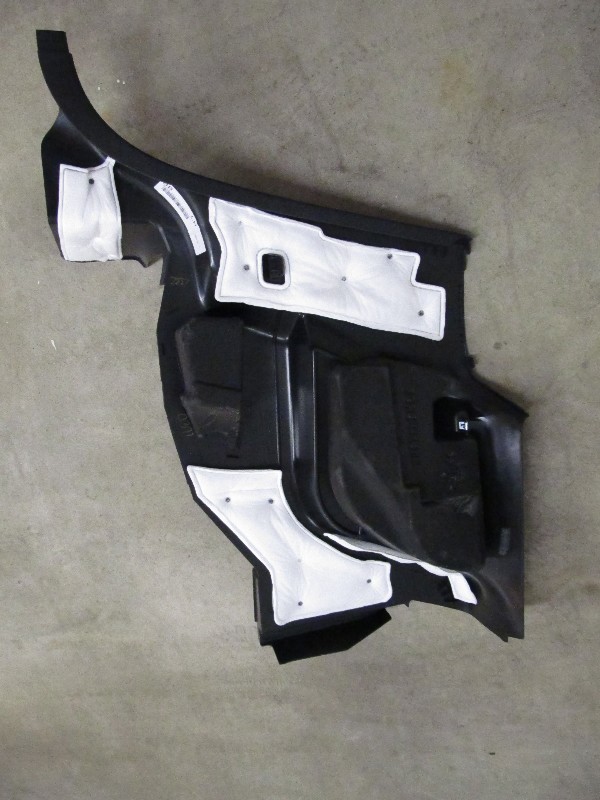
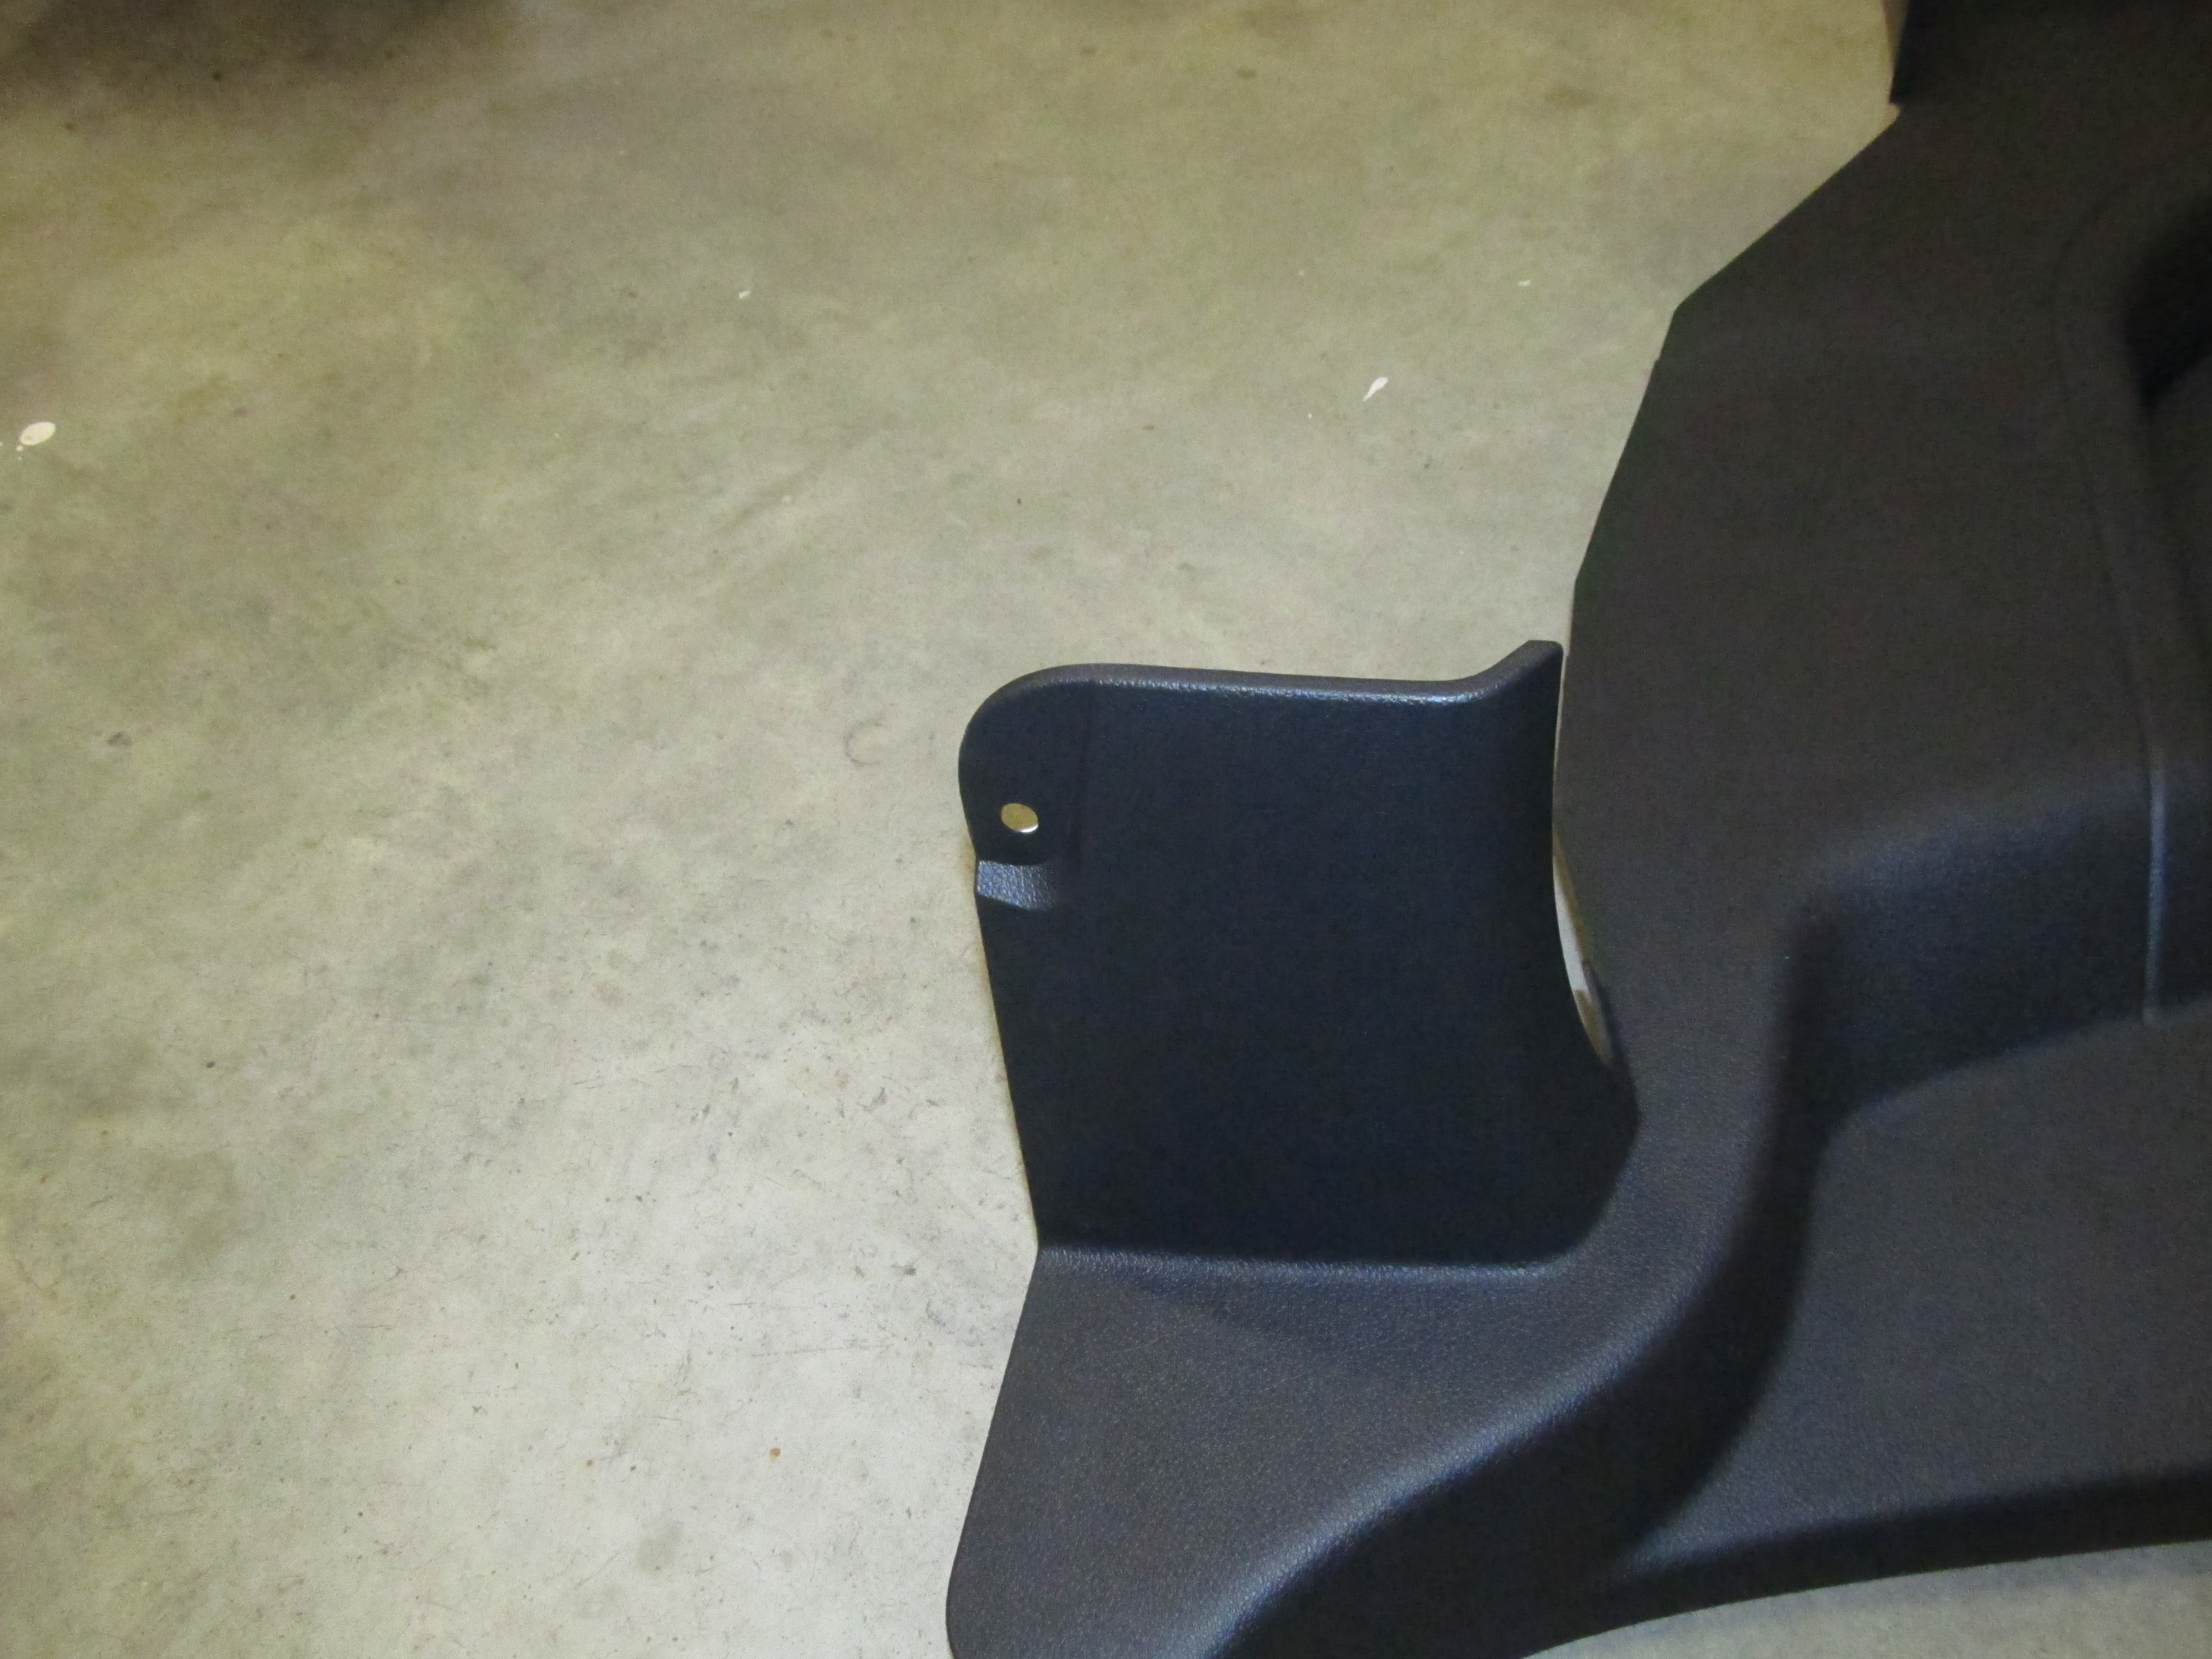
Backside view of the panel, note the locations where the panel fastens to the body.
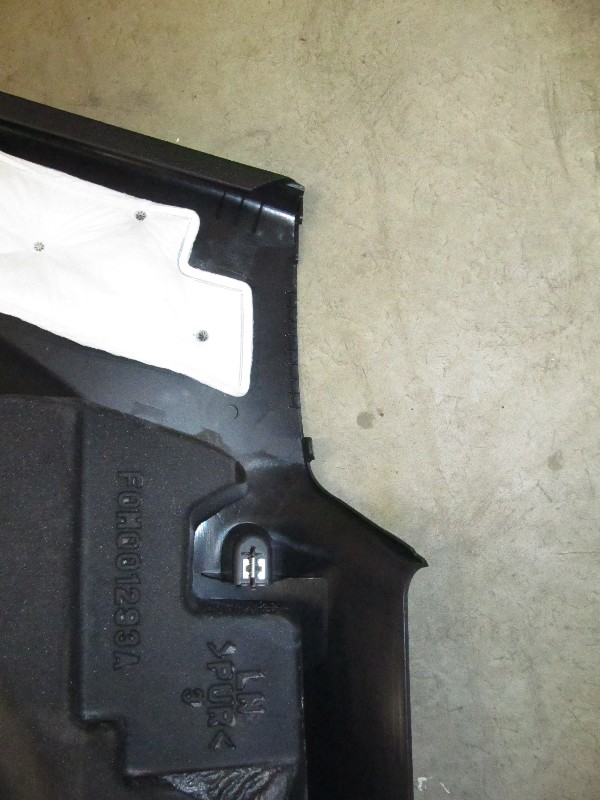
This is where the kick panel fastens to the sail panel cover. You have to work these a bit to get them loose.
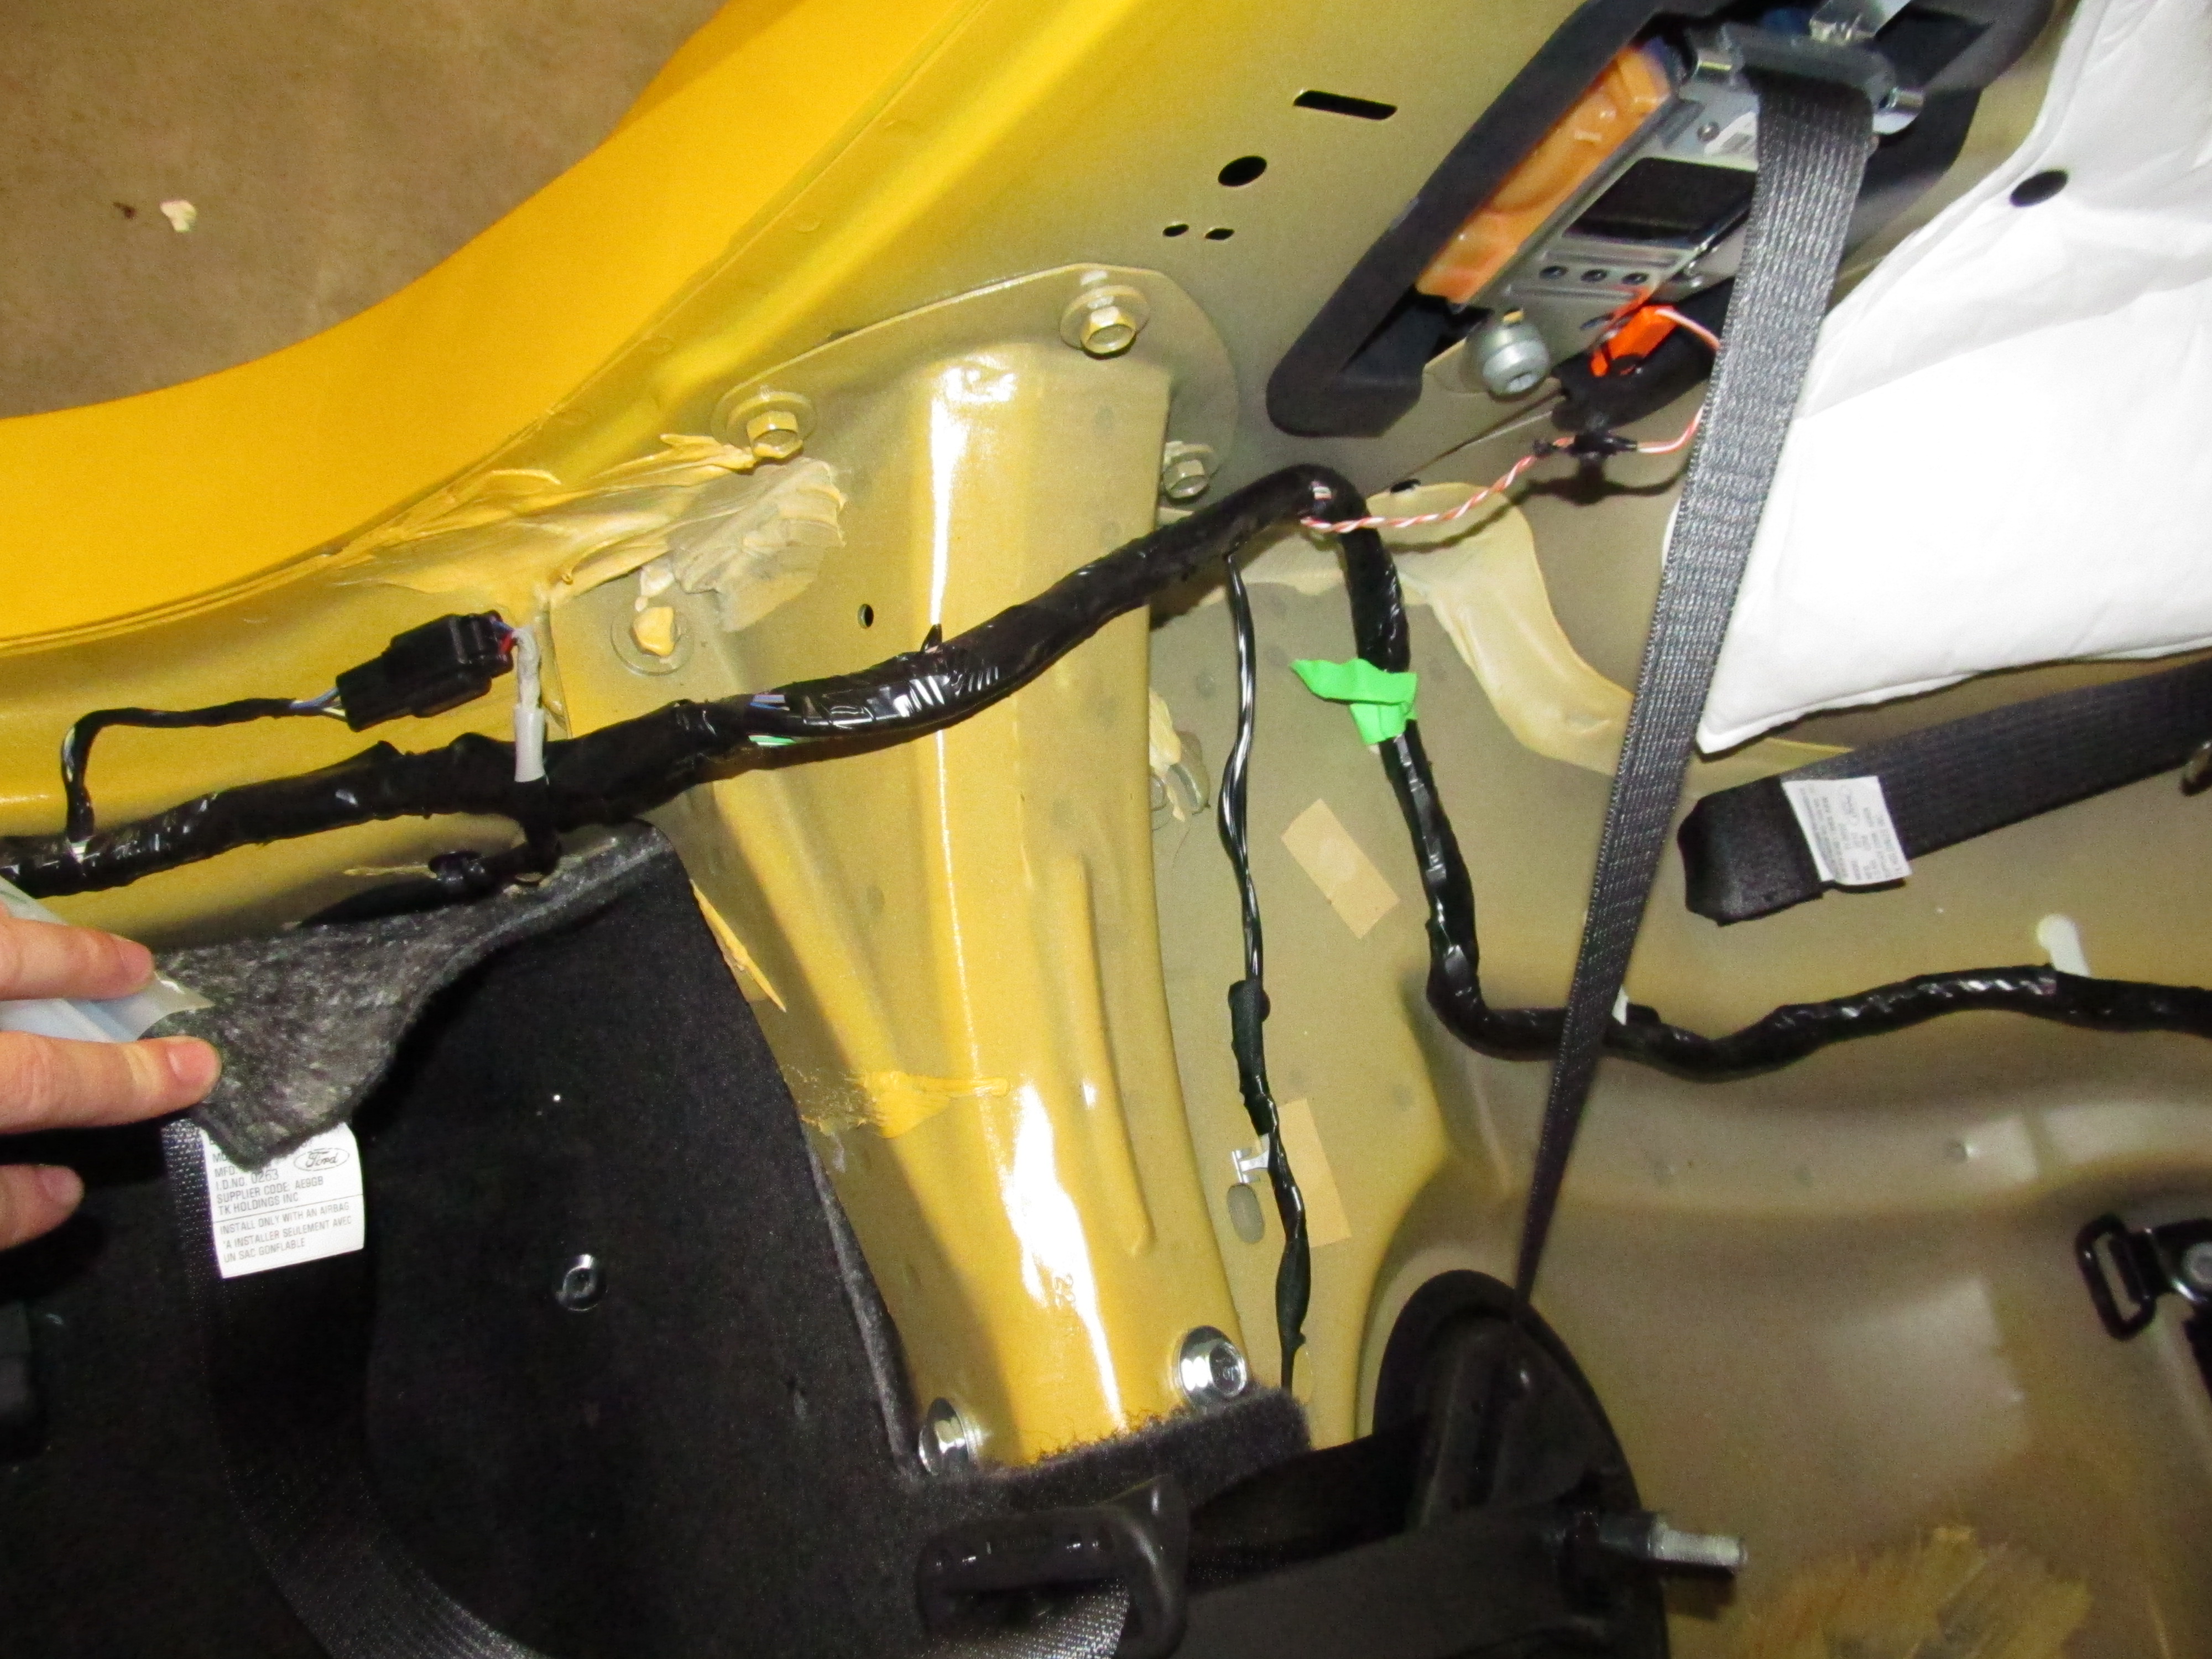
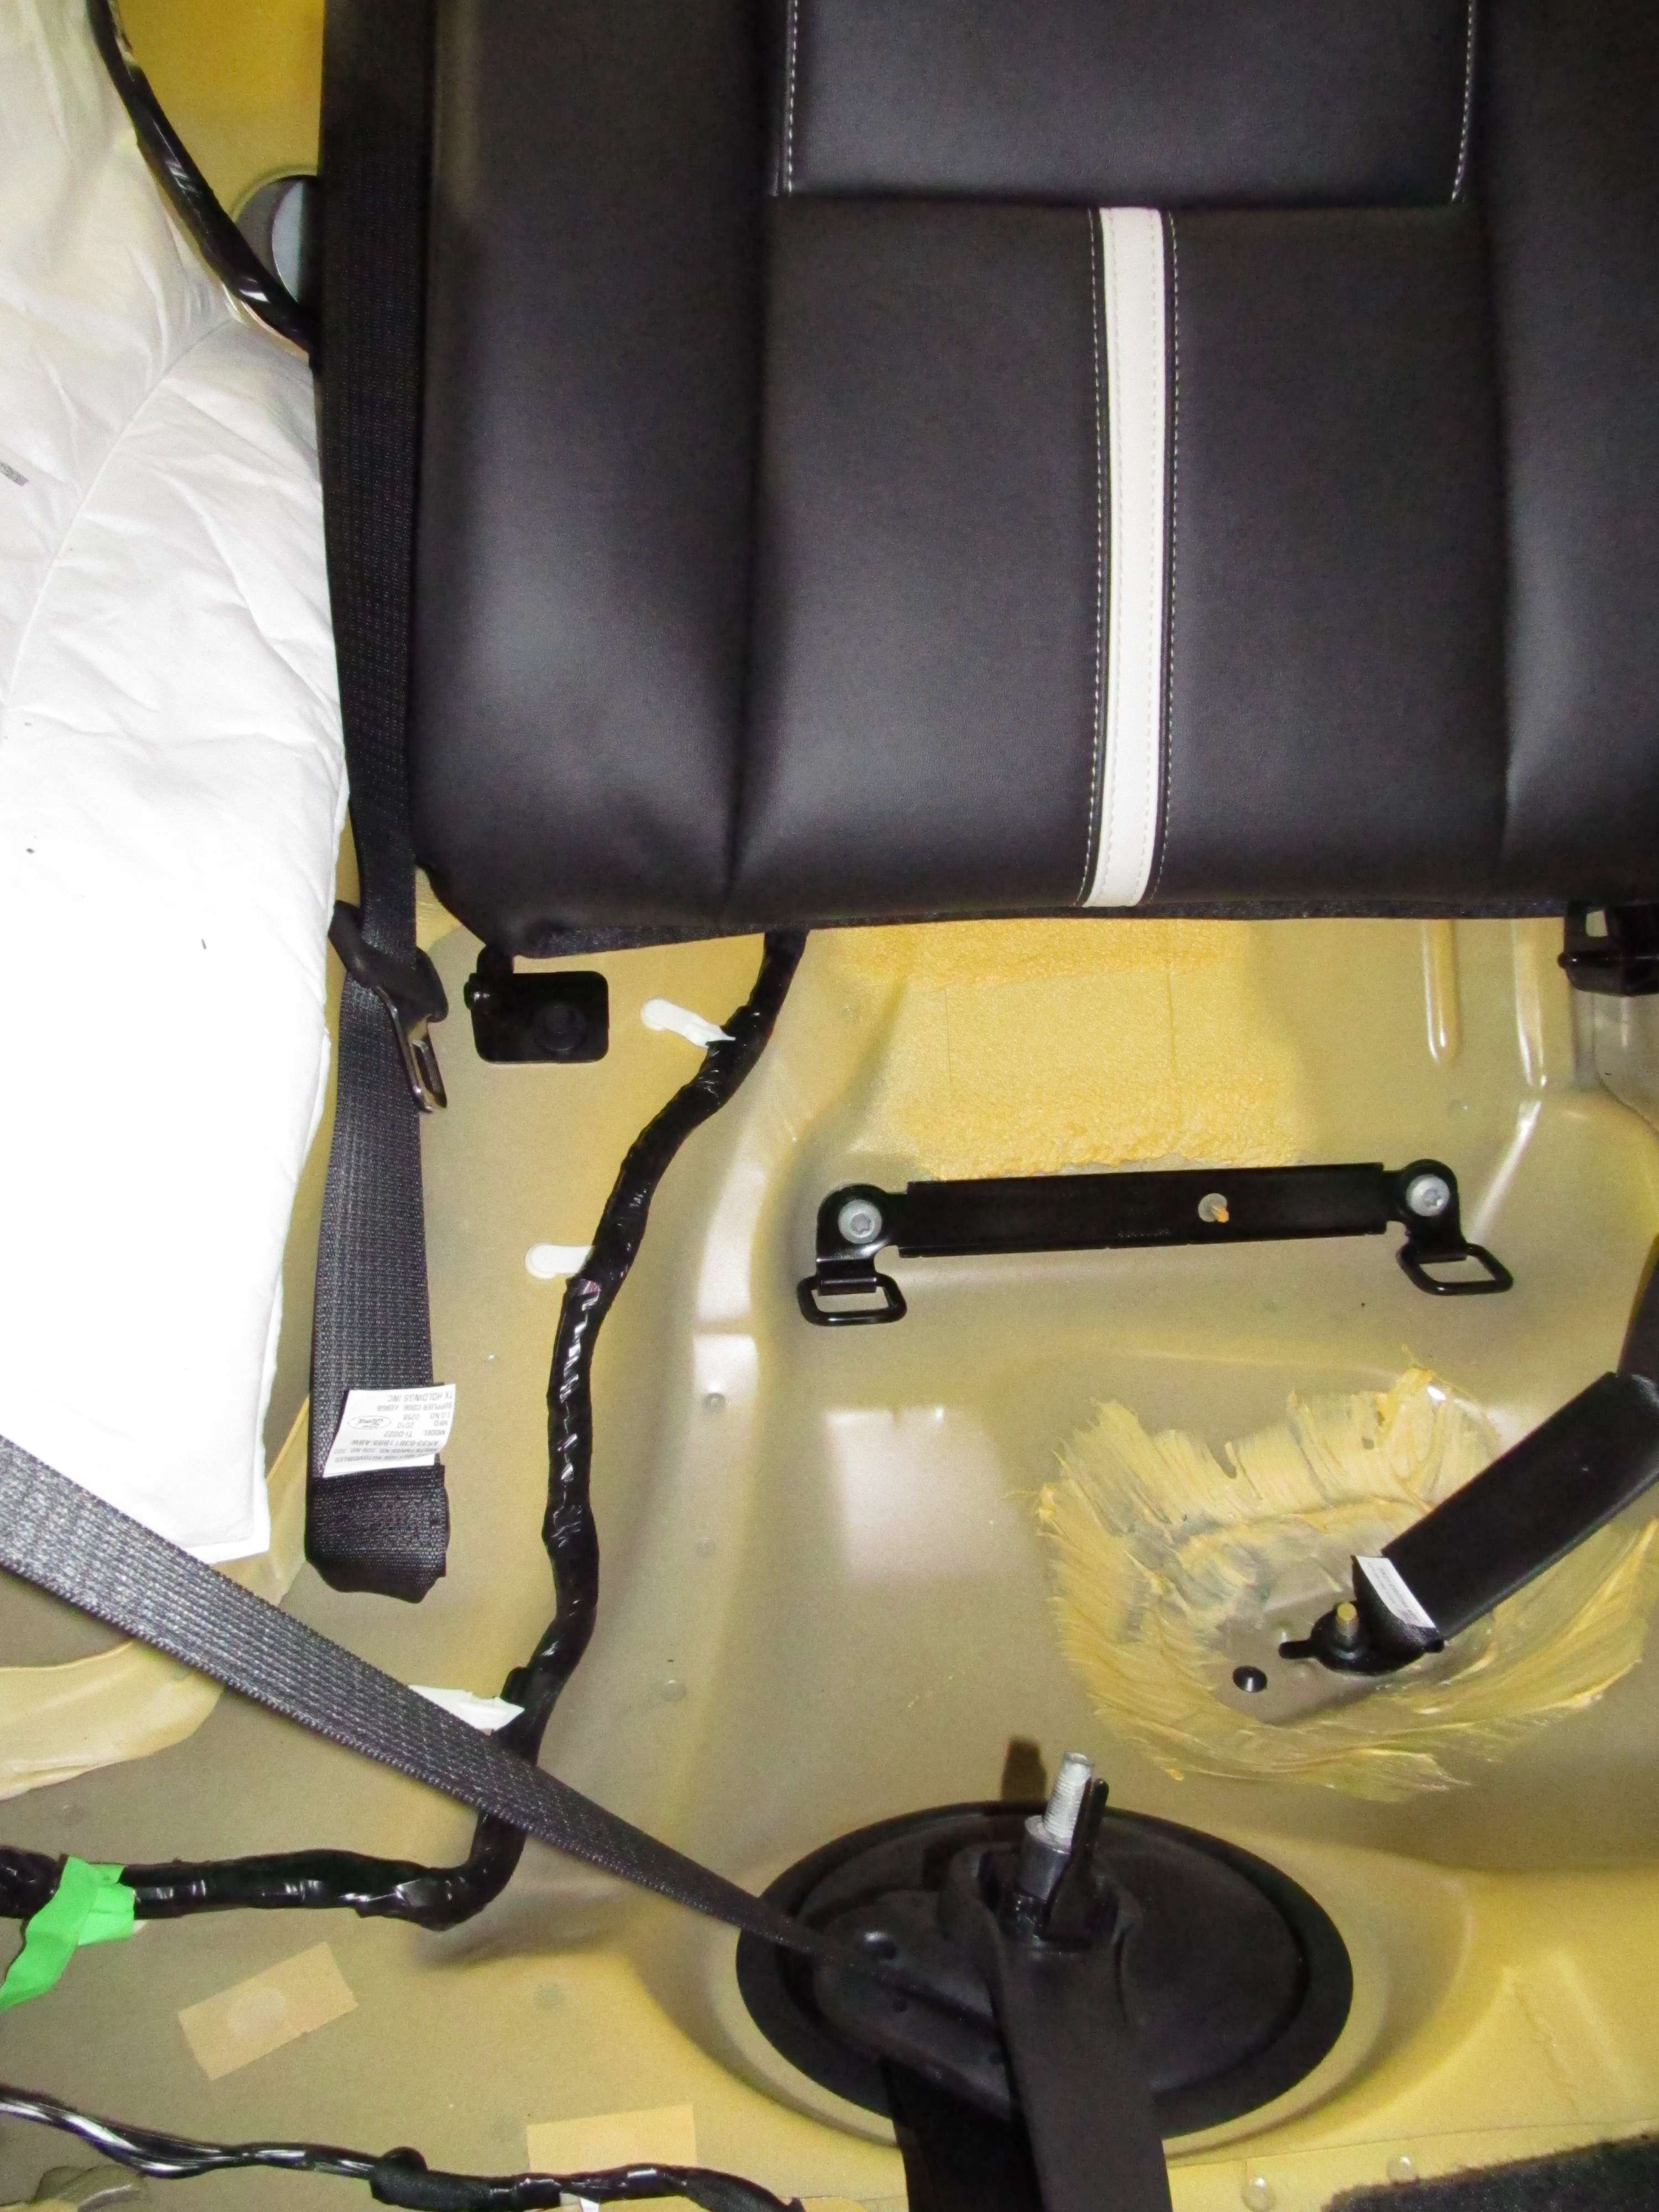
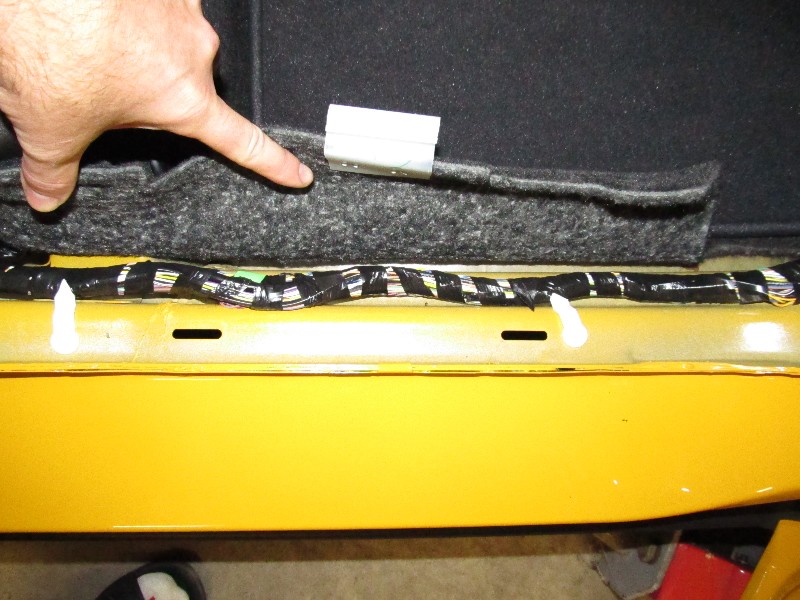
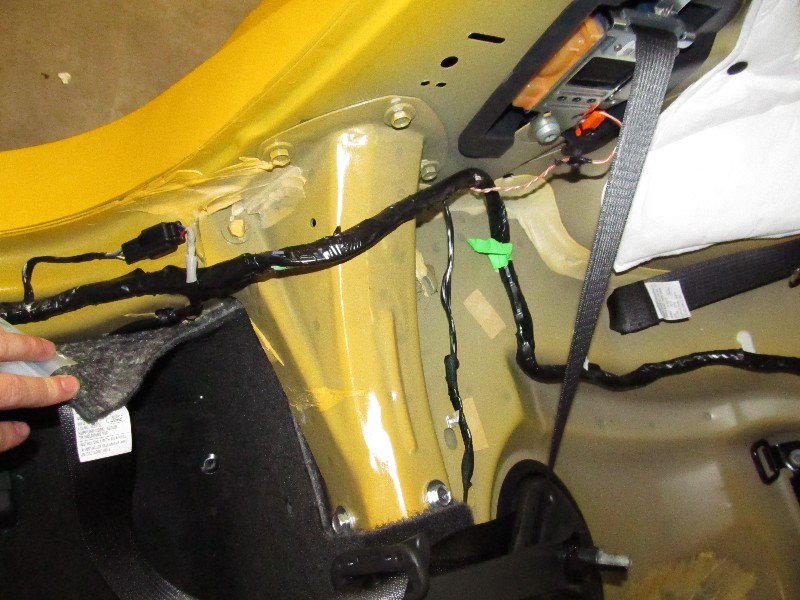
That's it!!! The whole process shouldn't take more than about an hour. The following pictures
show the wire routing from the passenger side footwell to the rear of the car.


 Start Slide Show
On to Stage 2!
Last updated: Sun, May 1, 2011.
Copyright © Mike vanMeeteren, 2011.