So, you've decided to put a stereo in your Mustang to fix the horribly deficient
Shaker 500 system that came stock with your car. I am in the same process myself,
and while all this information is kind of out there on the internet, it's stuff you
have to search for, so I figured, why not put it all down in one place?
Please note, all text and most images (except where noted) are mine. You are free to
distribute, print, use, etc, to your hearts content, but please leave this note and
the link to the original page in place. The original can be found here:
http://www.fast351.com/11GT/stereoinstall/disassemblyinstructions.html
Stage 2: Removing the rear deck to install new speakers.
Everyone always says removing the rear deck is a royal pain, not worth doing, rear speakers
aren't that important, etc etc. Well, I disagree. It's really pretty simple and should
take no longer than an hour:
Step 1: Remove the sill plates and rear kick panels as described in
Stage 1, running amplifier cabling.
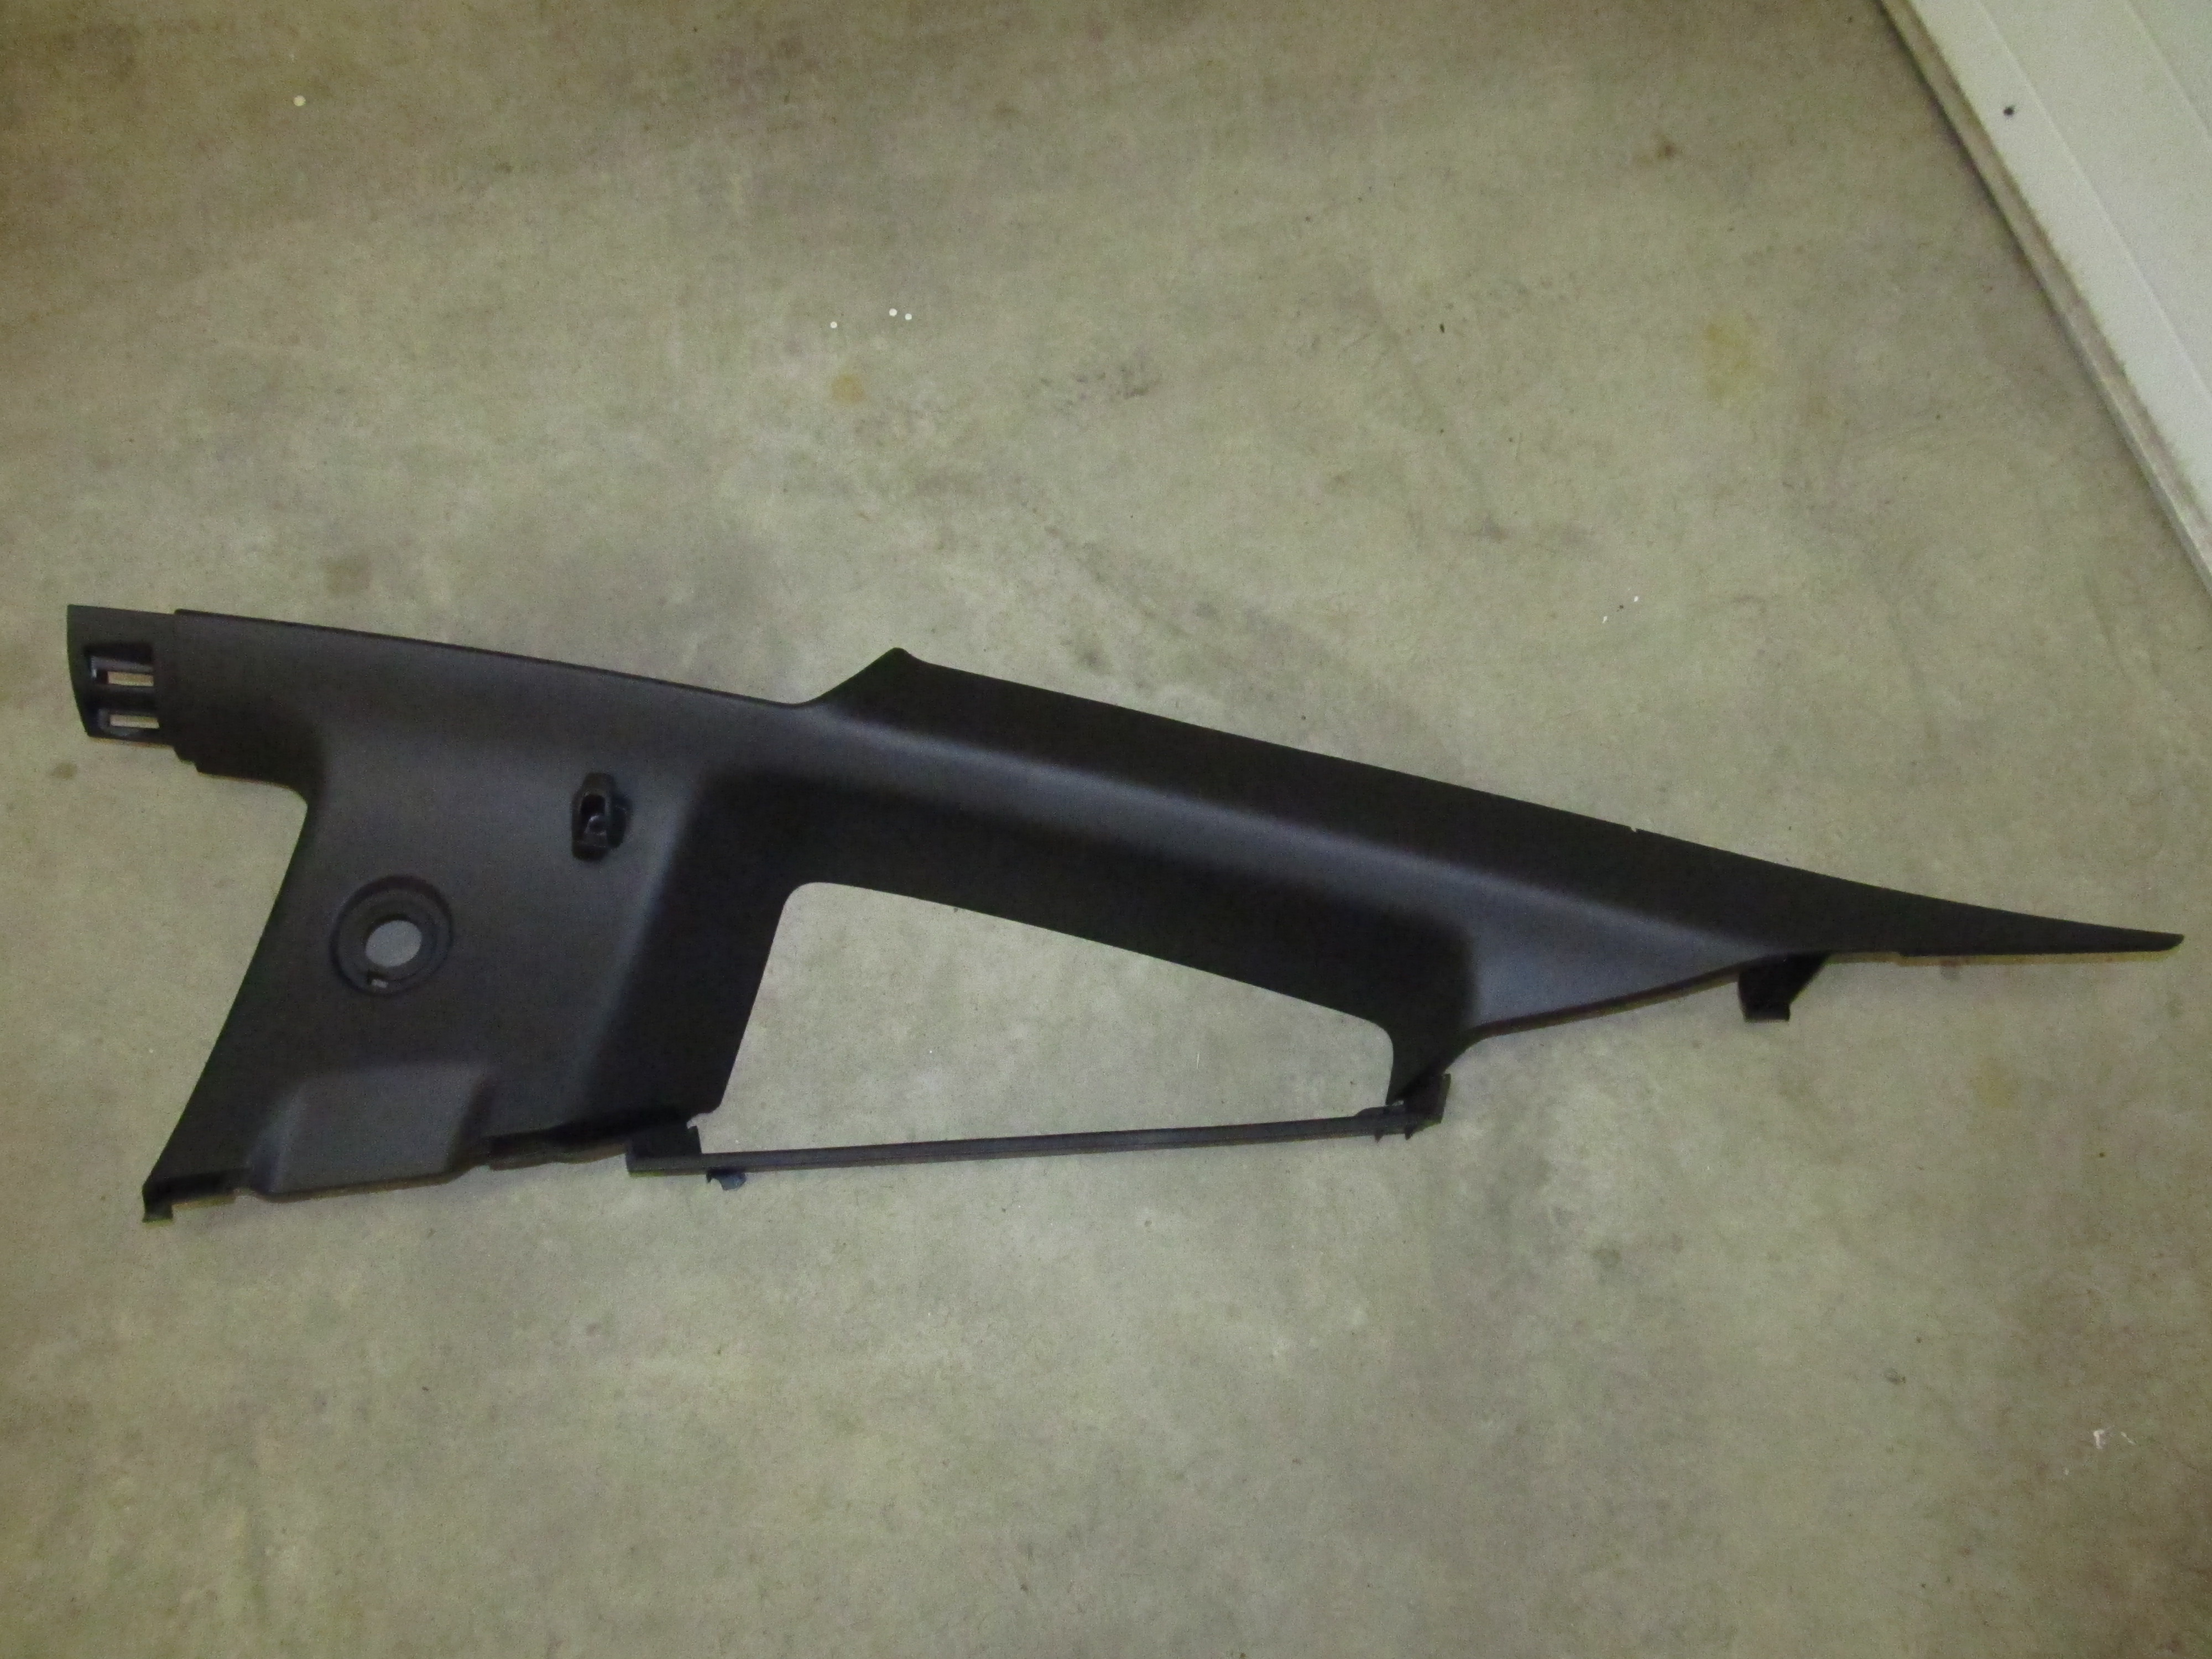
Step 2: Remove the sail panels (this step is optional, as the rear deck lid
can slide underneath the sail panel):
Remove the seatbelt by removing the cover and taking out the 14mm bolt.
Remove the coat hanger fastener by removing the cover, and removing the T20 screw. (Hanger stays in place)
Pull forward starting at the bottom of the front of the sail panel.
Remove the sail panel clips from the A pillar (A pillar overlaps sail panel, pull the A pillar cover just far enough to unclip it)
BE CAREFUL with the defroster leads. Pop the wire out of the cutout in the sail panel.
Pull sail panel forward and out. It's hooked in the back (see pictures below)
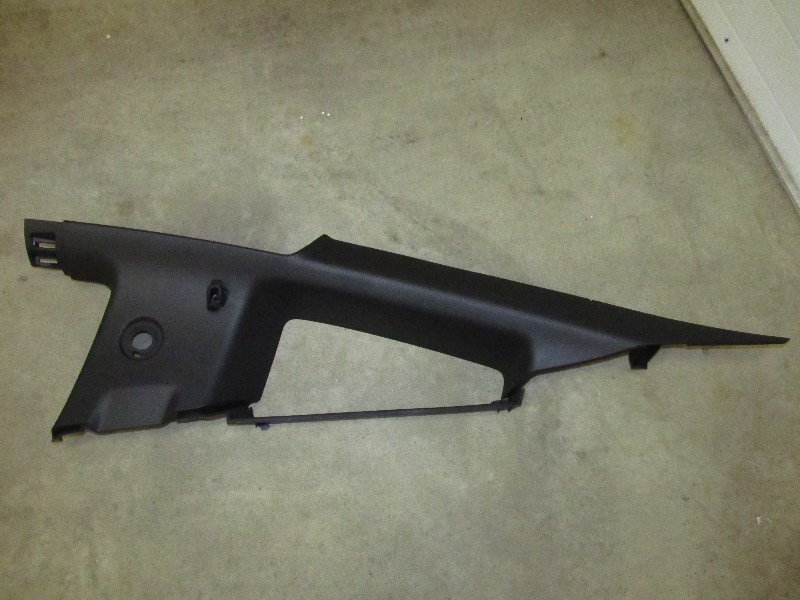
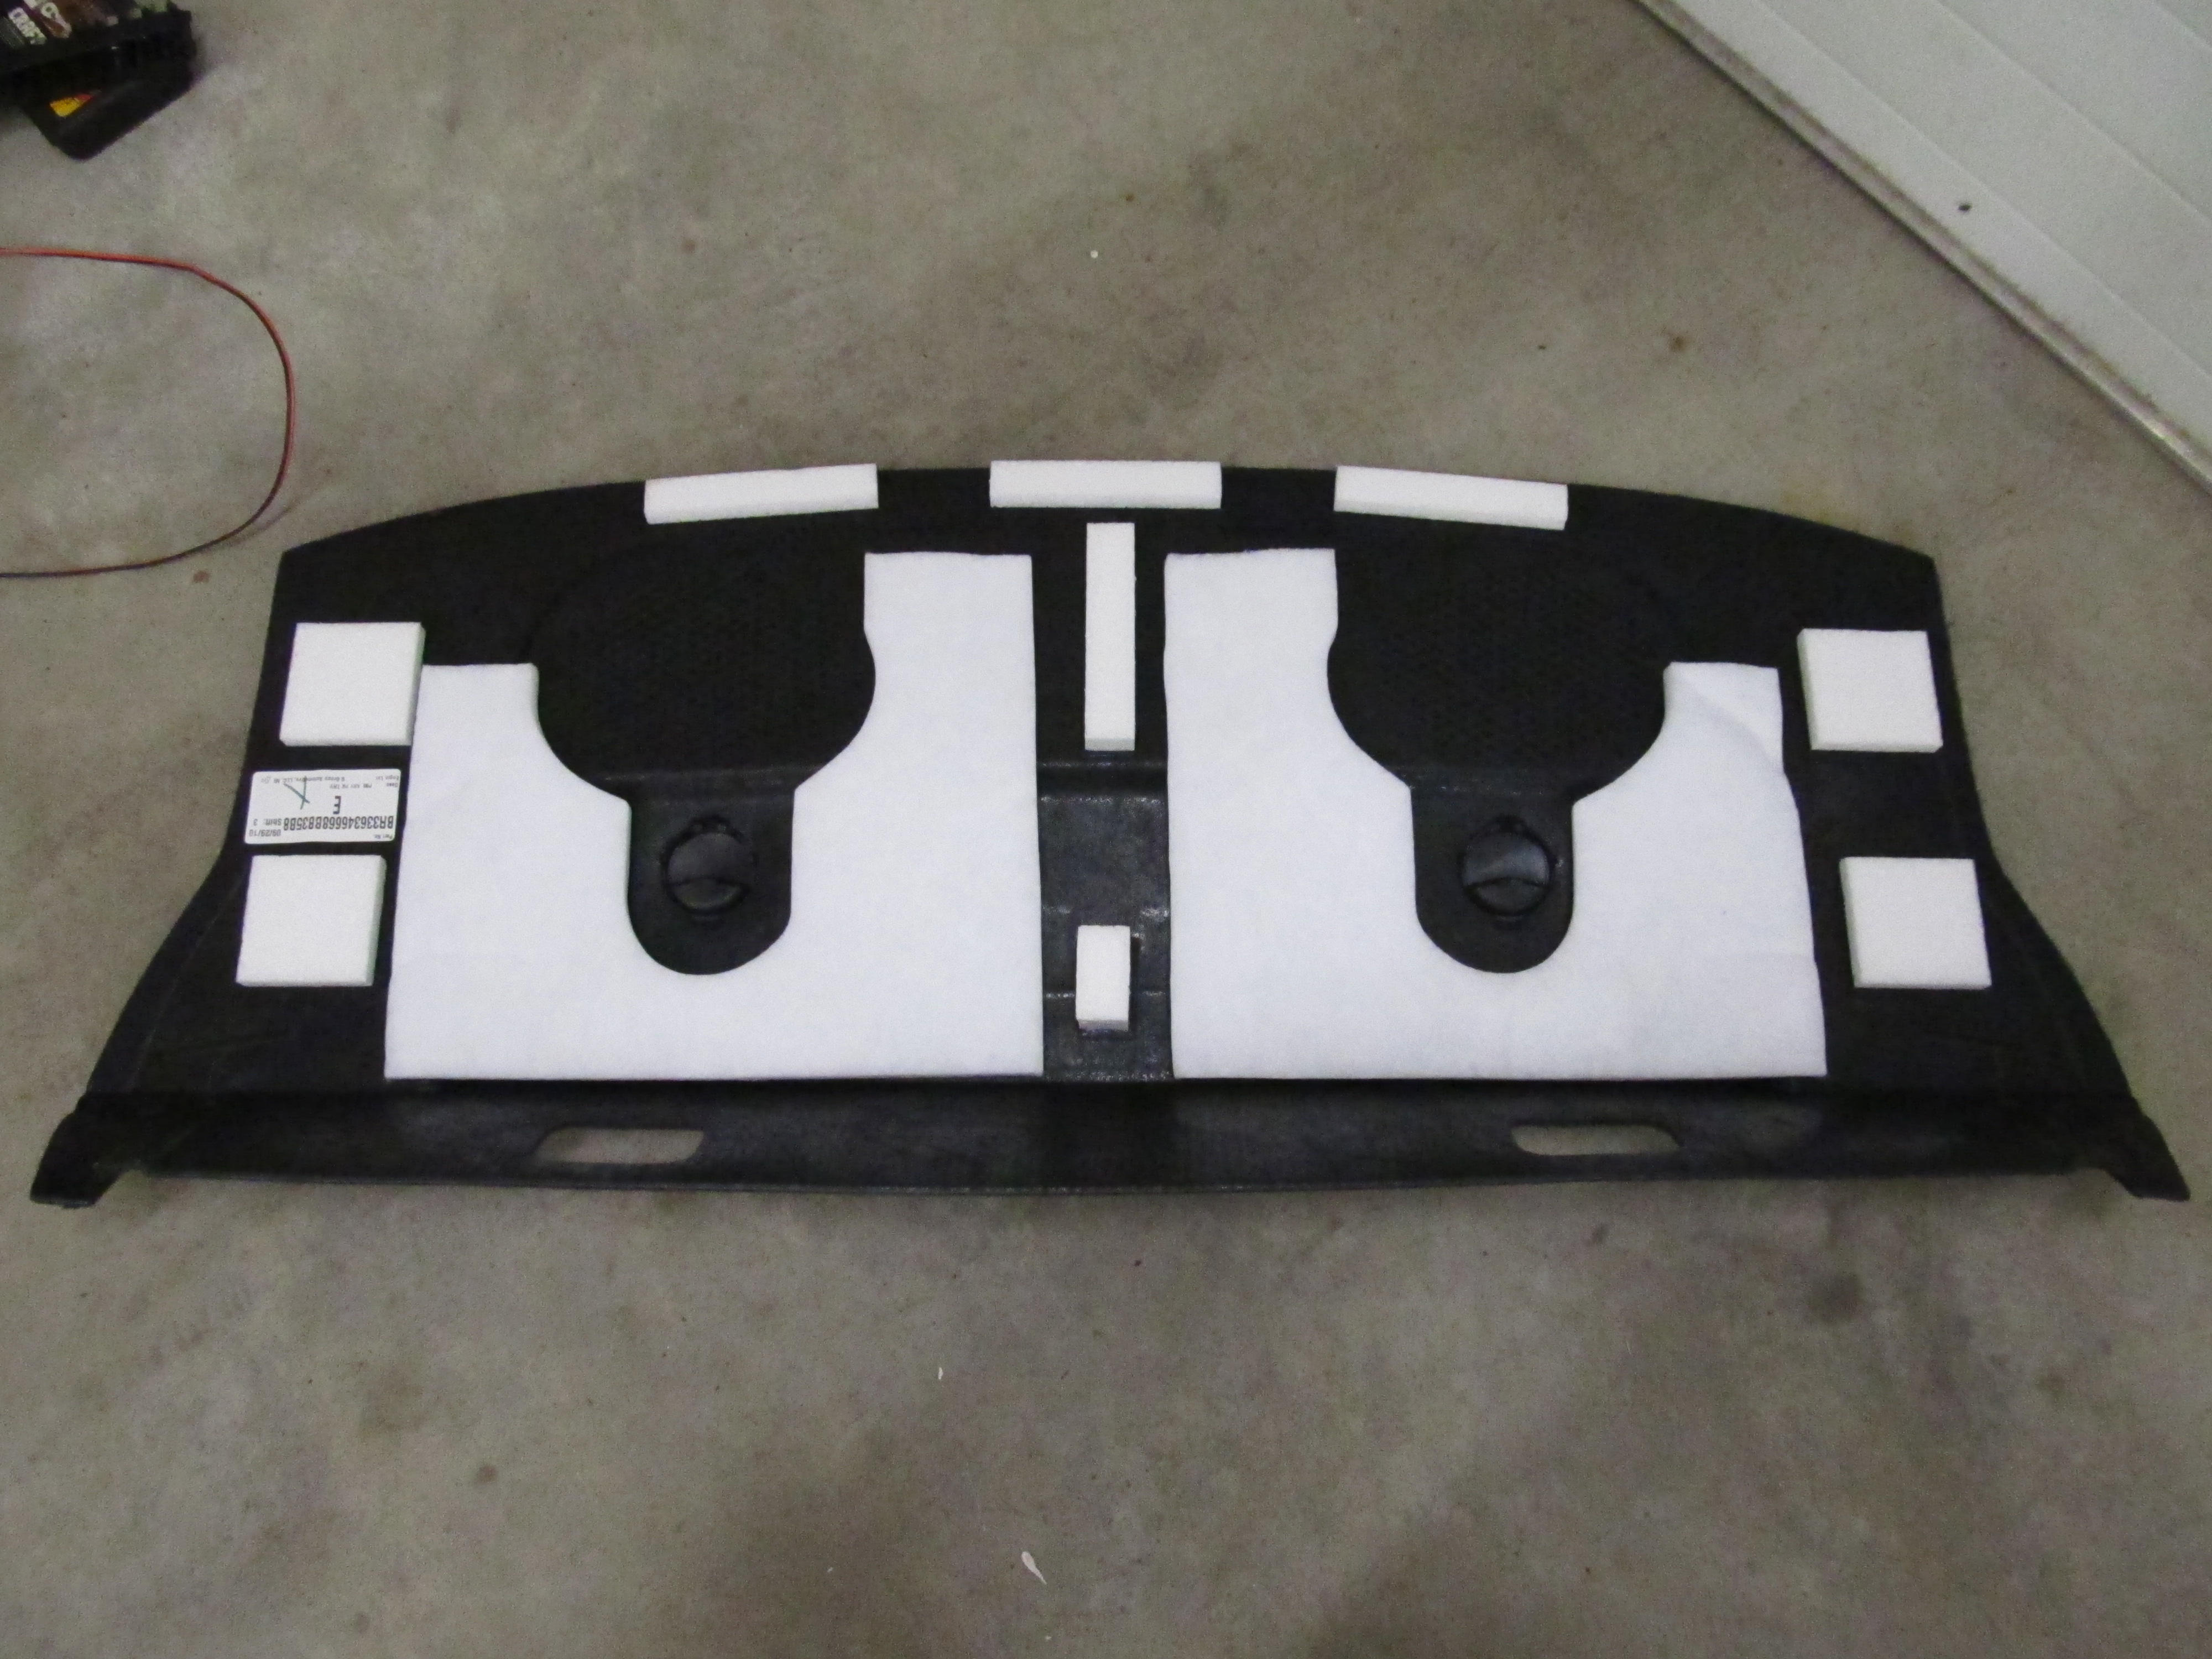
Sail panel when removed from car.
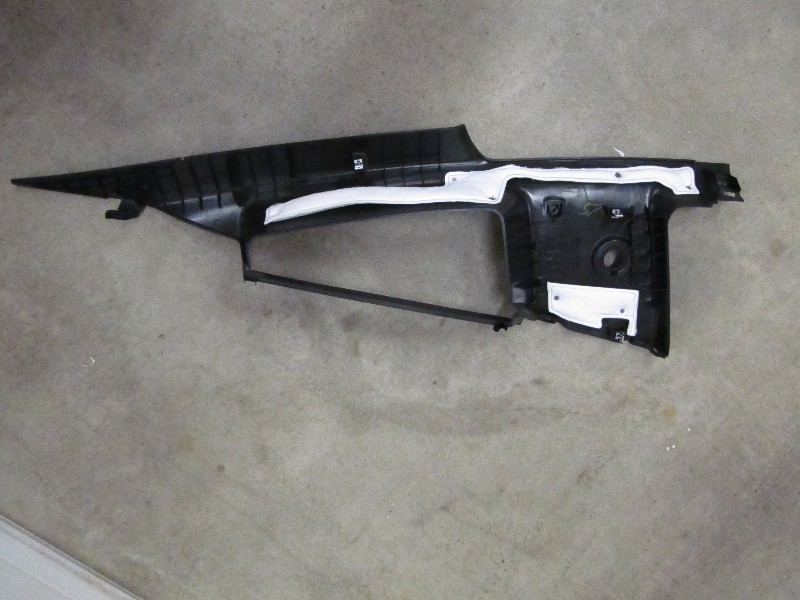
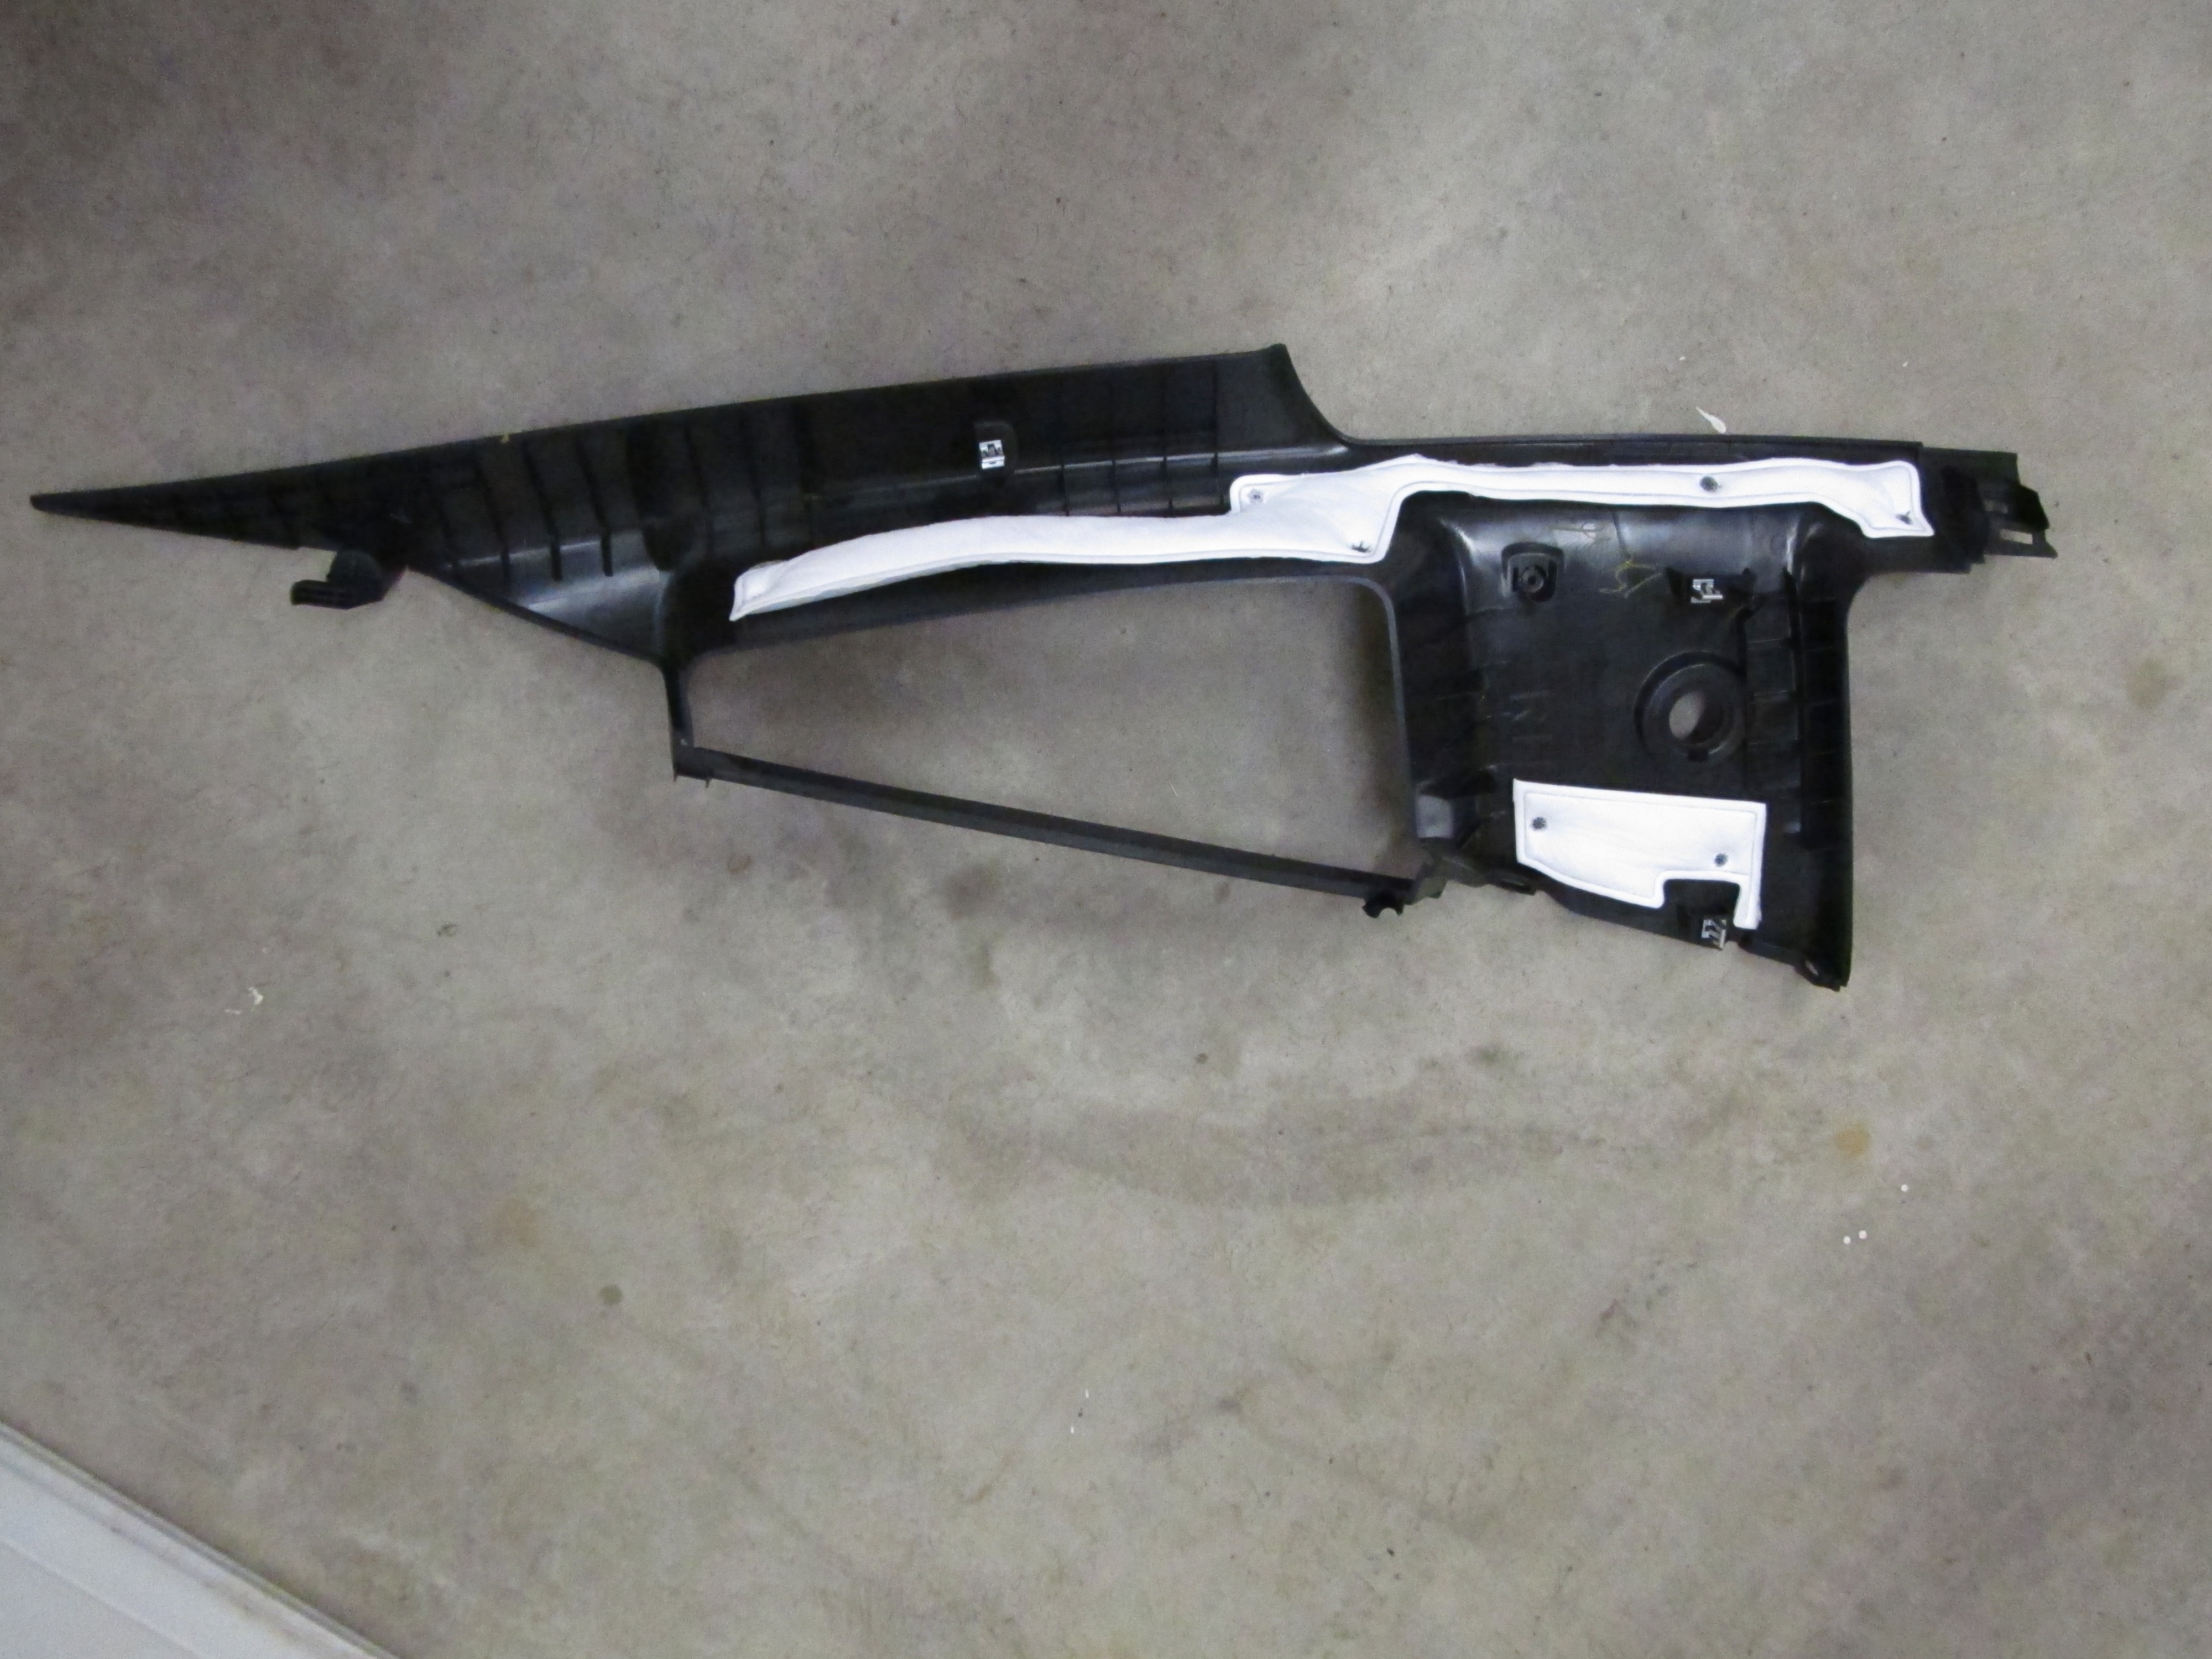
Back of sail panel. Note the clips at the front where it hooks into the A pillar, and the hook in the back
where it hooks into the body.
Step 3: Remove the rear deck. Pop the 4 pushpins holding the rear deck in place, remove the seatbelt
through the slot,and slide out.

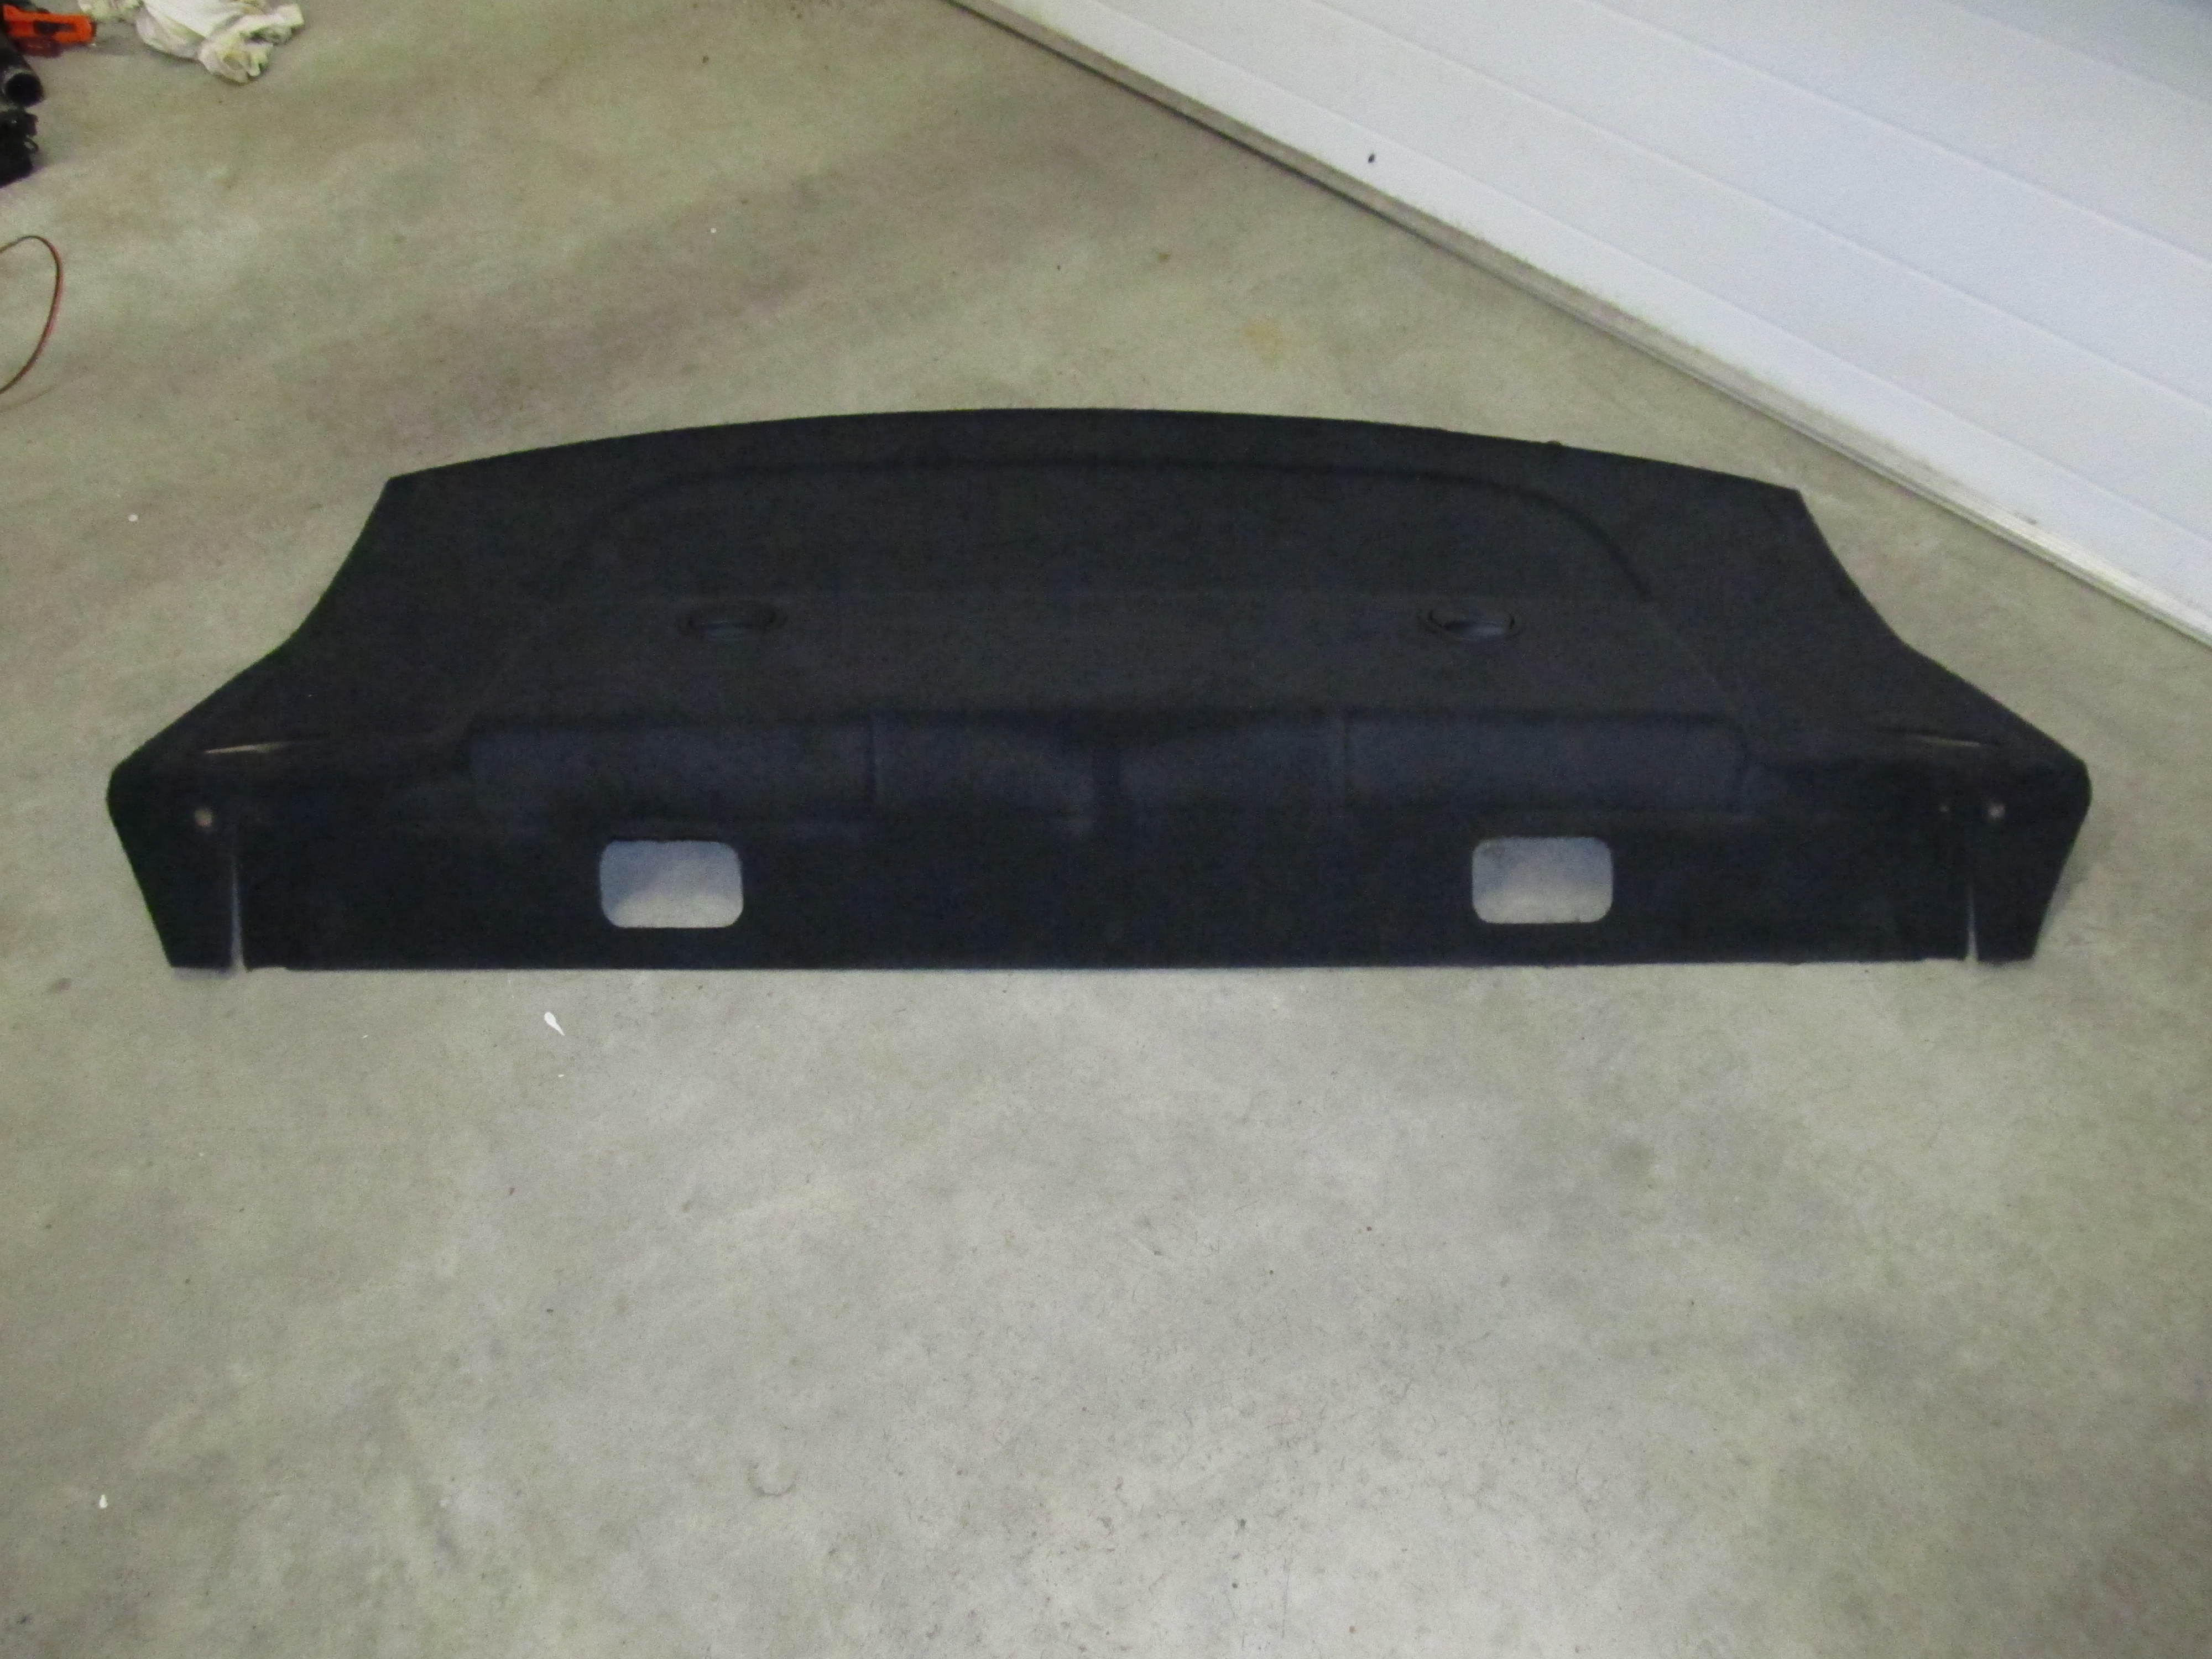
Rear deck cover when removed.

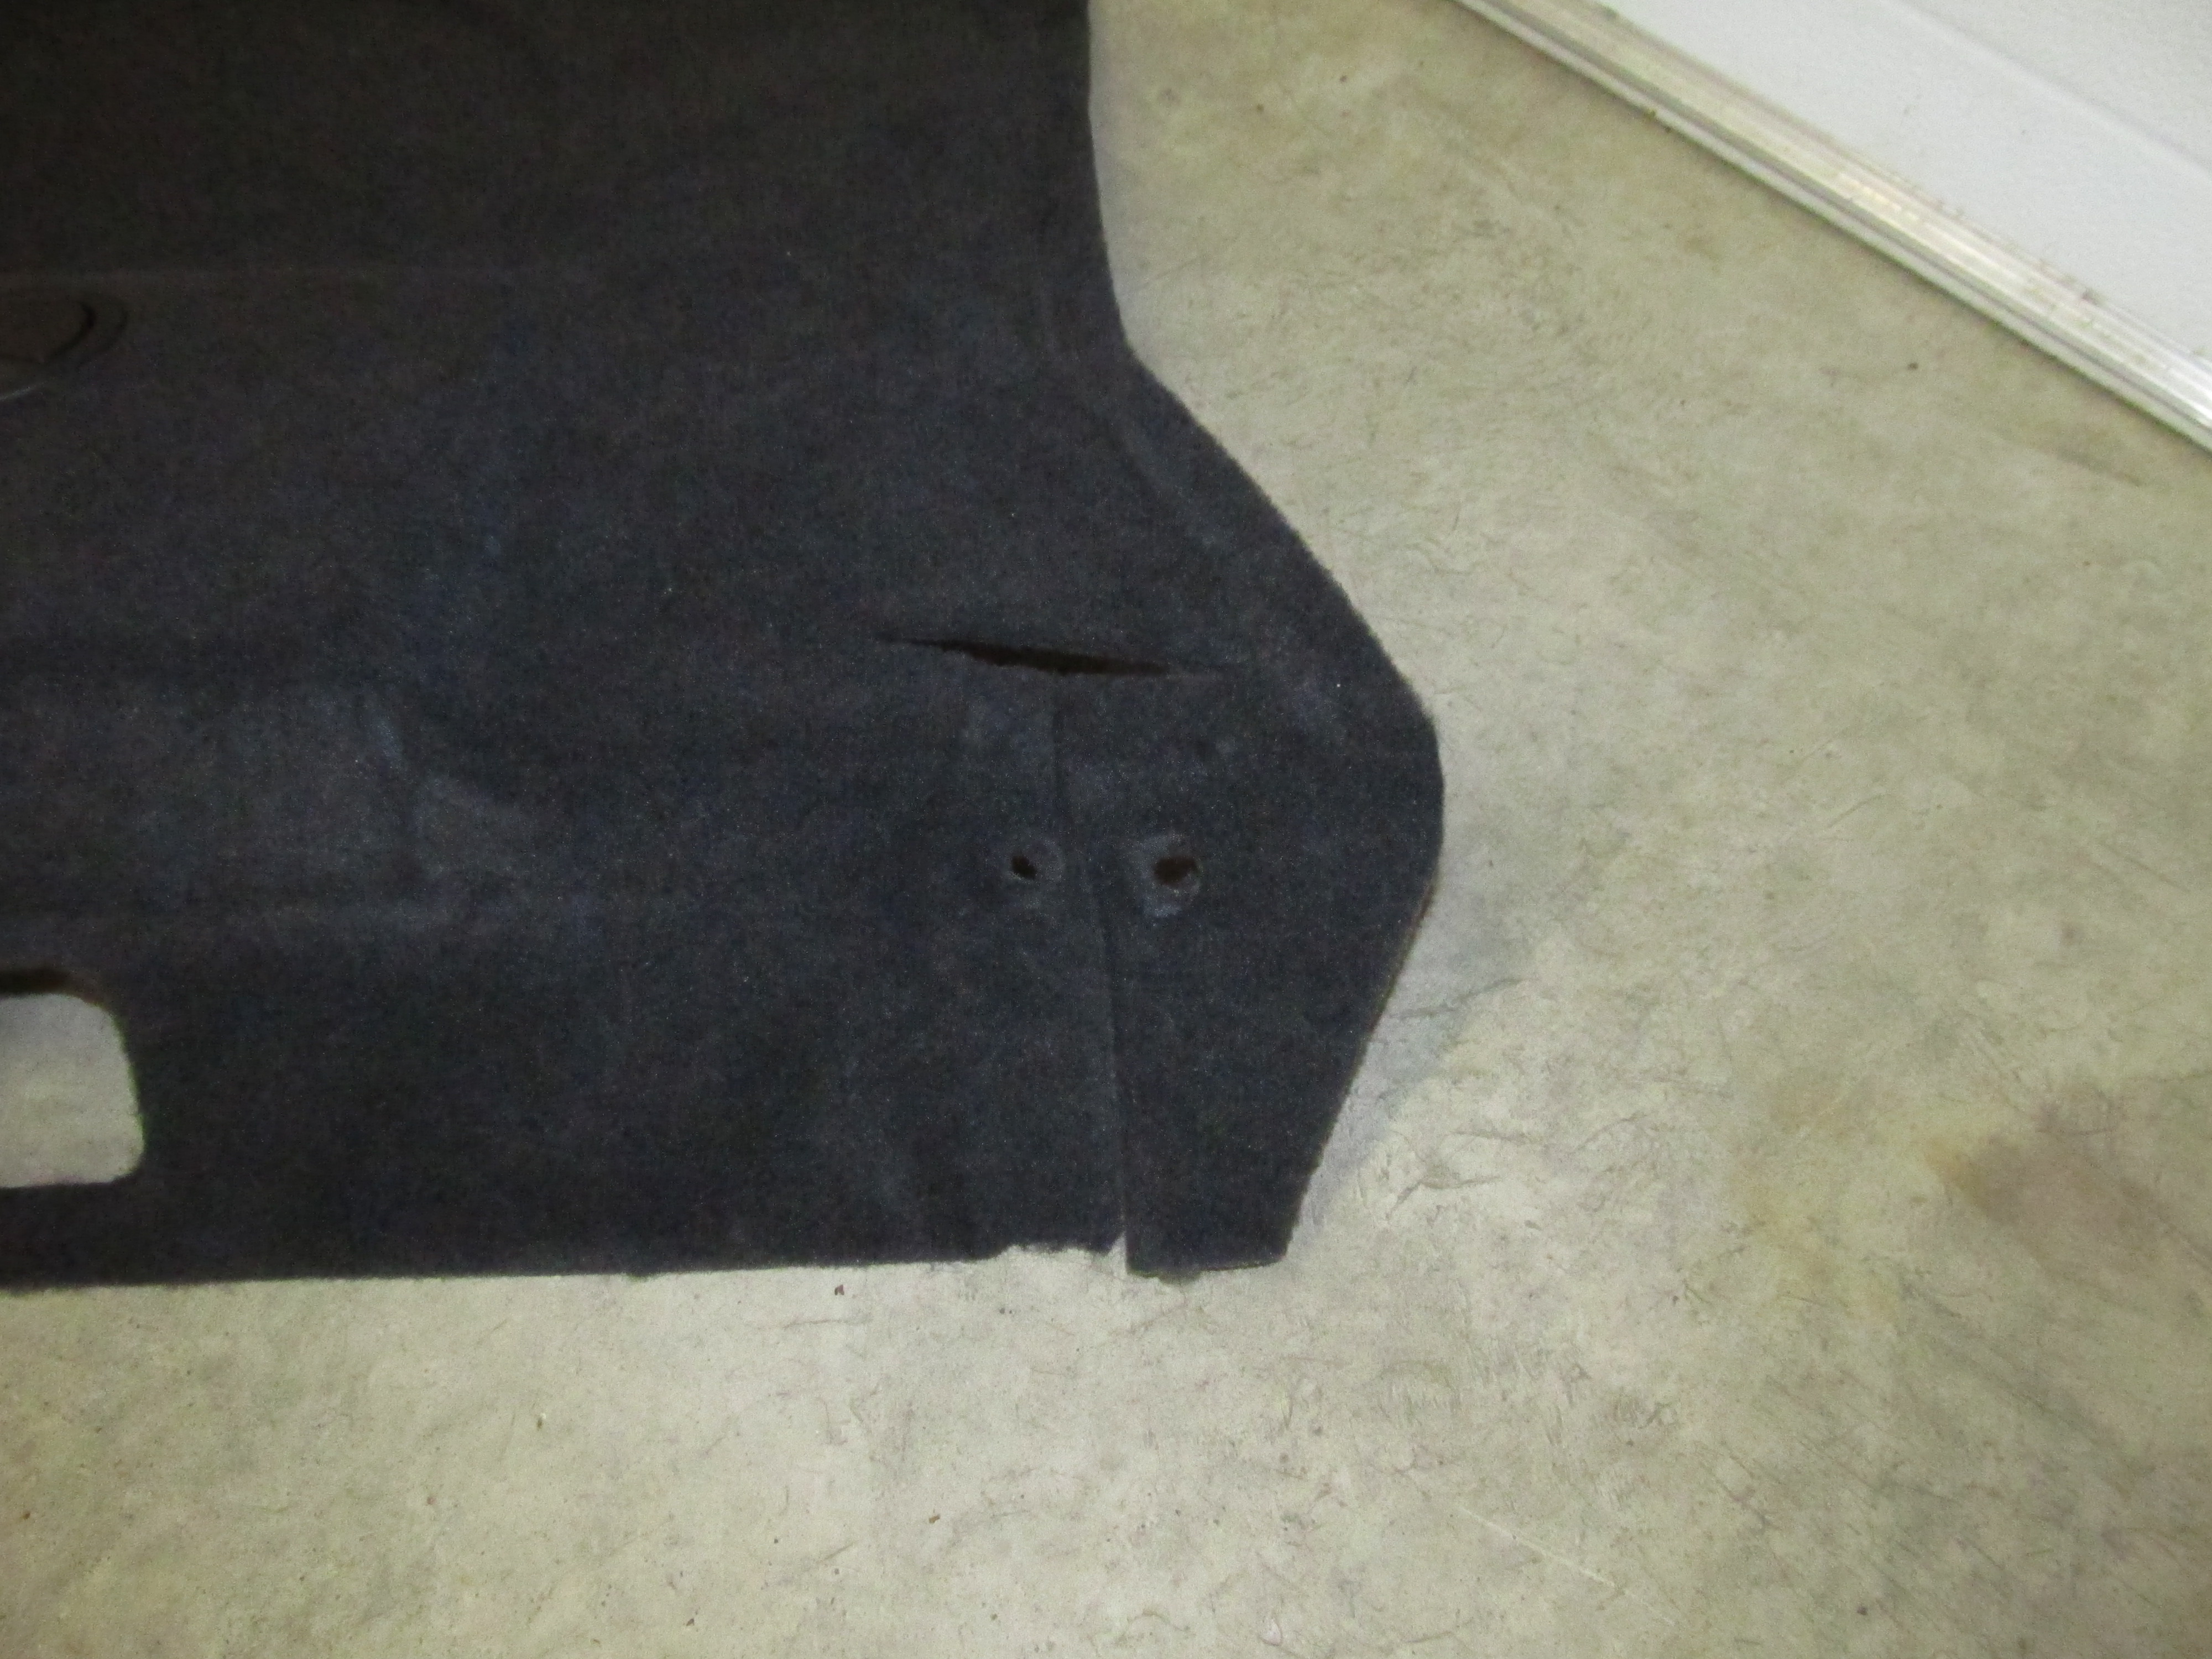
The pushpins that retain the rear deck cover. There are two on each side.
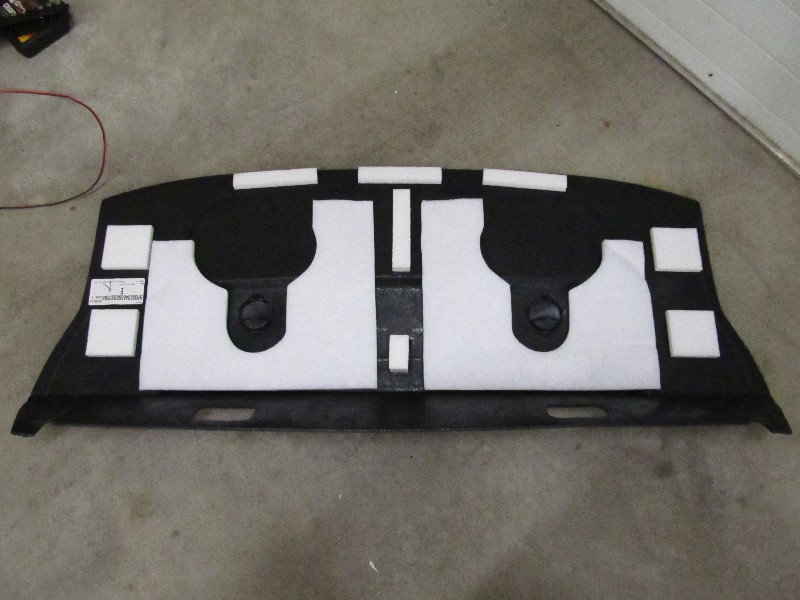
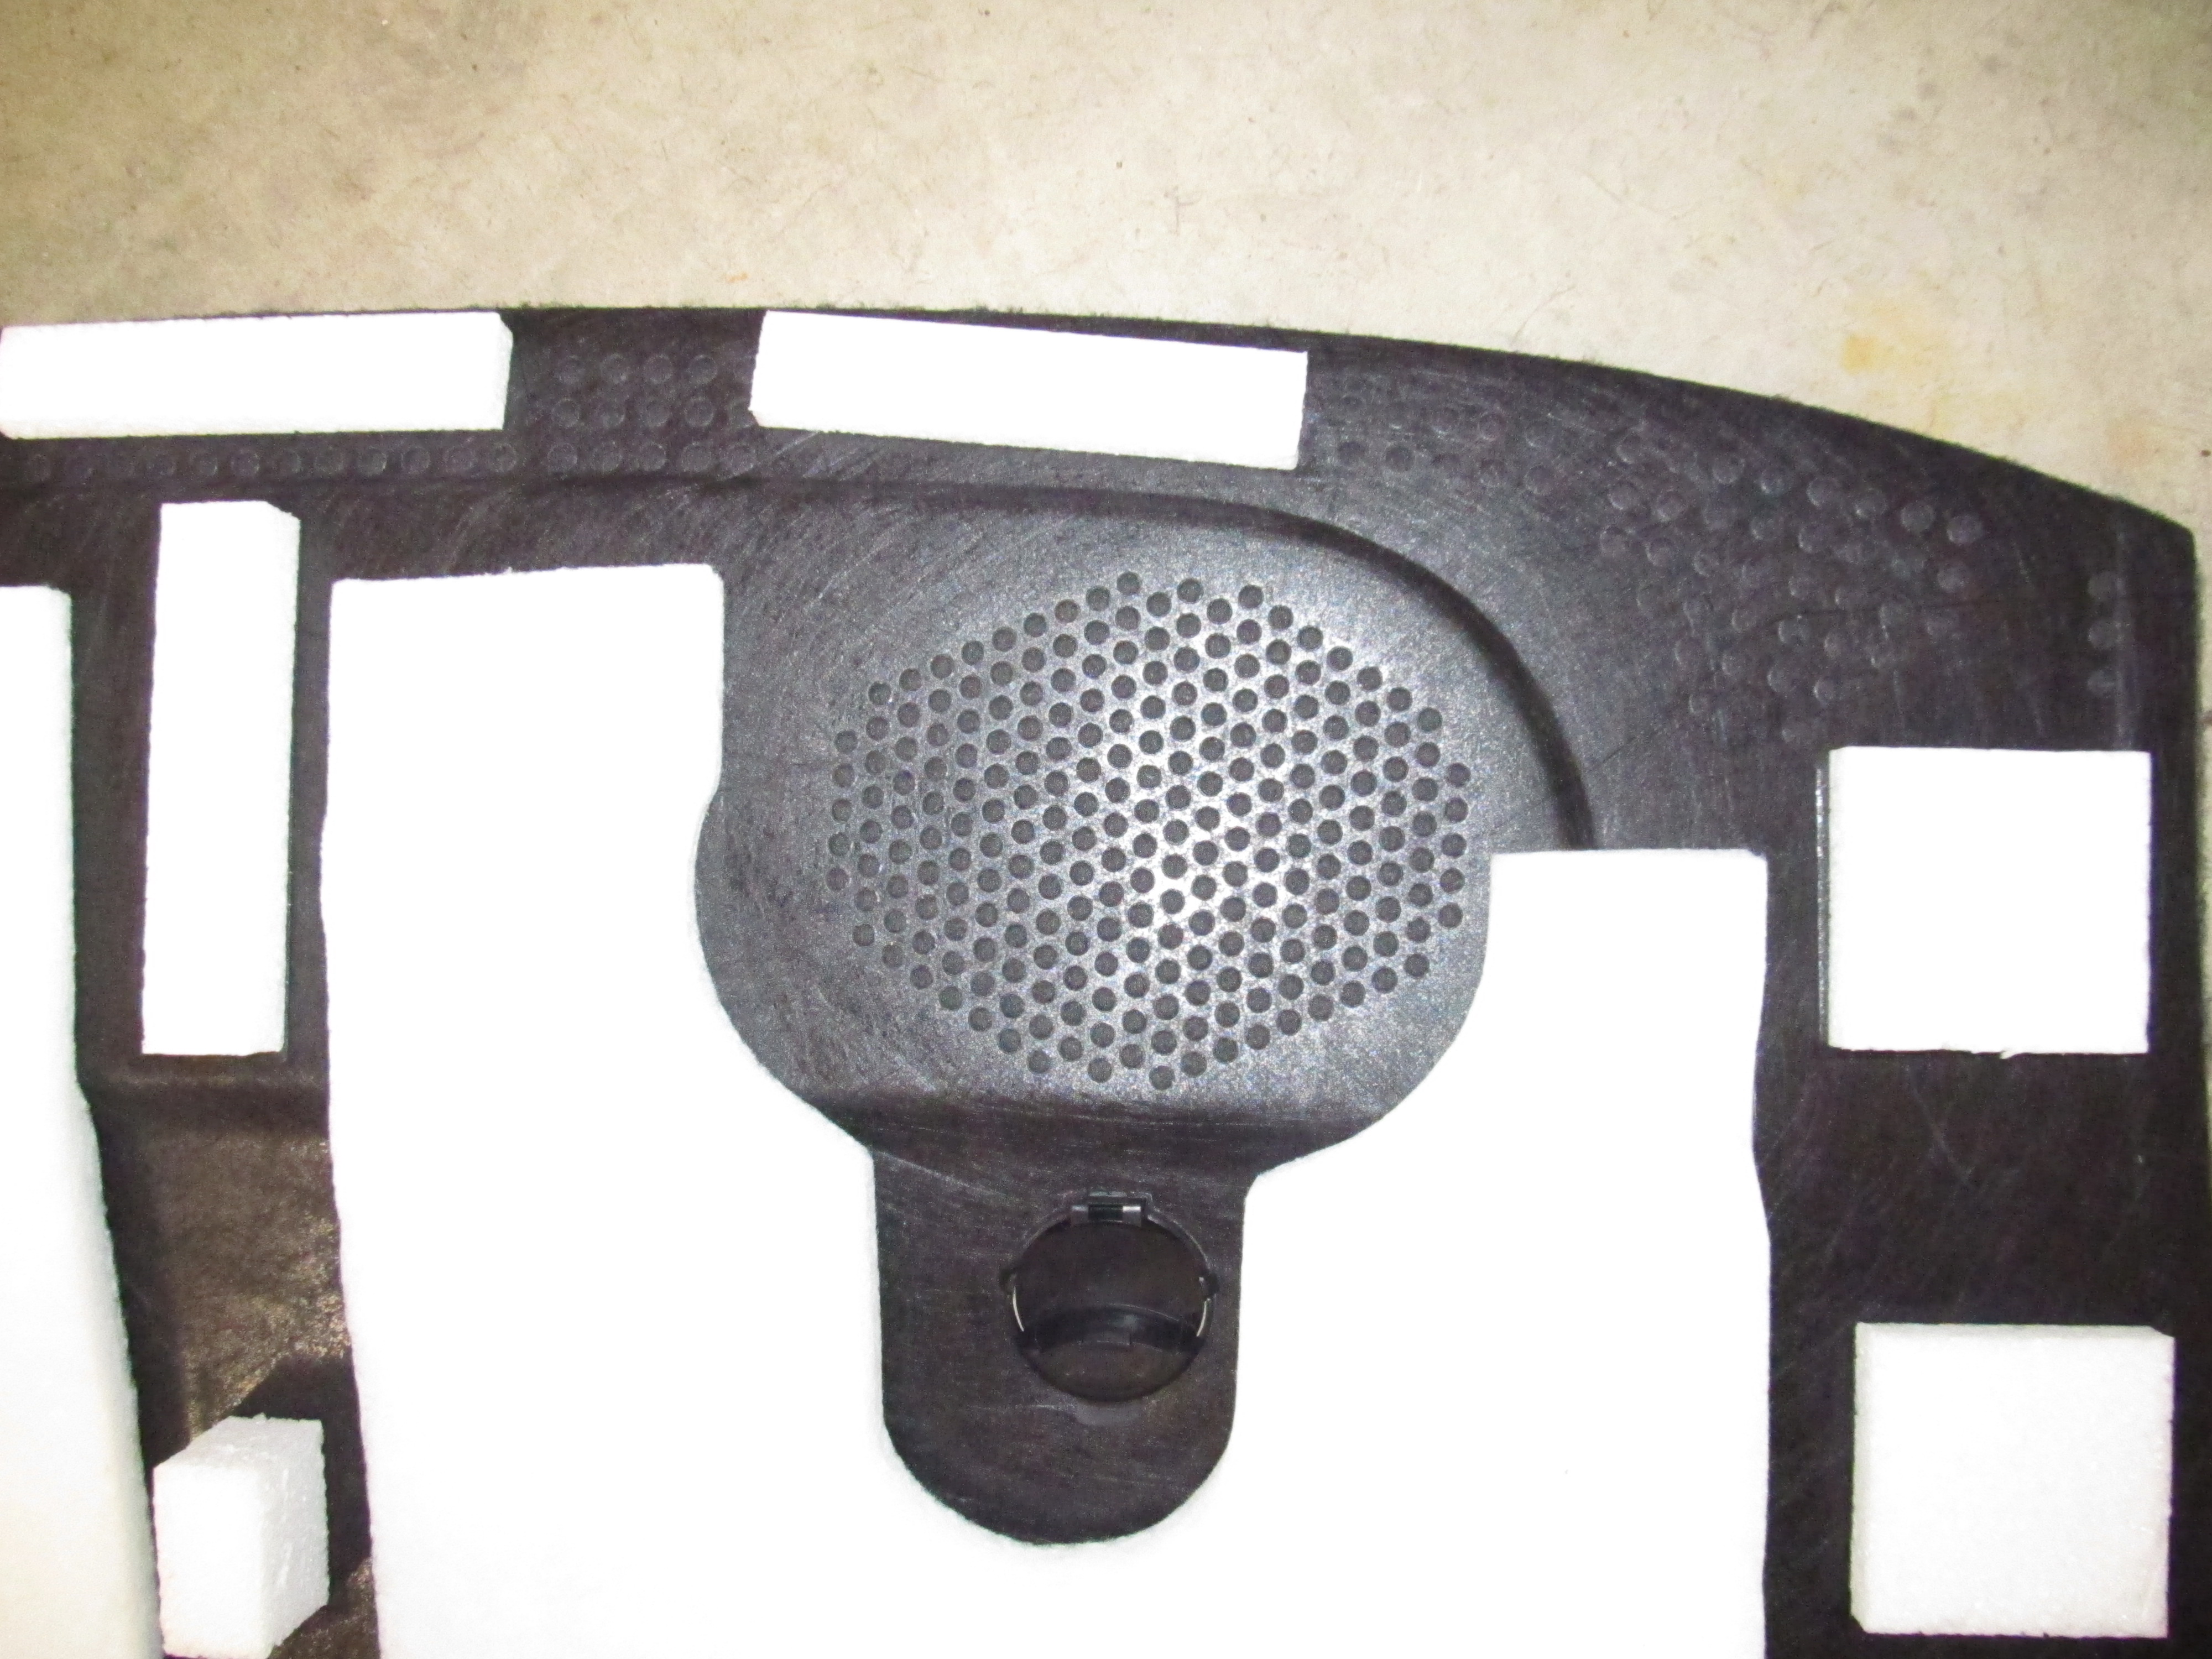
The underside of the rear deck cover.

Where the sound comes through the rear deck cover.
That's it!!! The whole process shouldn't take more than about an hour (about 20 minutes if you already have the sill
plates and kick panels out for routing the amp wiring). The following pictures
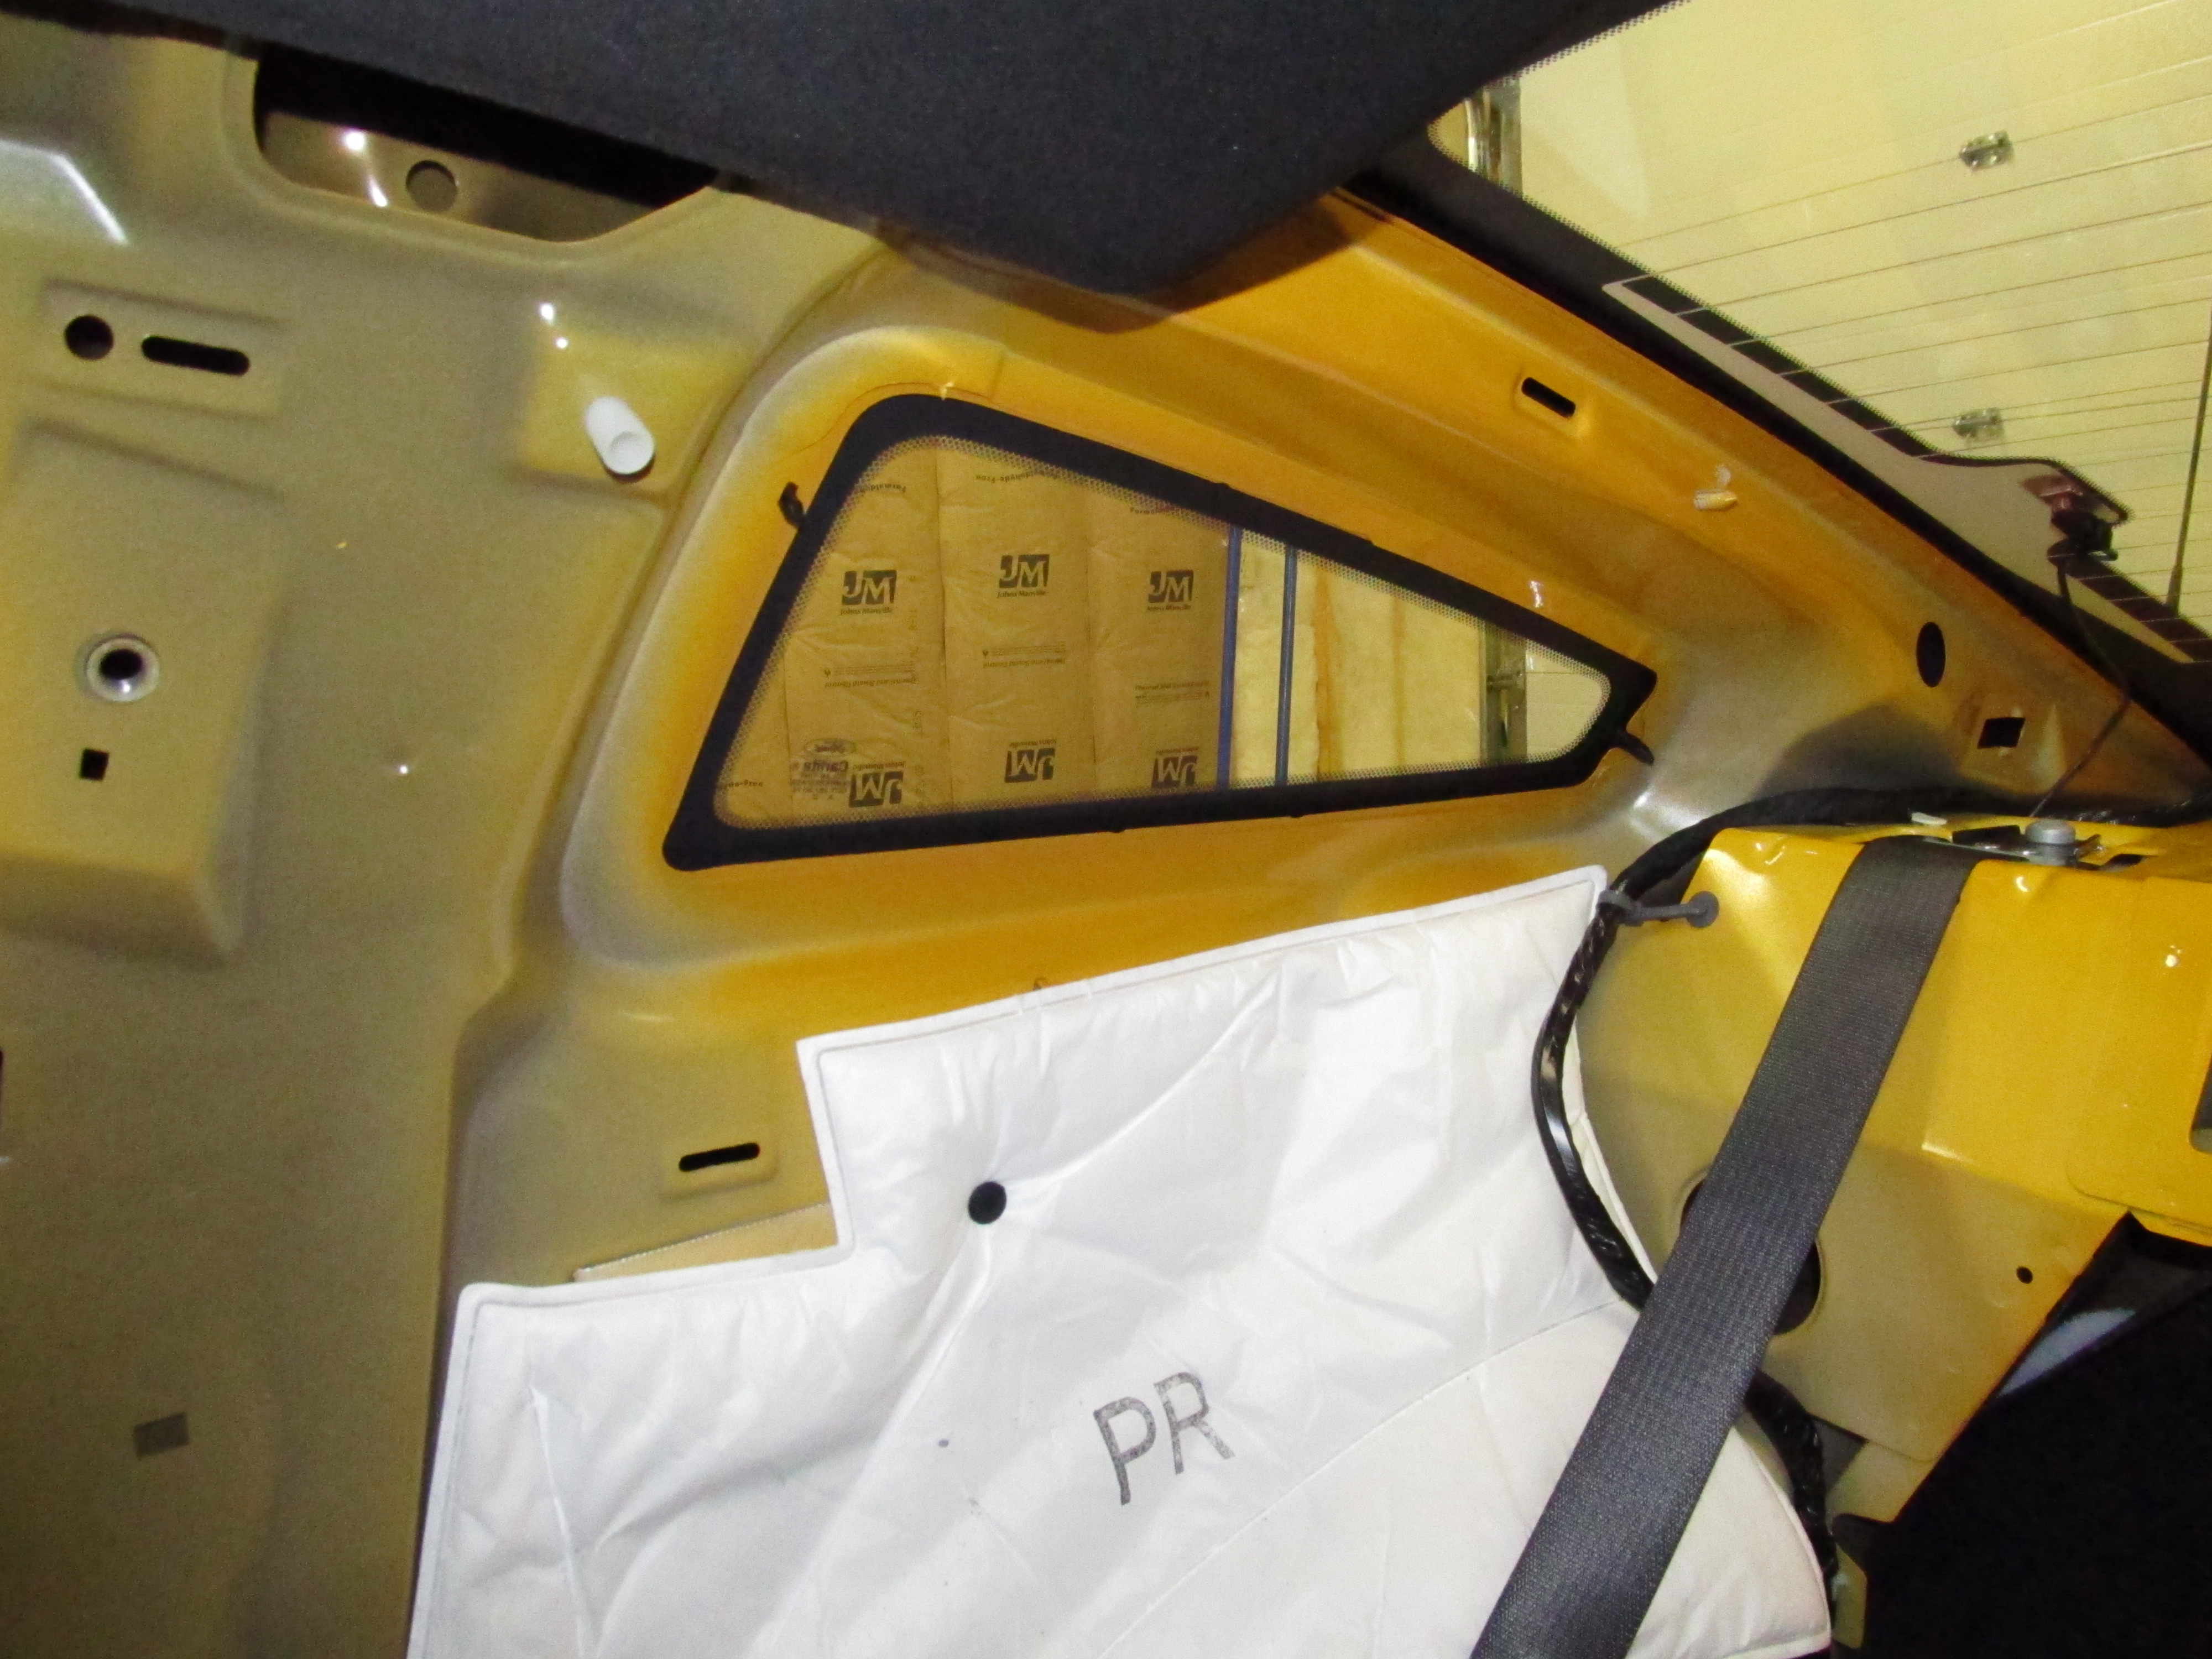
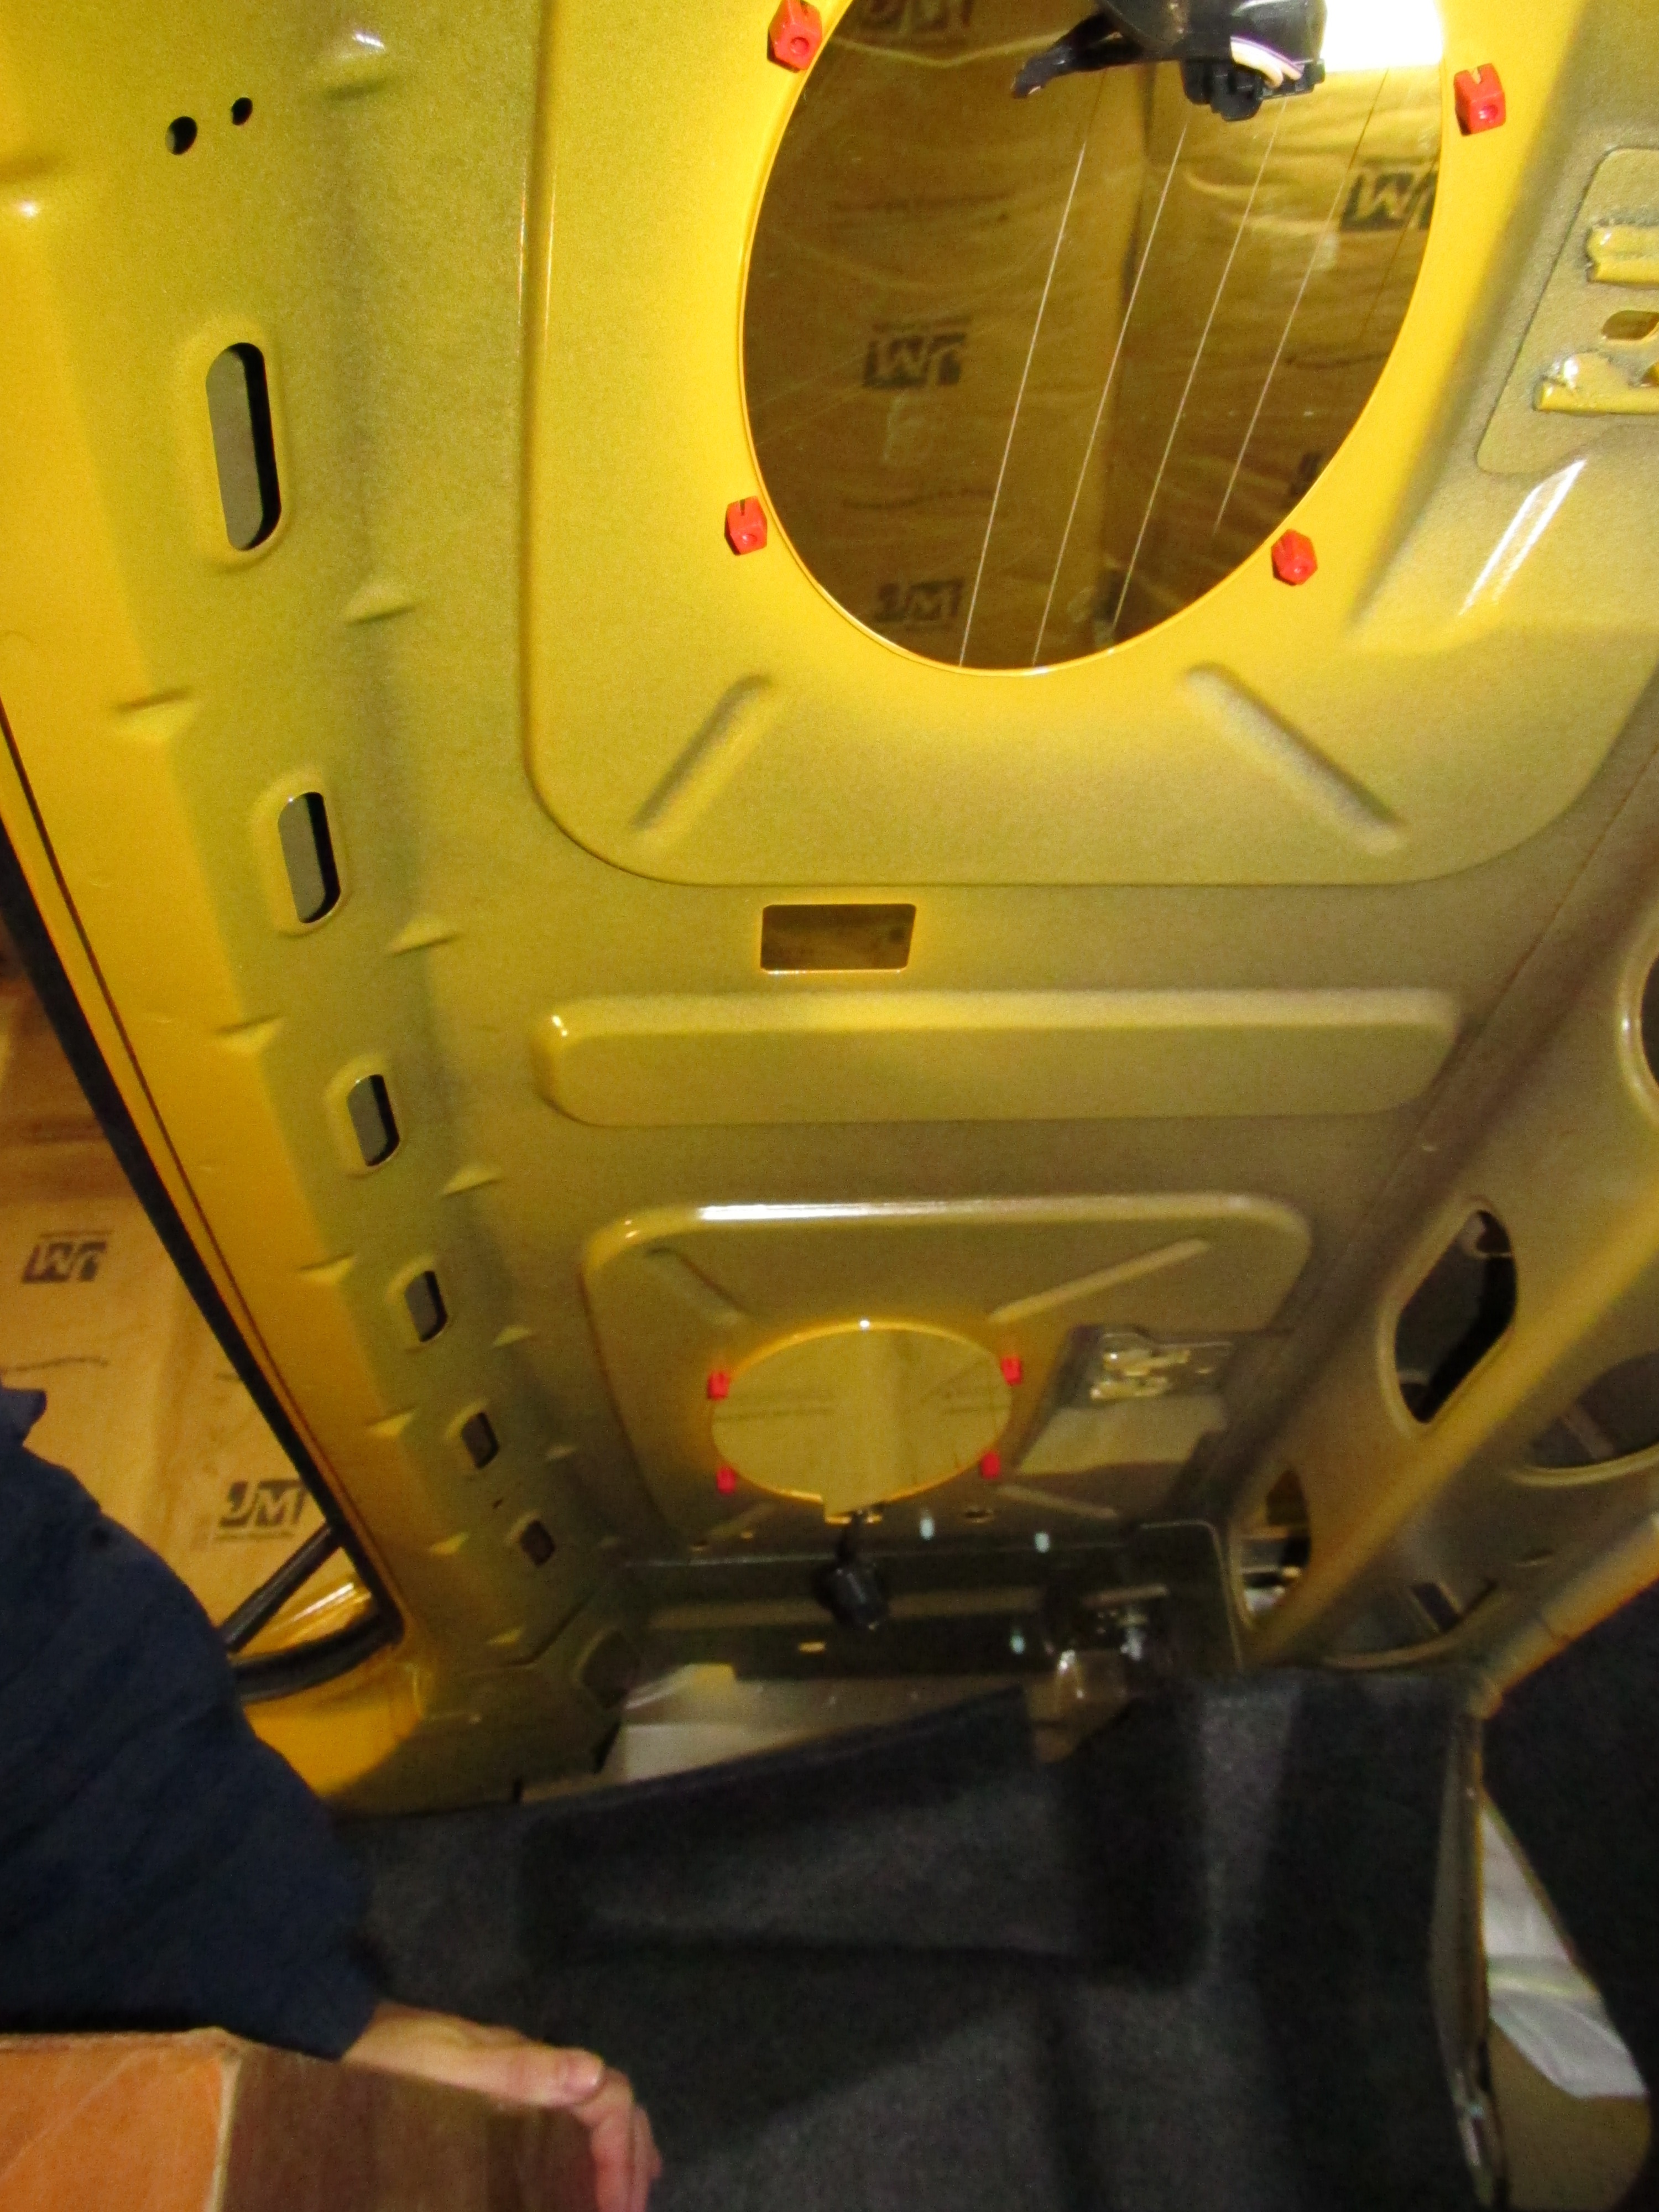
show the car with the rear deck lid removed:

The area where the sail panel sits.
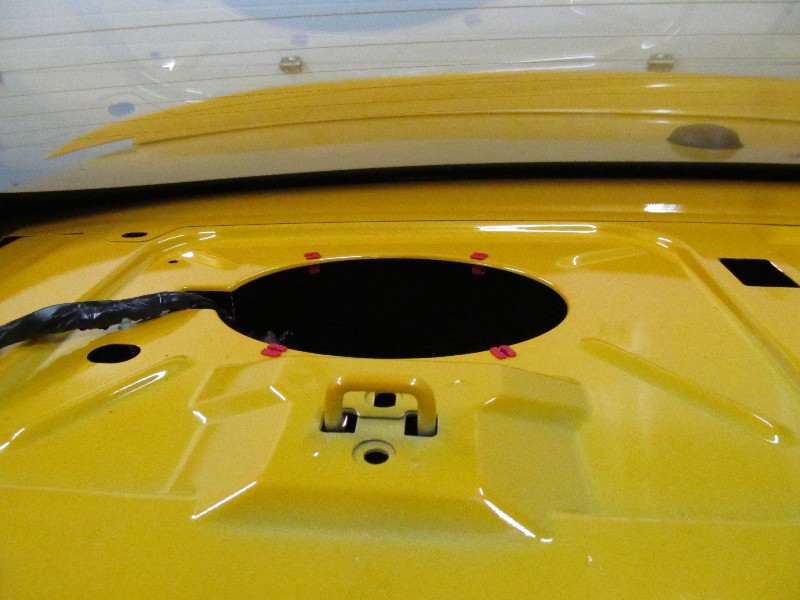
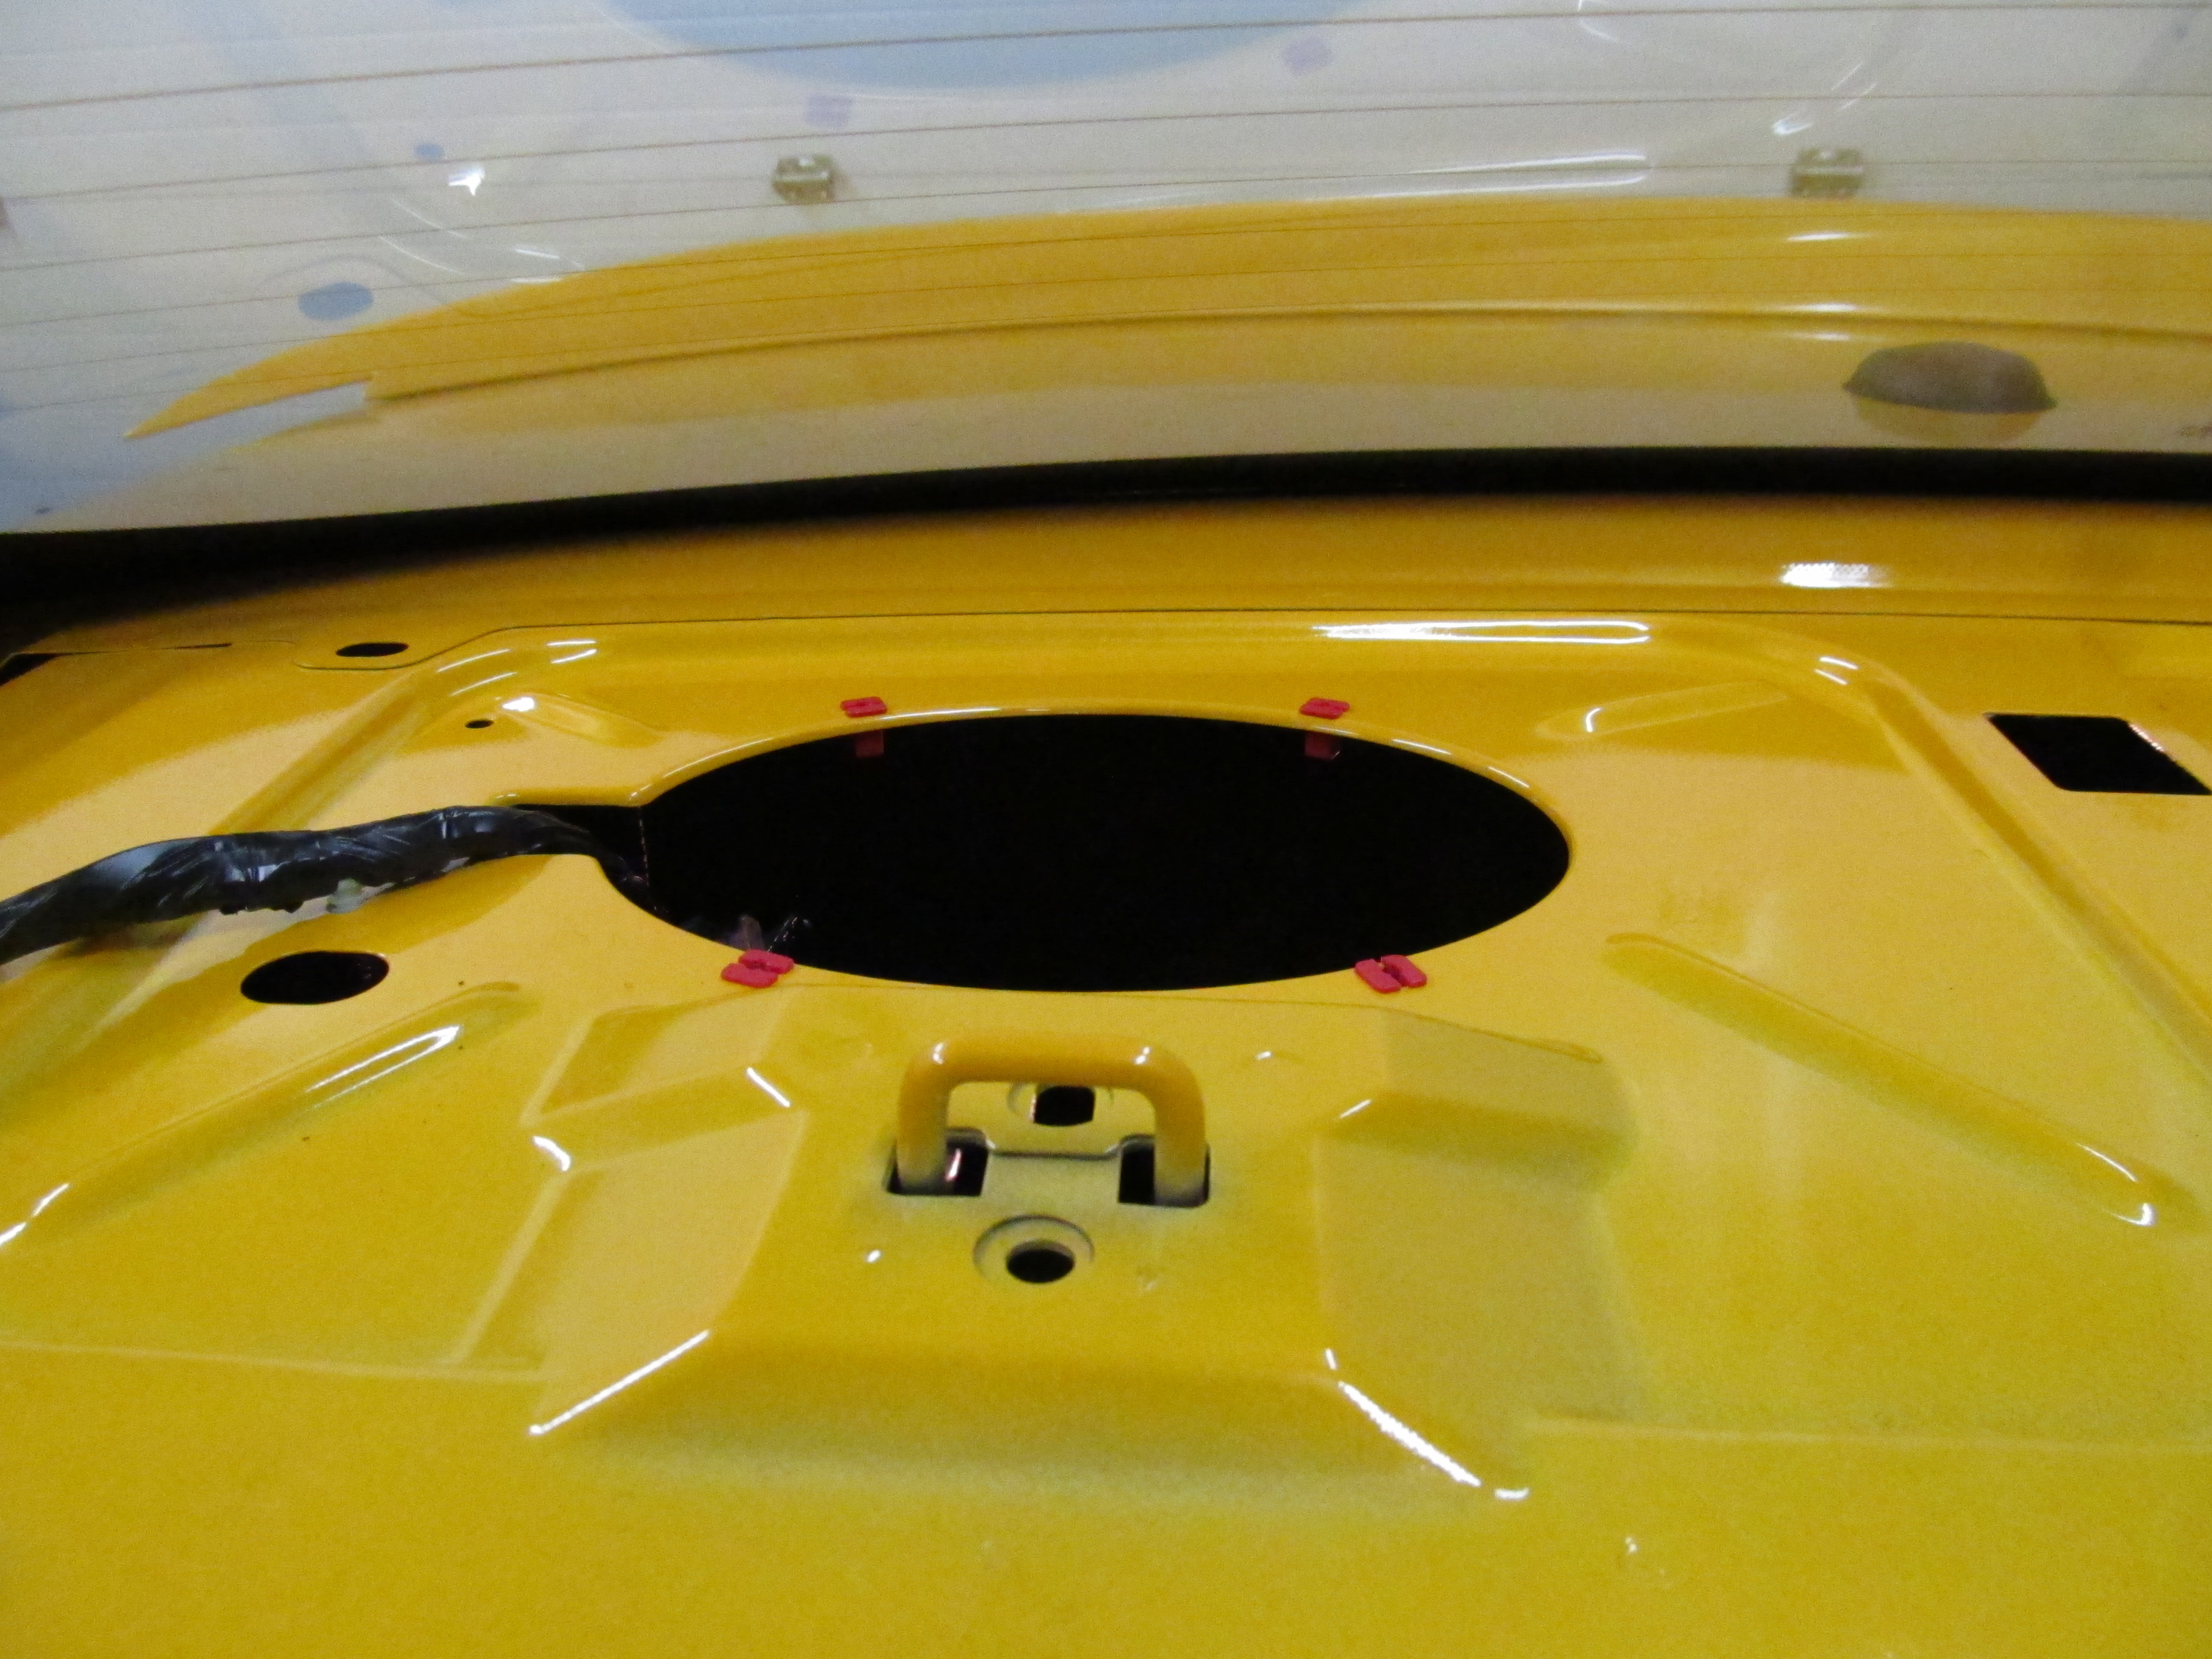
The rear speakers removed. They are held in with 4 6mm screws. A 1/4" drive ratchet with a short
6mm socket works great.

Underside of the trunk. This is where I'll be mounting the aimplifiers.
 Start Slide Show
Back to Stage 1!
On to Stage 3!
Last updated: Sun, May 1, 2011.
Copyright © Mike vanMeeteren, 2011.