
...Continued from page 1.
All images below are thumbnails. Clicking on them will bring up a larger picture.
|
|
|
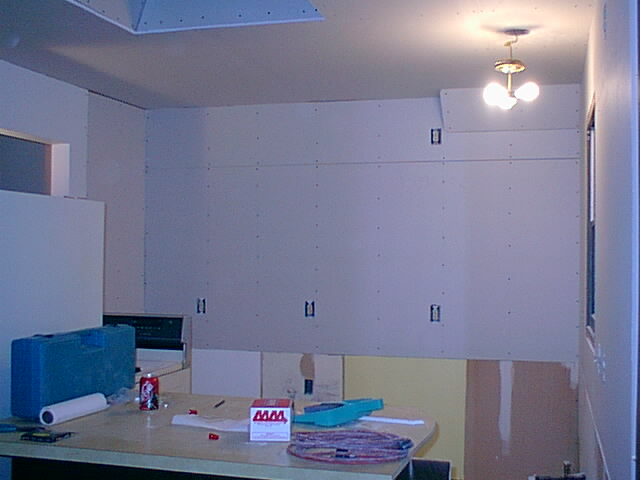
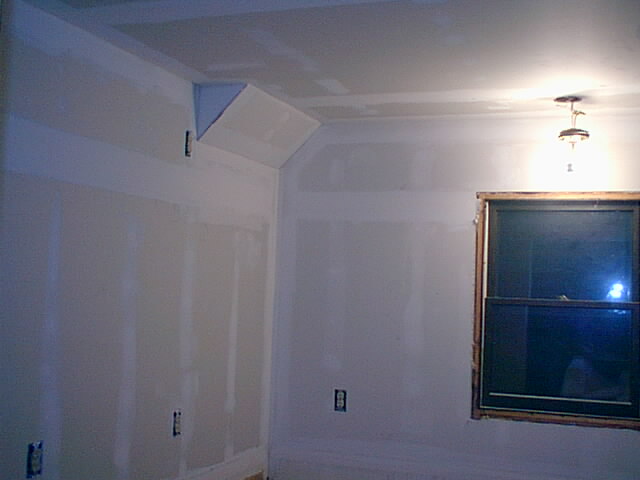
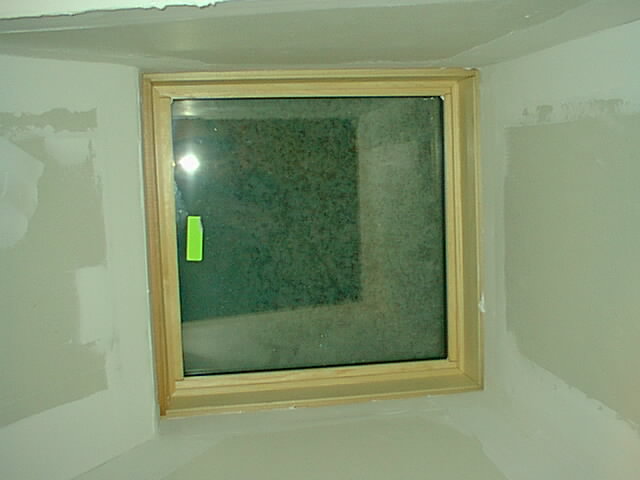
At this point, I finished sheetrocking the walls, and got everything taped. This is the only part of this project I farmed out. I know I suck at taping and mudding, so I had a friend come in and help me out. This resulted in much less sanding and dust. |
|
|
|
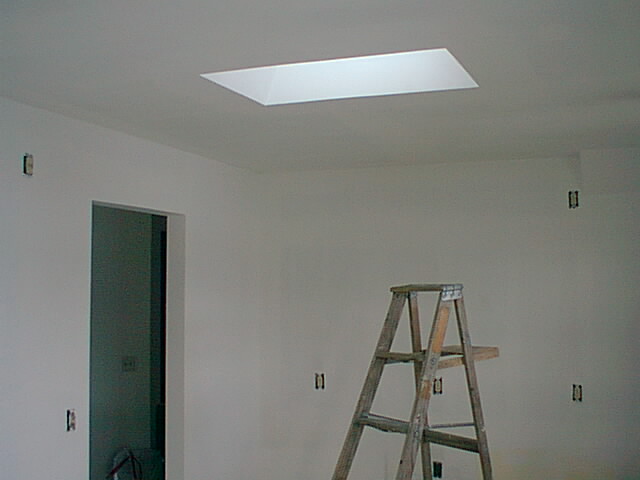
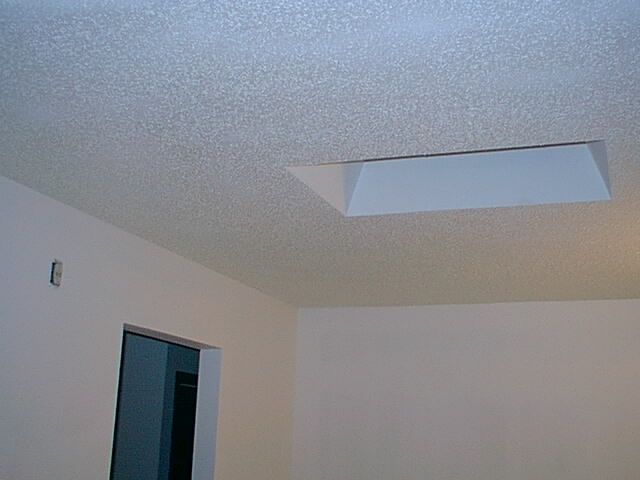
After the sanding, I cut in the skylight, and painted the walls and ceiling. You can already see how much light the skylight lets in. |
|
|
|
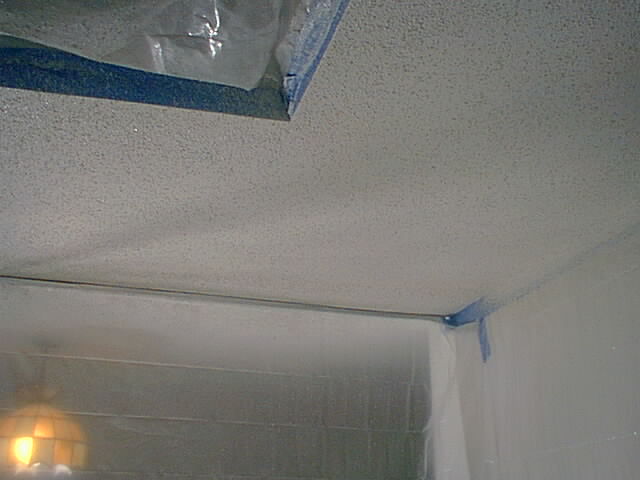
I then sprayed the ceiling. This is a really simple procedure actually. It took me about 2 hours to mark everything (and you have to mask EVERYTHING, anything not covered with plastic will get splattered). Then it took me 10 minutes to spray the ceiling. |
|
|
|
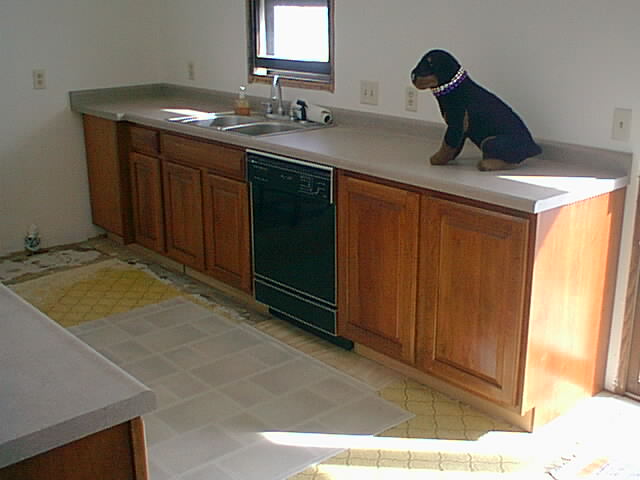
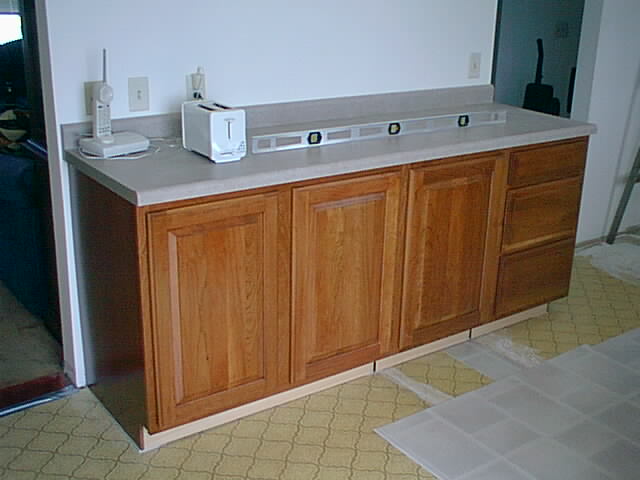
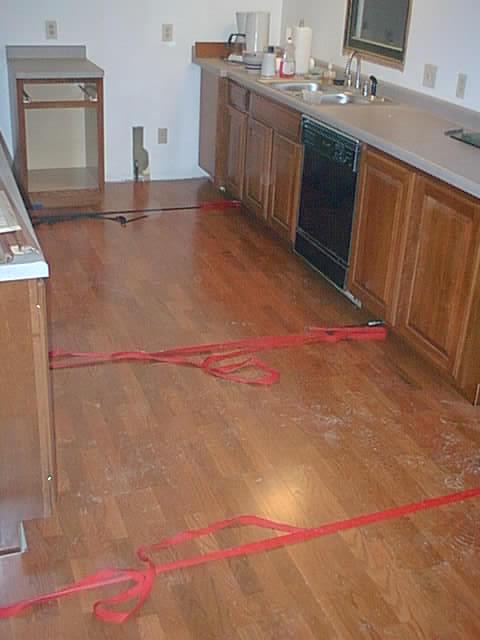
I then installed the base cabinets with the countertop. This was kind of a pain, because the floor was nowhere near level. Other items installed included a new sink, replumbing and rewiring the dishwasher to it's new spot, and levelling the floor for the installation of the wood floor. |
|
|
|
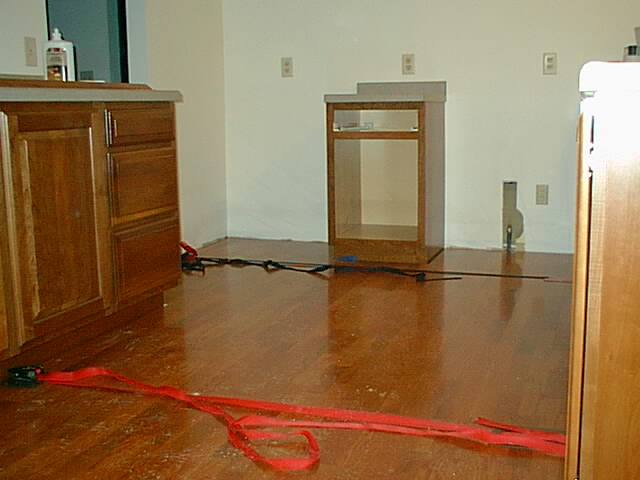
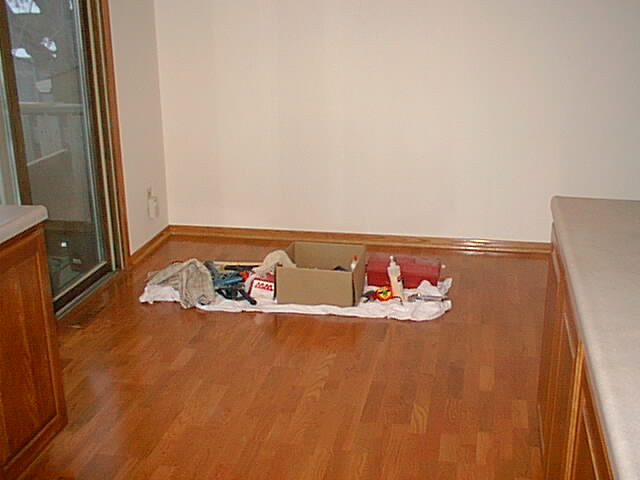
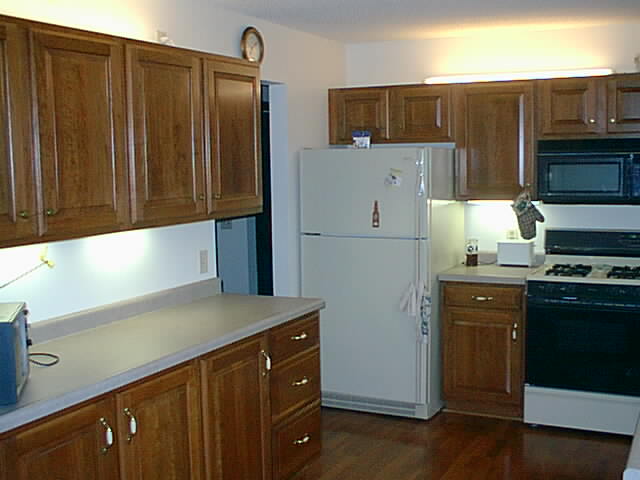
Next I installed the floor. This is an engineered floor. It's a 1/2" piece of plywood with a 3/16" layer of oak veneer on top, and an oven baked aluminized finish. It makes for a very durable finish. The floor is a floating floor that is put on top of a foam pad, with the seams glued together. The straps held the floor while the glue dried. This floor from Harris Tarkett goes down incredibly easy and fast. Even with all the corners in this kitchen, I had the whole thing down in 6 hours. |
|
|
|
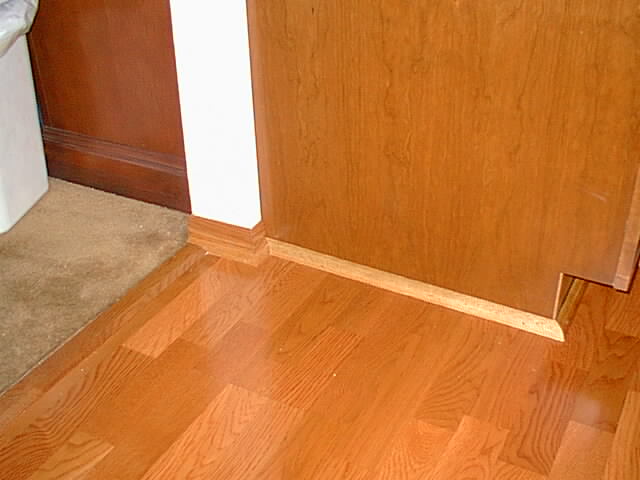
I trimmed the floor out with oak ranch style baseboards, and quarter round over the top, finished with Minwax Golden Pecan stain and polyurathane. The bullnose piece that goes to the carpeted edge and next to the sliding door is a prefabbed piece from Harris Tarkett. |
|
|
|
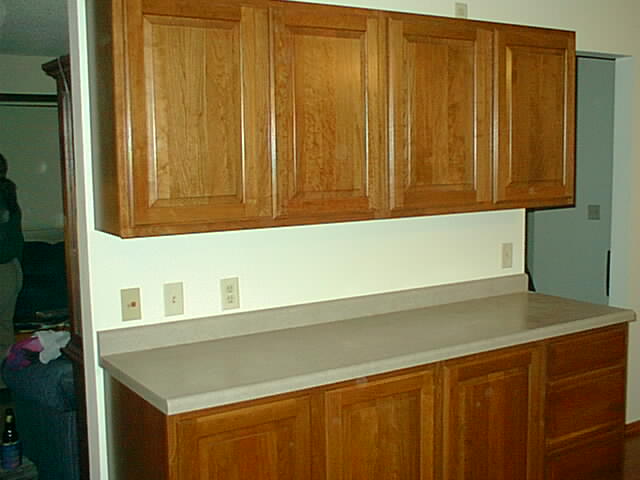
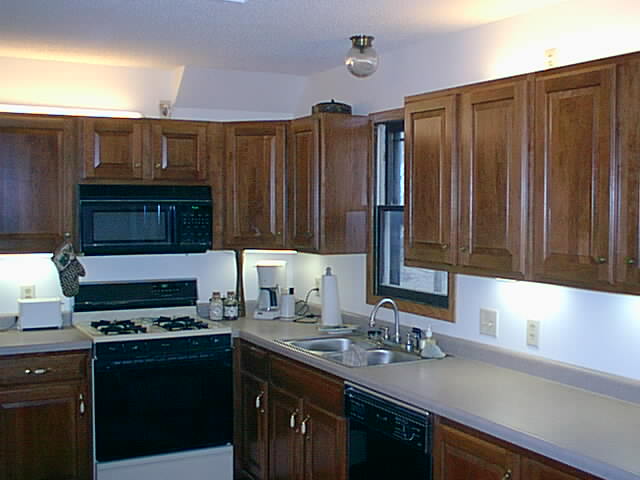
The upper cabinets were hung next. After that, the microwave was installed, all the knobs and handles were installed, and both indirect lighting on top of the cabinets and undercabinet lighting was installed. It provides for a nice bright kitchen. |
|
|
|
|
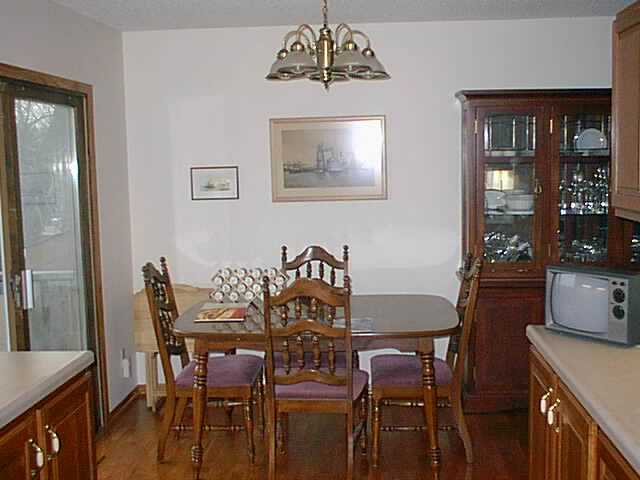
The whole project took a little over three weeks to complete. We both love the new kitchen, and everyone that sees it complements us on how much it improves the overall feel of the house. If you ever get the chance to do a project like this, I highly recommend it. Your house will be a mess for a while, but it's actually surprising how little we ate out, and not once did we wash dishes by hand (the dishwasher wasn't disconnected for more than 24 hours).
|
|
|
|