|
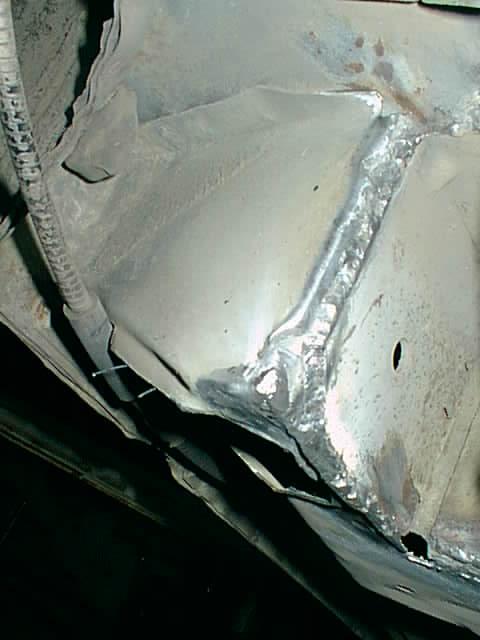
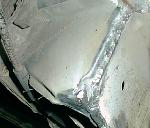
To reenforce my torque boxes, the first thing I did was take a wire wheel, clean
all the seams, care weld all the seams together. If you plan on doing this, be careful
on the seam that runs across the top of the torque box. The metal there seems to be
extremely thin, and I burned through in a couple of places. I don't think welding that
seam adds any strength, so you may wish to stay away from it all together.
|
|
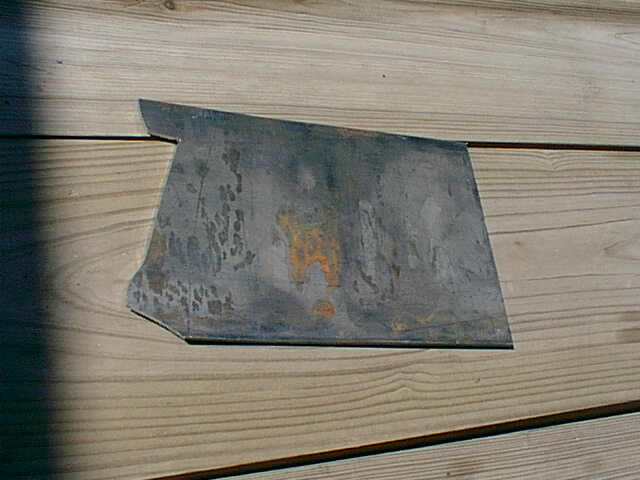
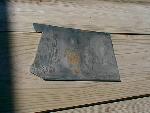
In order to make the torque "box" truly a box, you need to close off the bottom
end of the box. This makes the box much more rigid, since it doesn't allow the sides
of the torque box to flex independent of eachother. I used a chunk of 1/8" thick plate
steel 6" wide, and cut it to not interfere with my new UPR control arms.
|
|
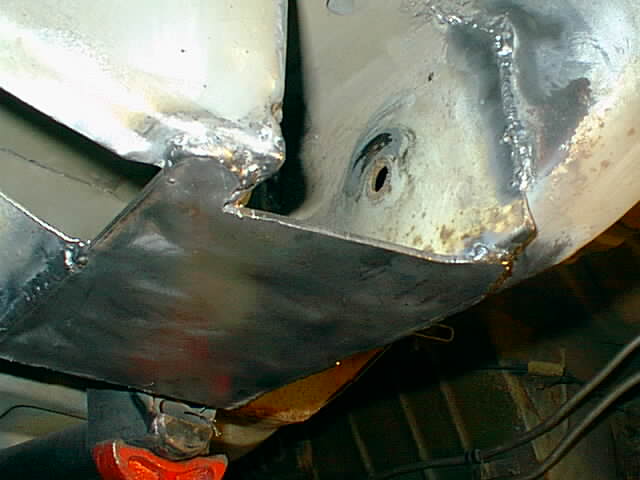
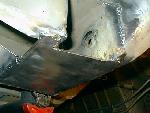
Here you can see the finished product. The plate is welded into place. It runs
all the way to the front of the torque box.
|
|
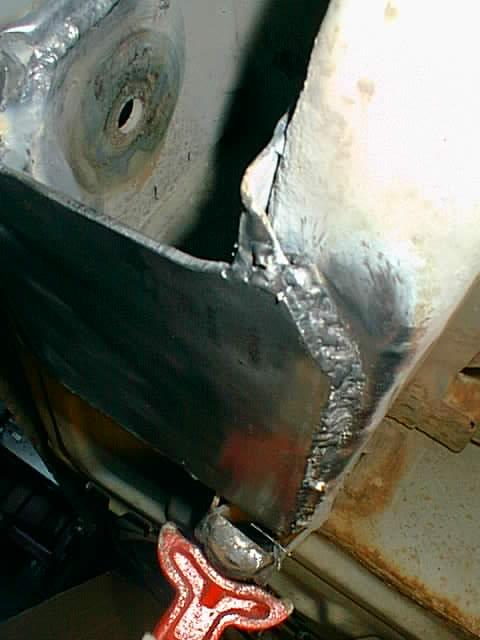
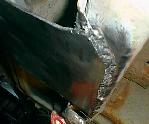
Here's an angle where you can see the inside edge of the torque box. The weld isn't
my prettiest work, but it's solid. It's tough to weld lying on your back with sparks
showering down on you. A hoist would have been nice for this project.
|